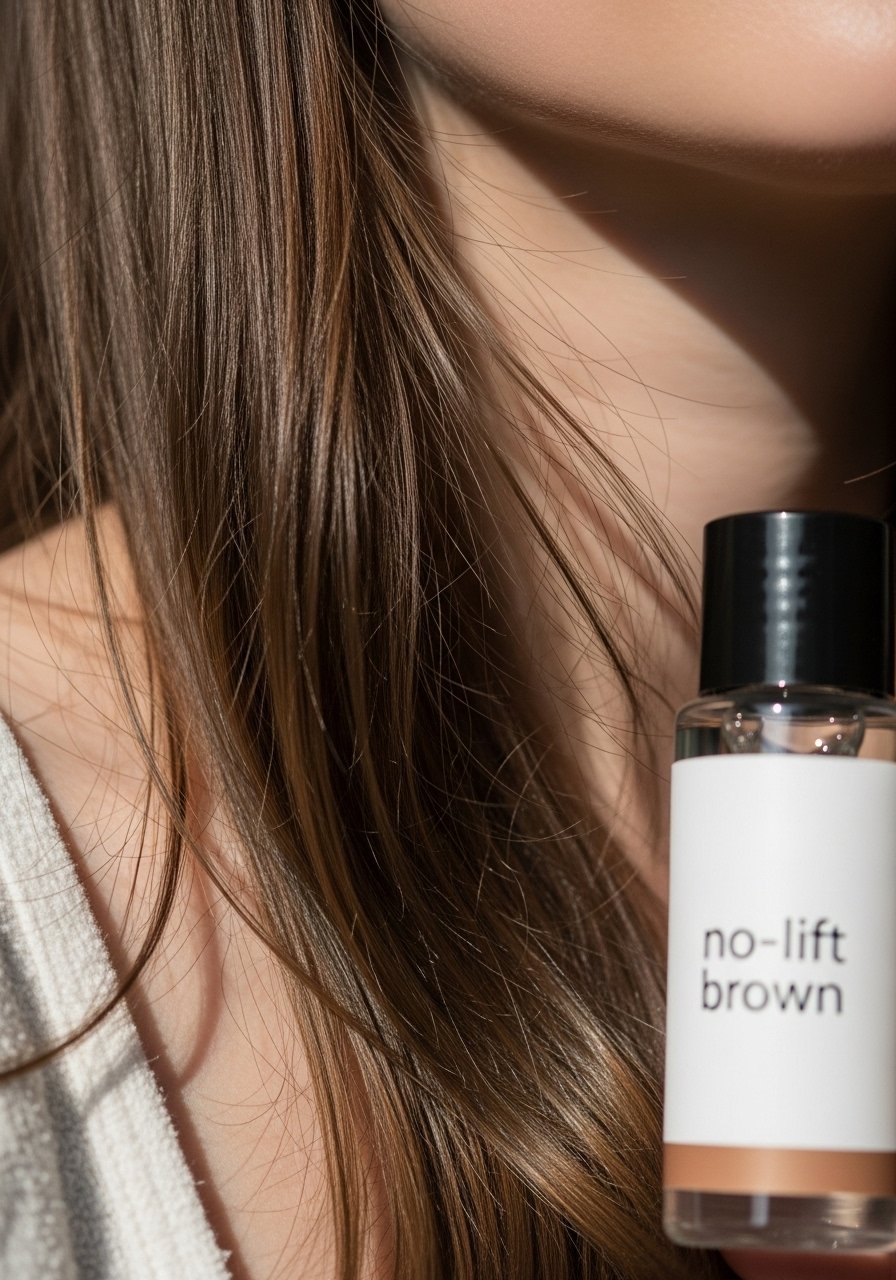
I used to pick brunette shades by guessing from photos. I’d go too warm or too flat and end up feeling washed out.
After lots of trial runs, I learned which brunette tones make my pale skin look healthy, not tired. These picks are the ones I kept coming back to.
They work on cool, neutral, and warm pale skin. I’ll tell you what I noticed and what to watch for.
22 Trendy Brunette Hair Colors For Pale Skin For Richer Dimension
These 22 brunette looks are practical and tested on pale skin.
I include cool, warm, and neutral options plus small styling notes.
You’ll get clear ideas for trying one shade at a time—22 straightforward suggestions.
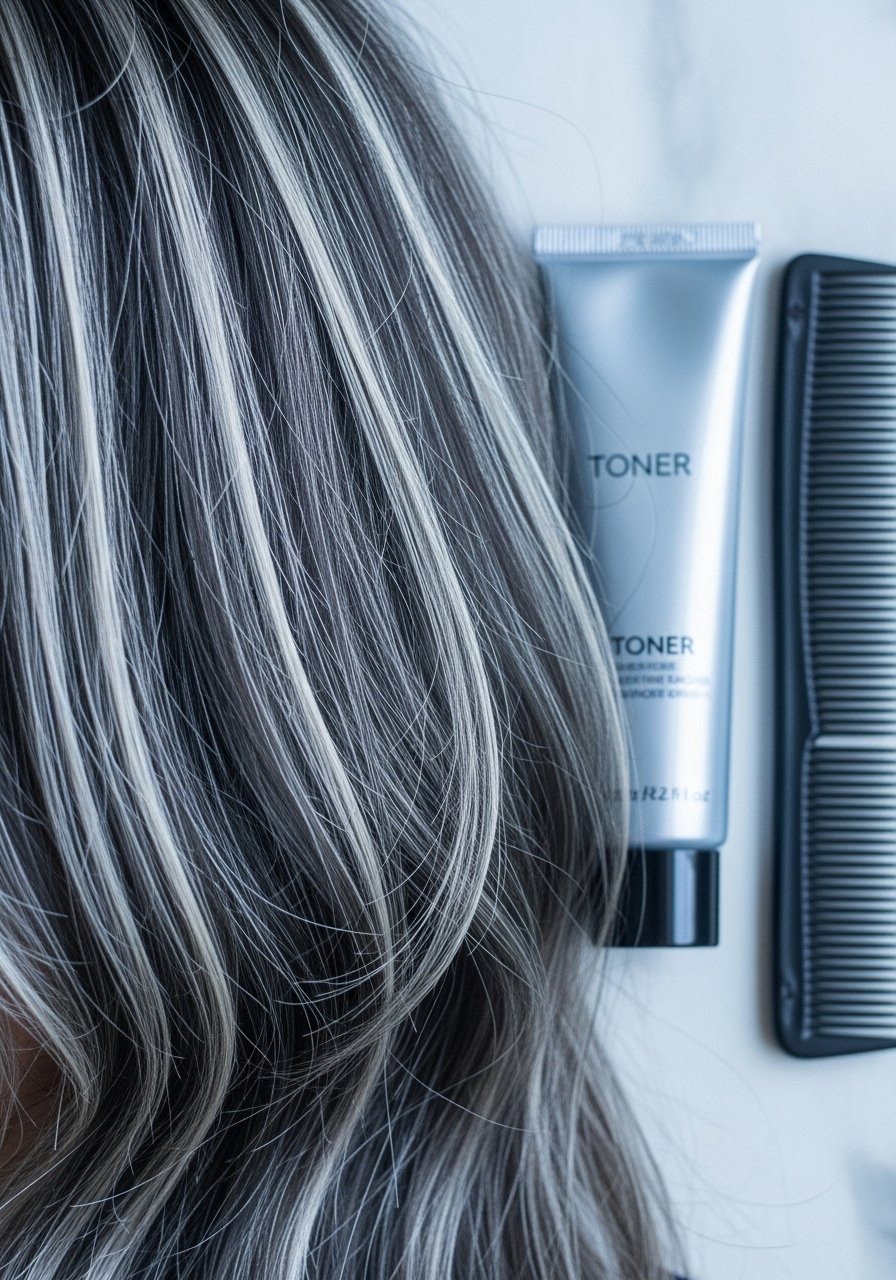
1. Soft Ashy Brunette With Cool Undertones
I went ash to hide pinkness in my skin, and it worked better than I expected. The cool, smoky brown flattened redness and made my skin read calmer.
My hair gained a muted, elegant look without looking dead. I did make one mistake: I left a toner on too long and caught a faint green edge. Easy fix, but learn from me—watch toner time.
If your skin leans cool, this soft ash balances you without washing you out.
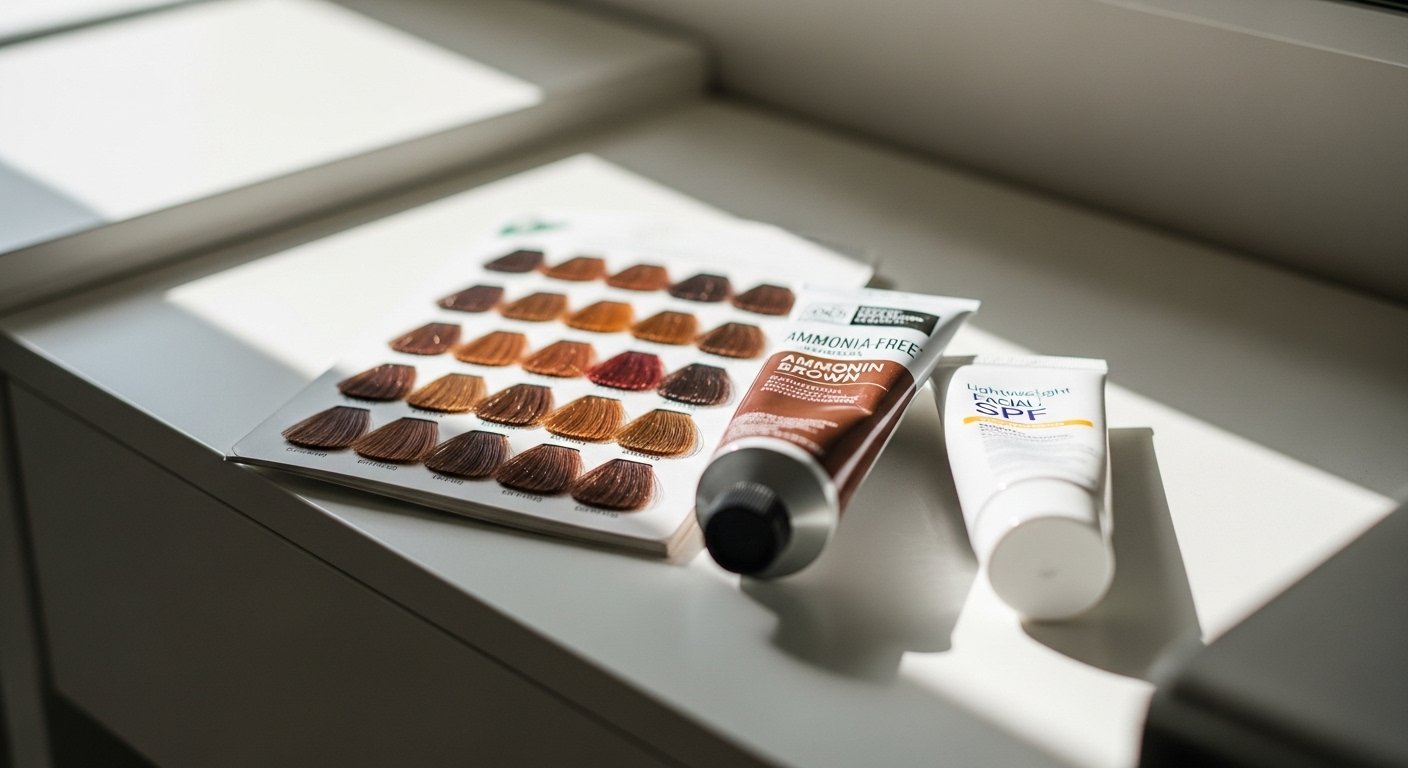
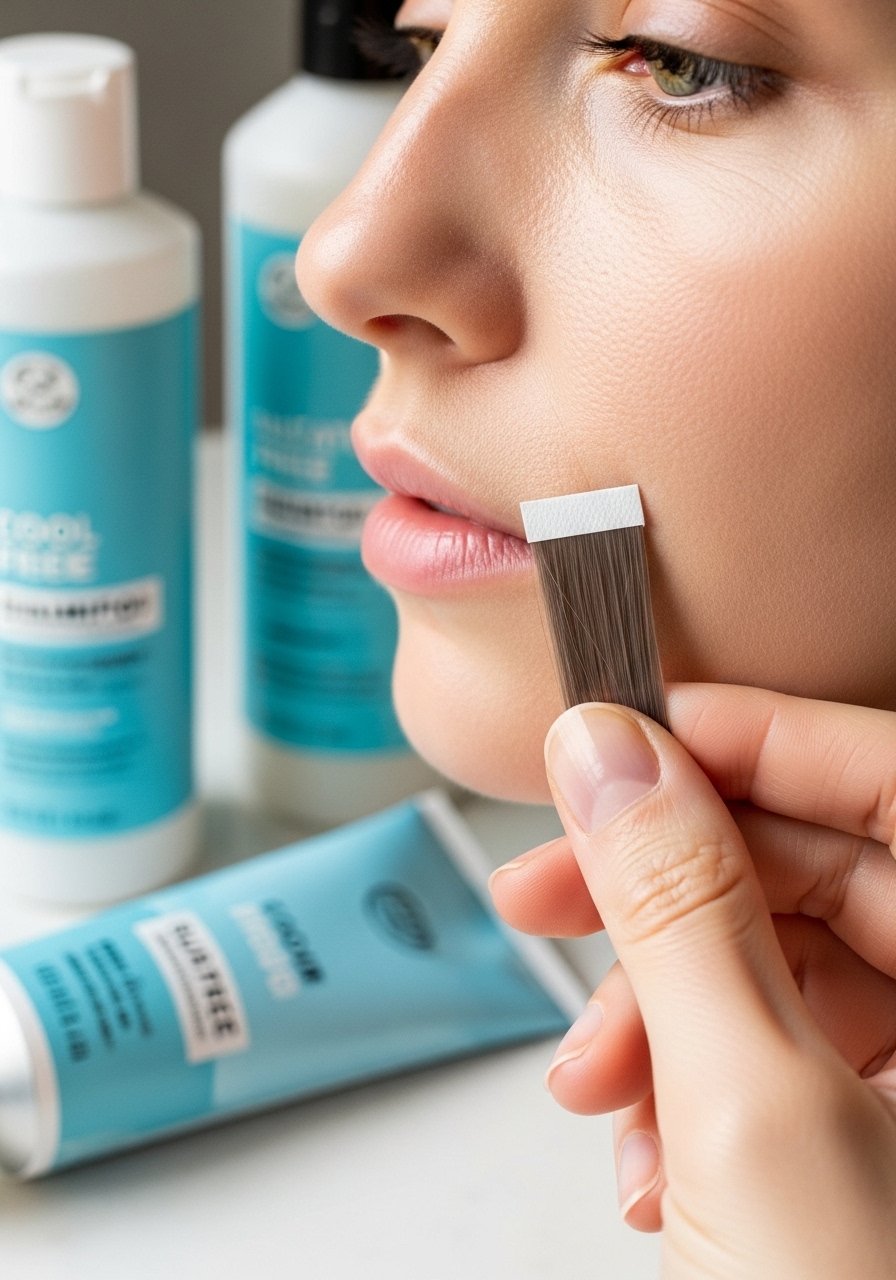
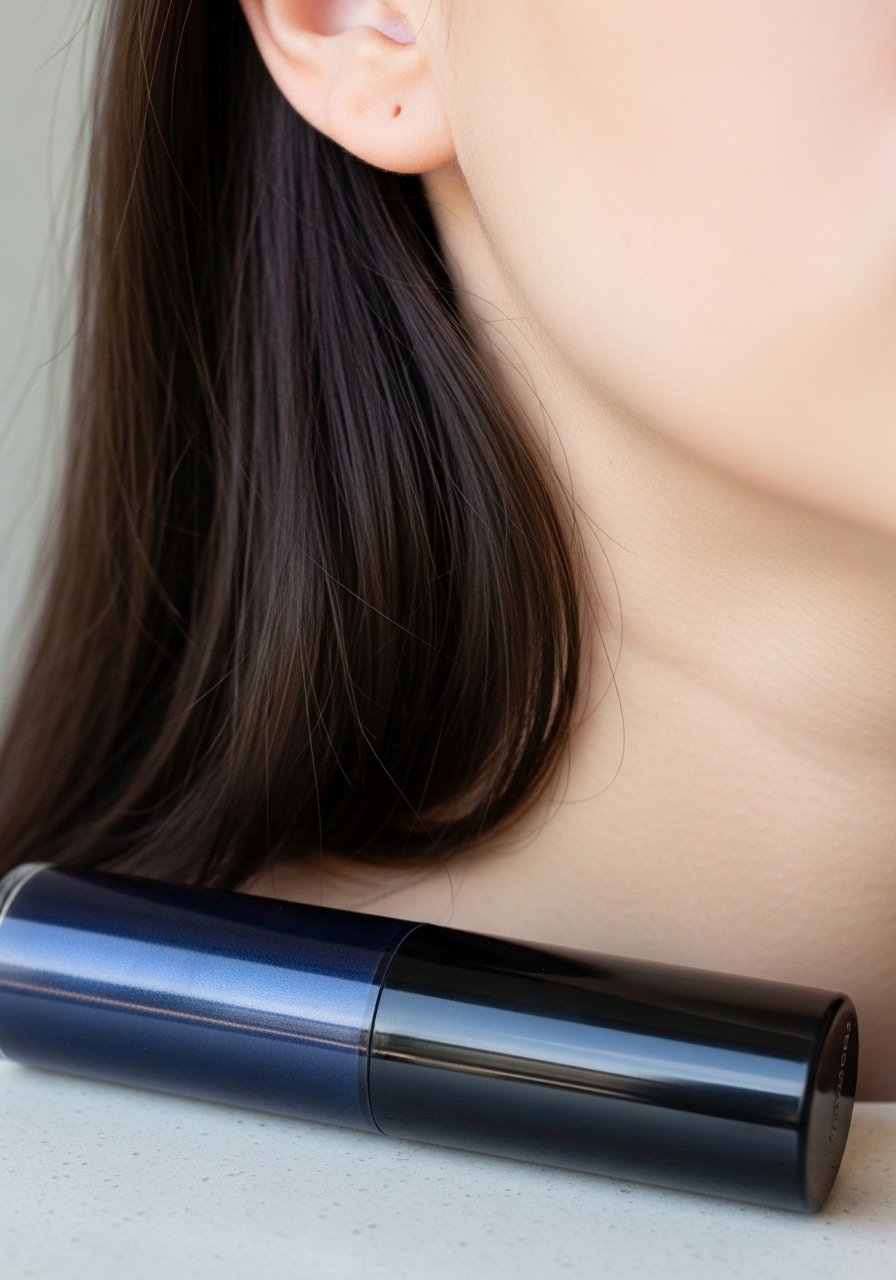
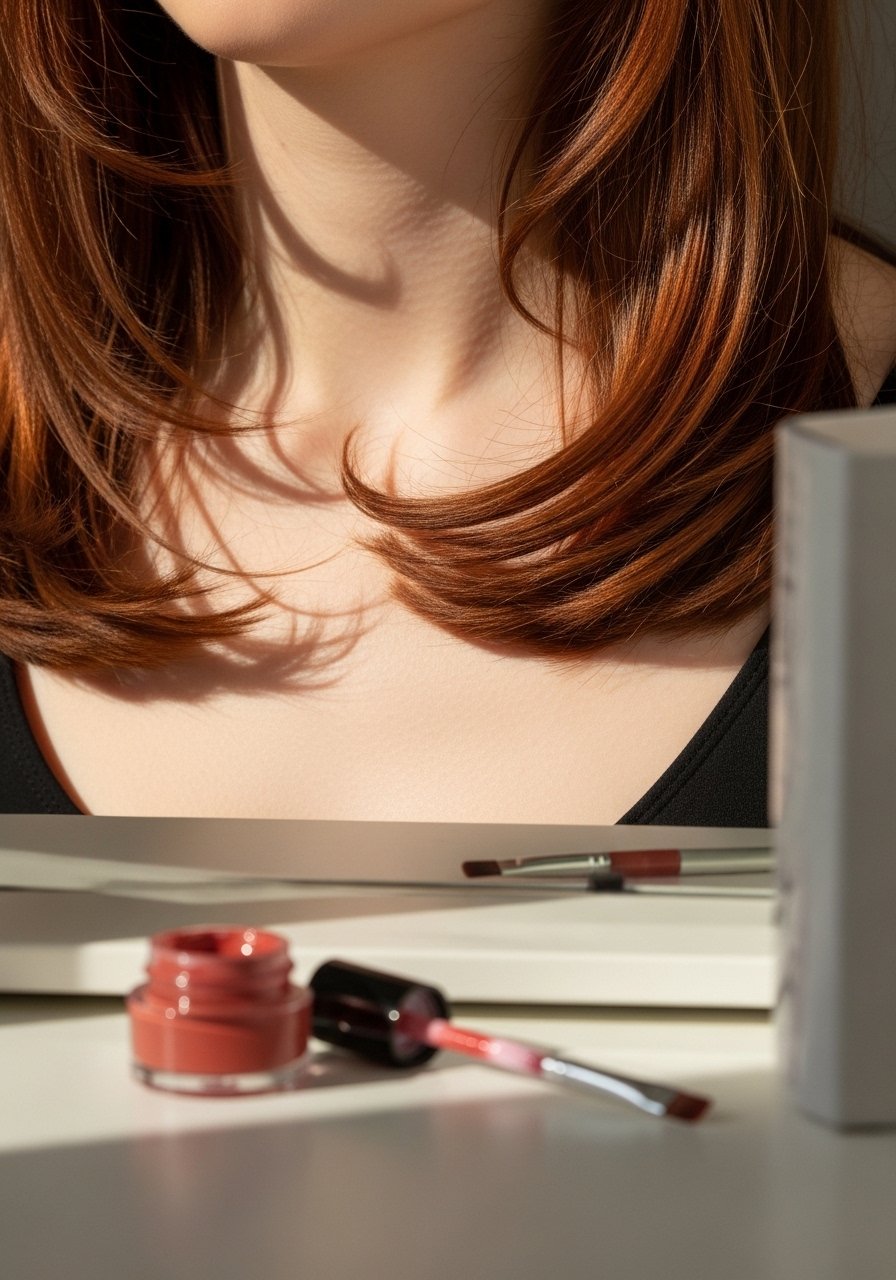
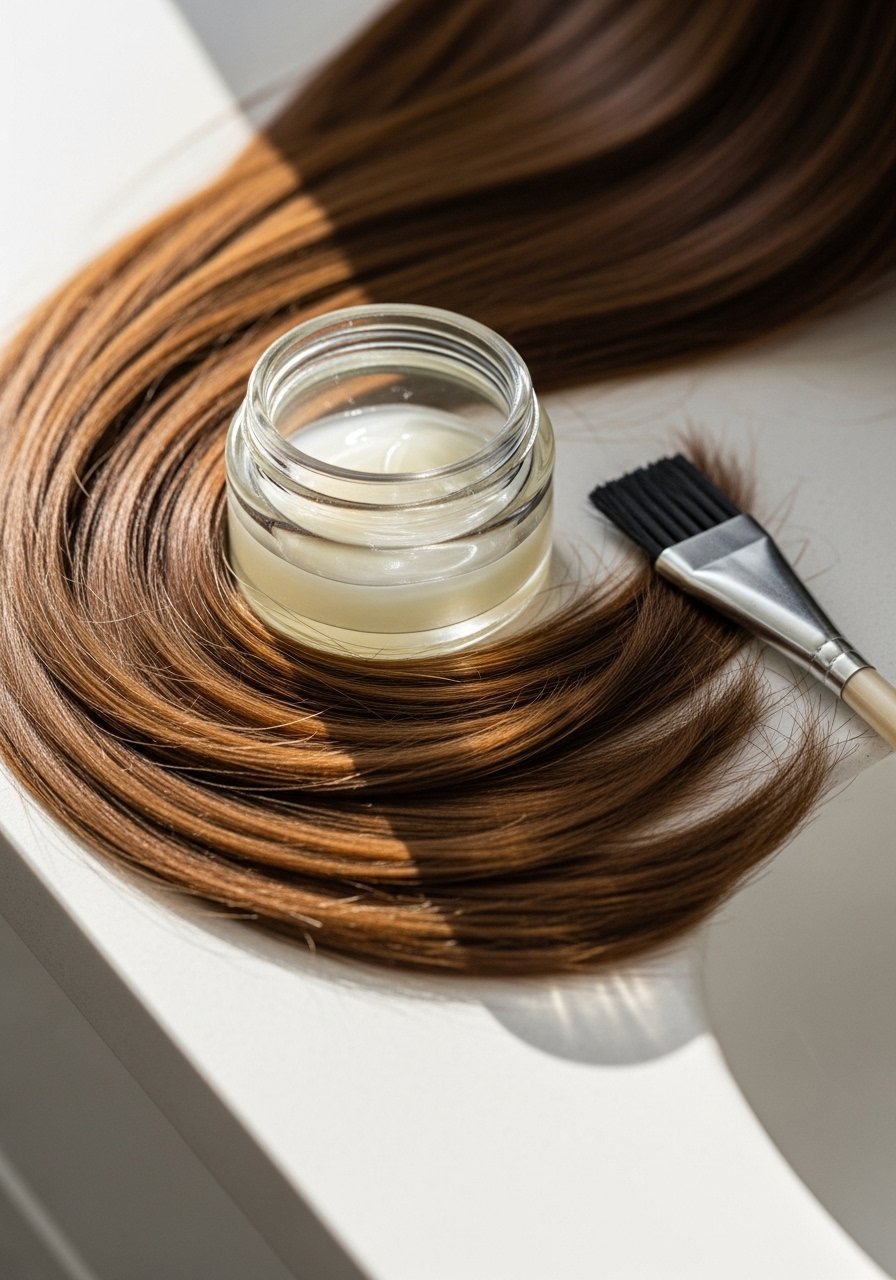
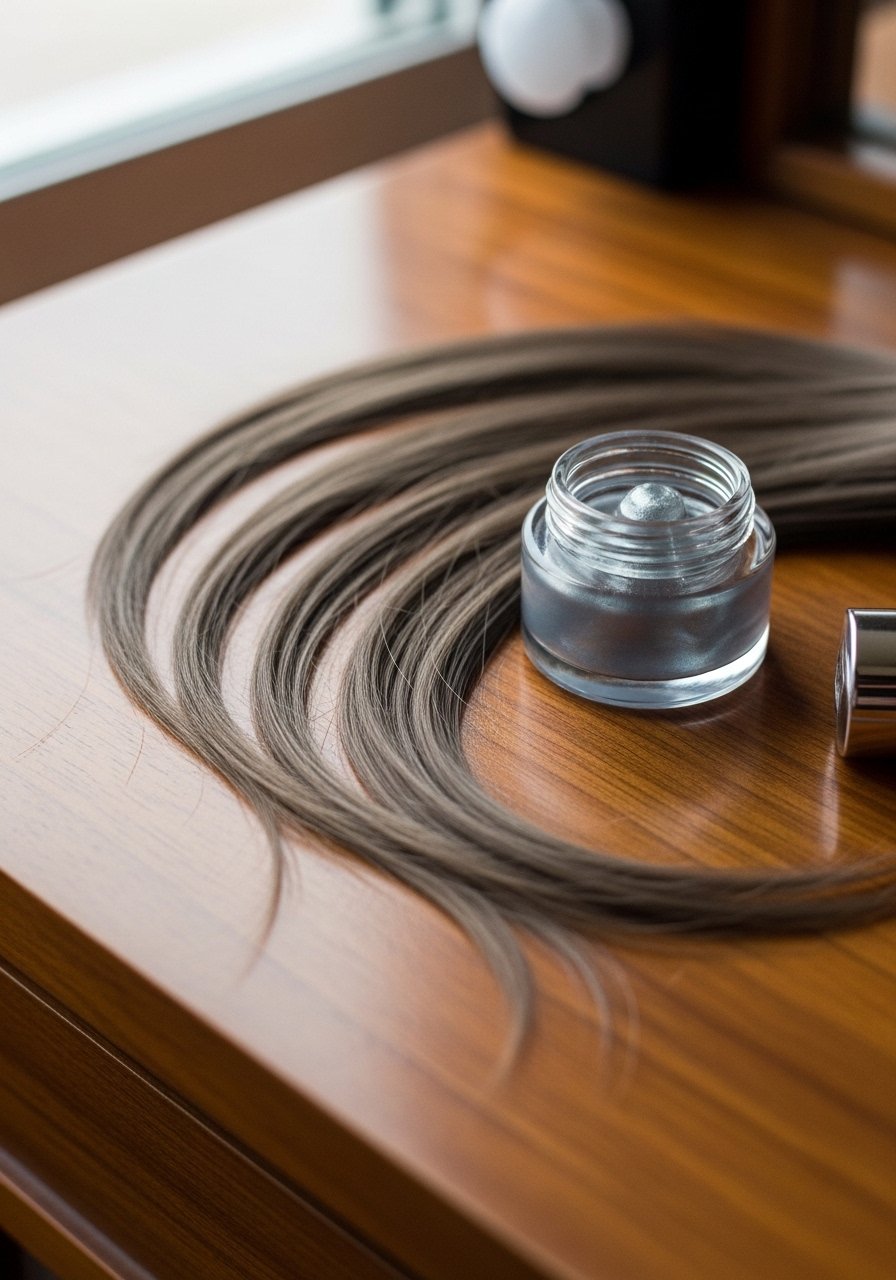
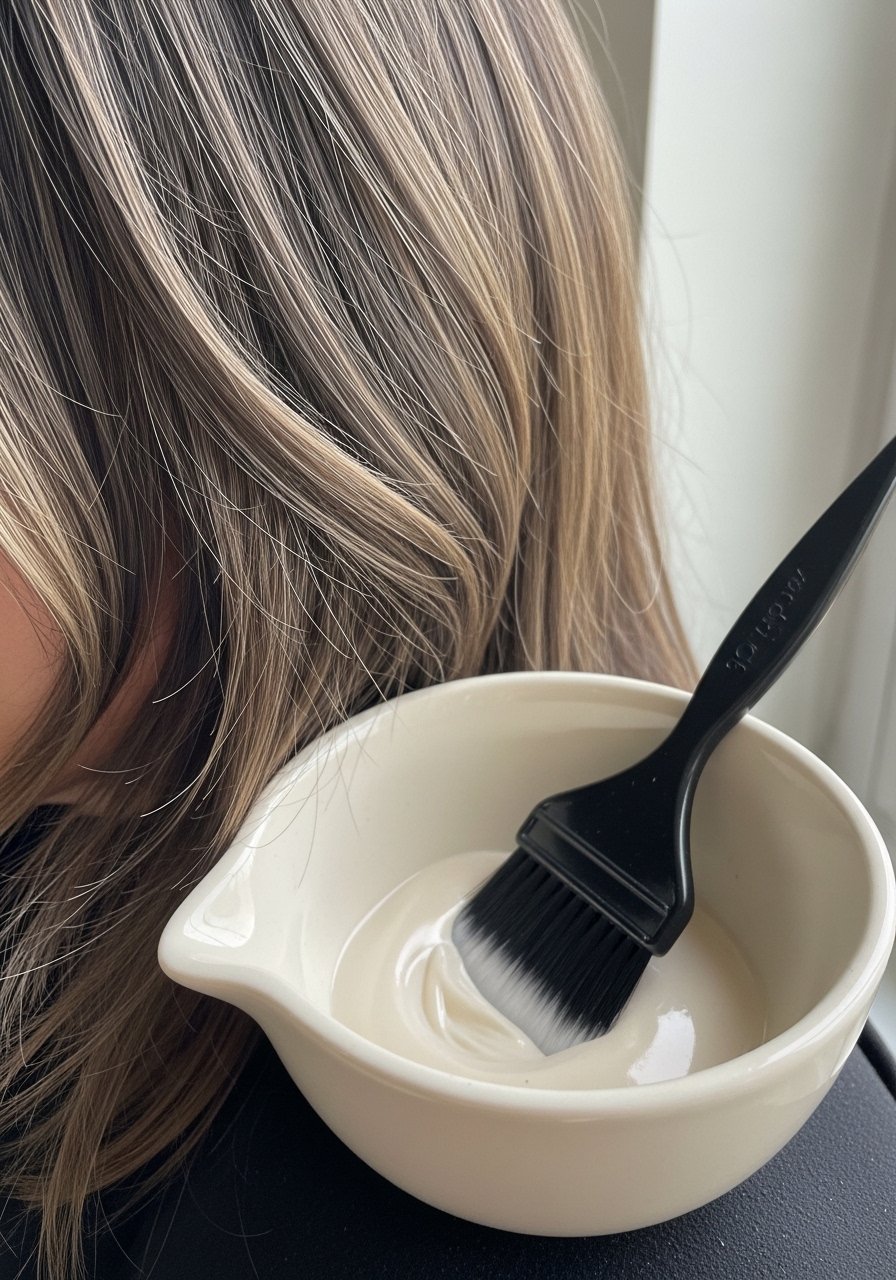
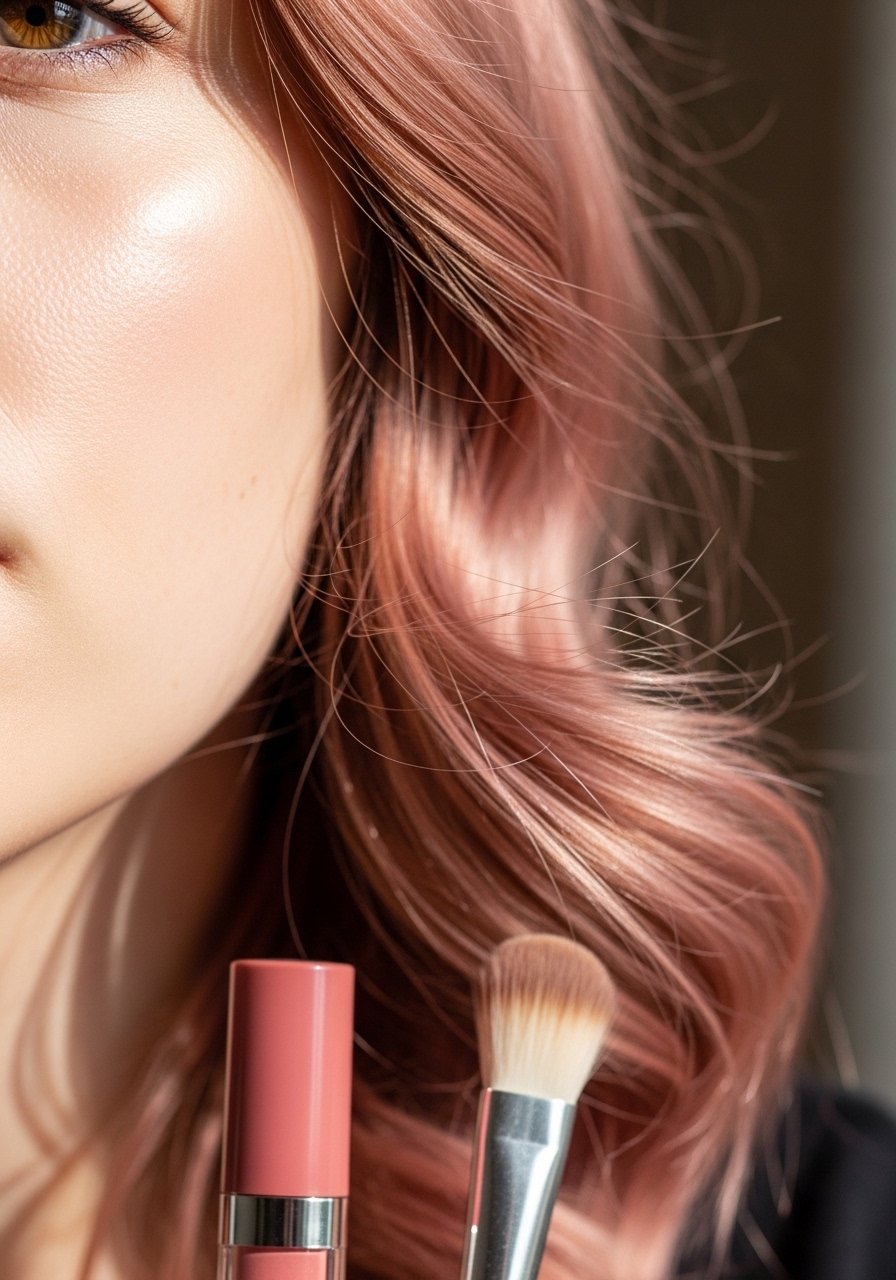
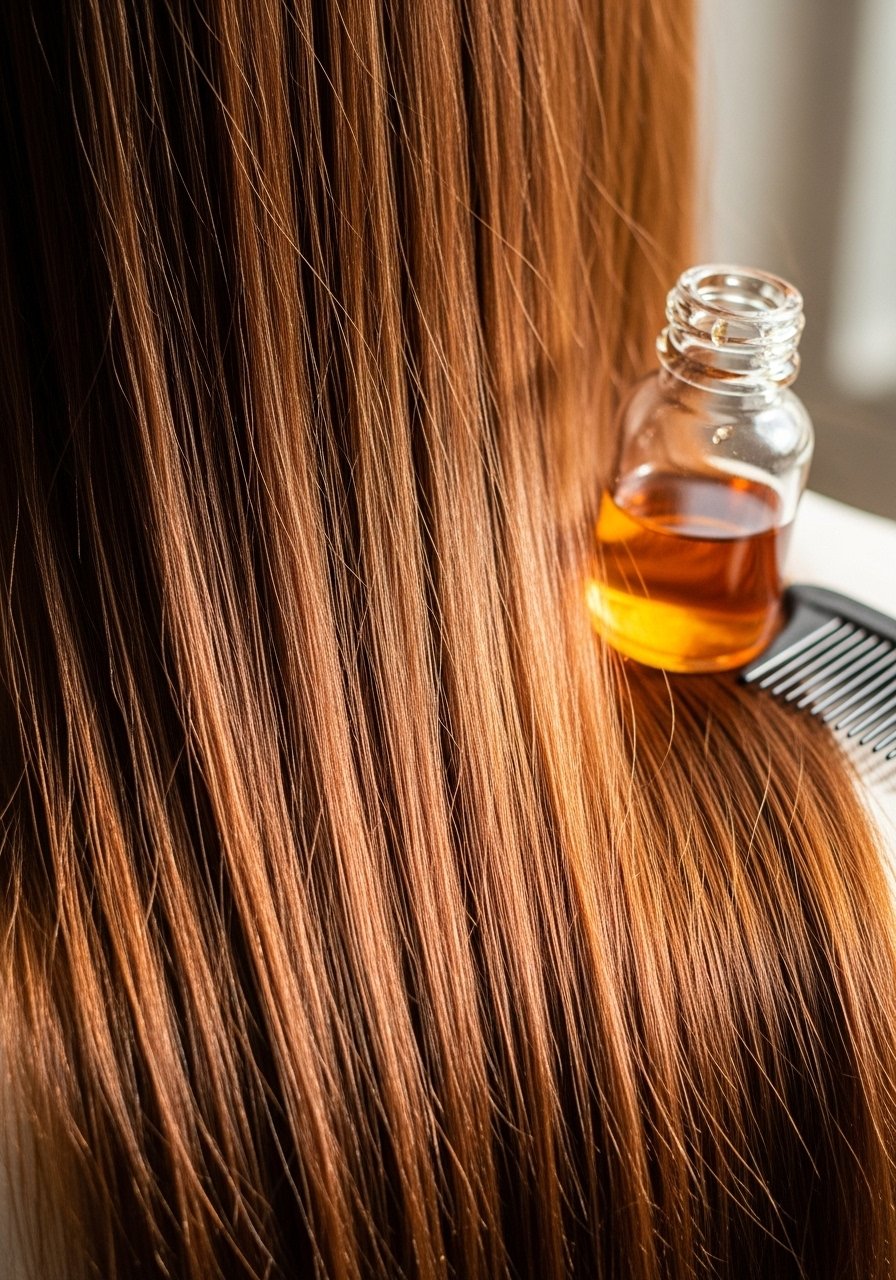
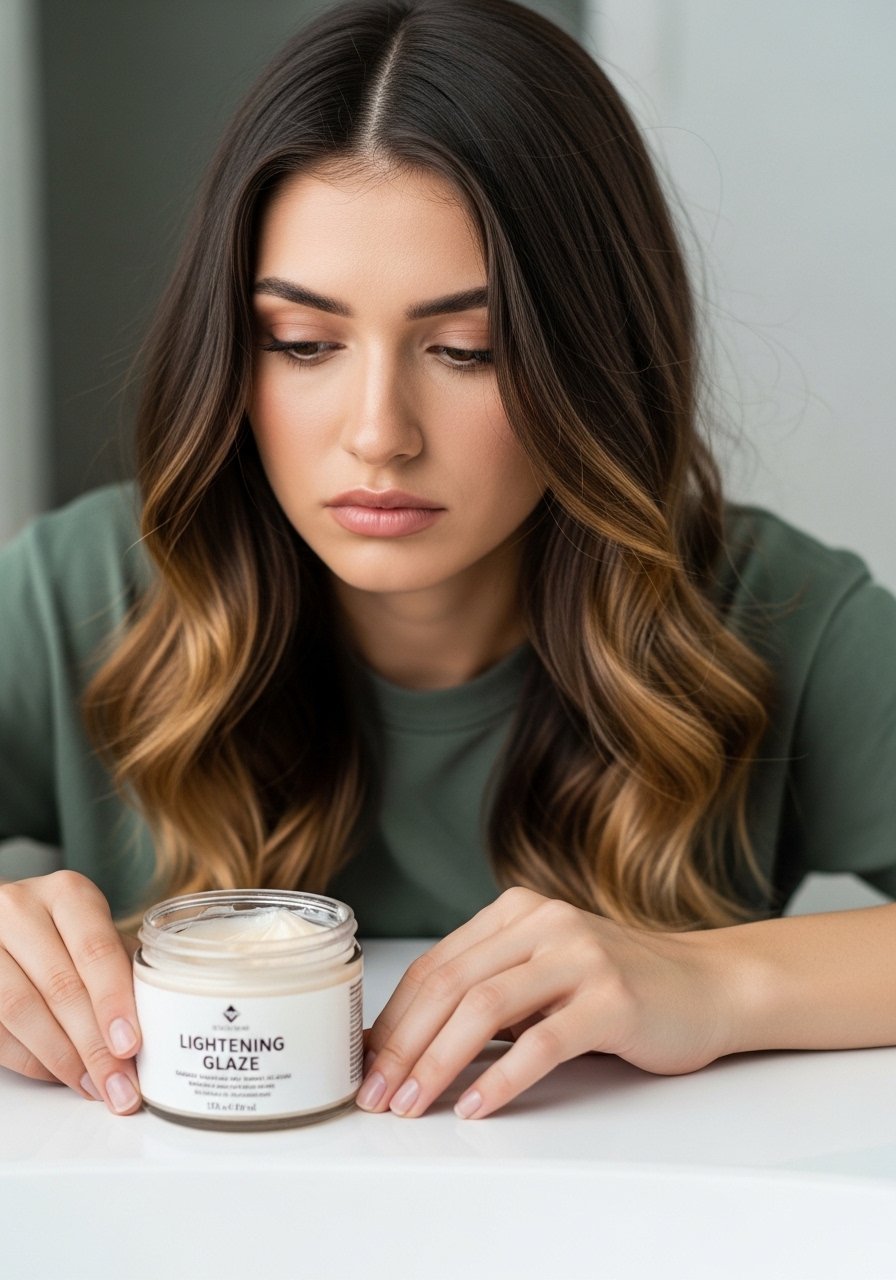
What You’ll Need for This Routine
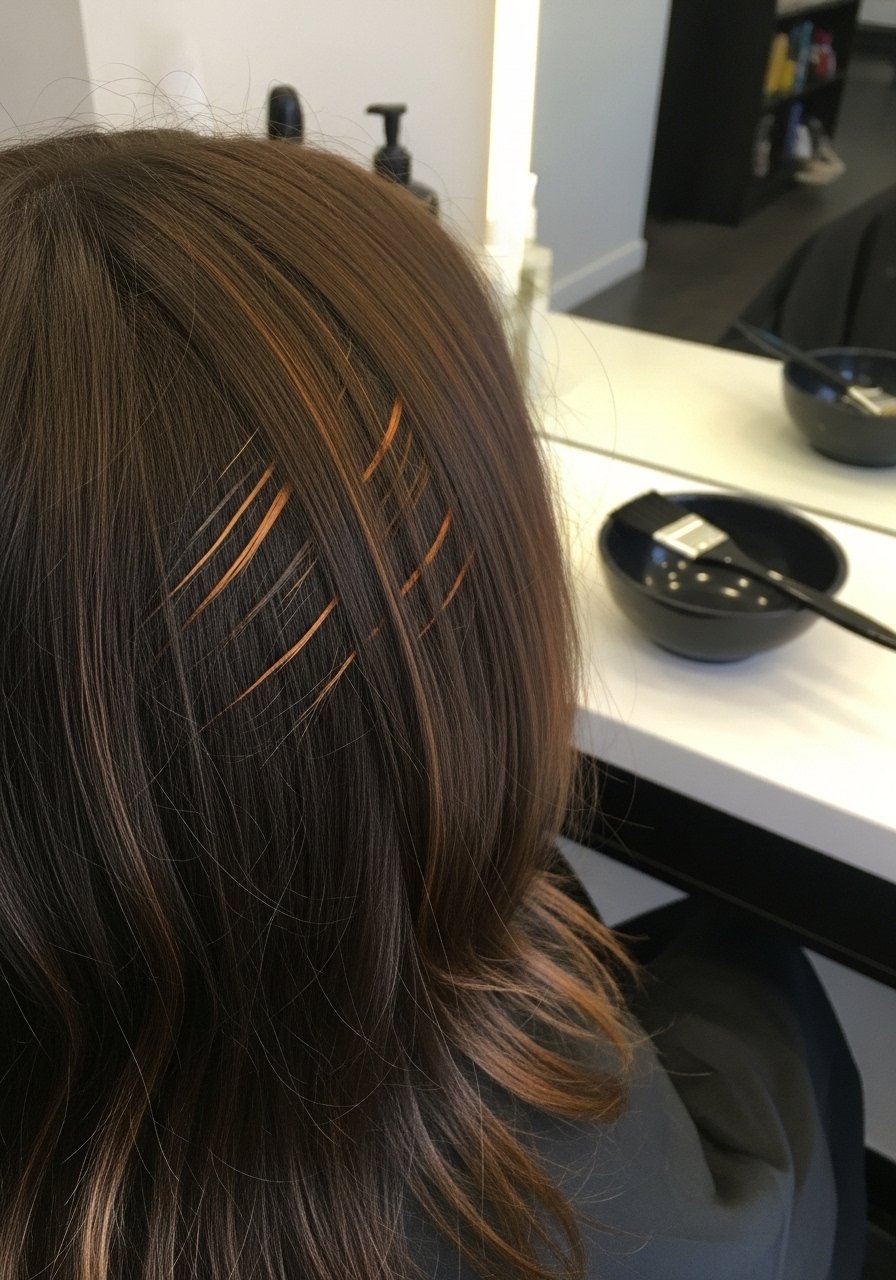
2. Warm Chestnut With Subtle Cinnamon Glow
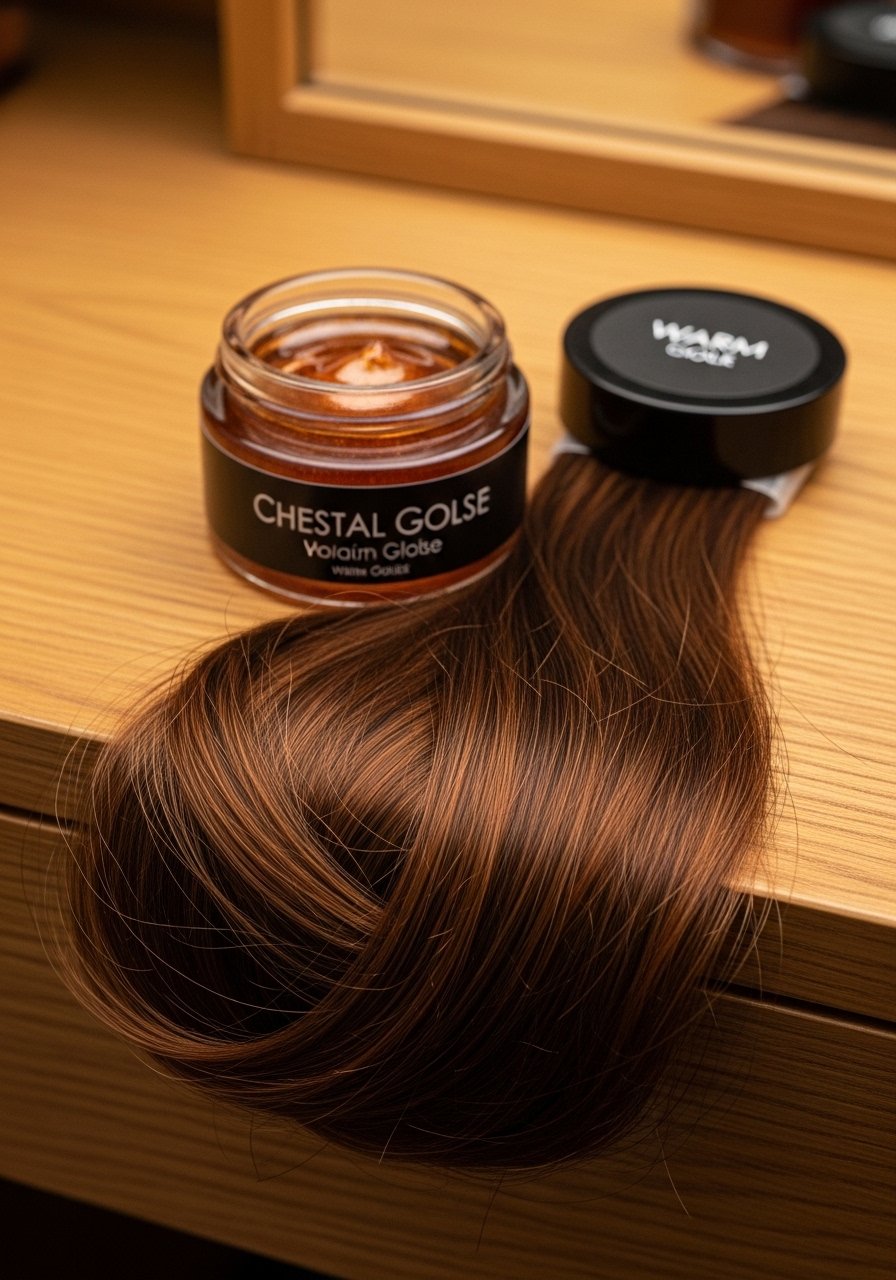
I used warm chestnut when my skin felt dull from winter. The brown with low-key cinnamon highlights warmed my face without overwhelming my paleness.
It reads natural and cozy. My hair looked shinier and my complexion slightly brighter. I learned that too much copper can look like a signal flare on very pale skin, so I keep the cinnamon subtle.
This is great if you want warmth but still want to look natural.
What You’ll Need for This Routine
- Warm chestnut hair dye
- Color-depositing brown gloss
- Deep conditioning hair mask for color-treated hair
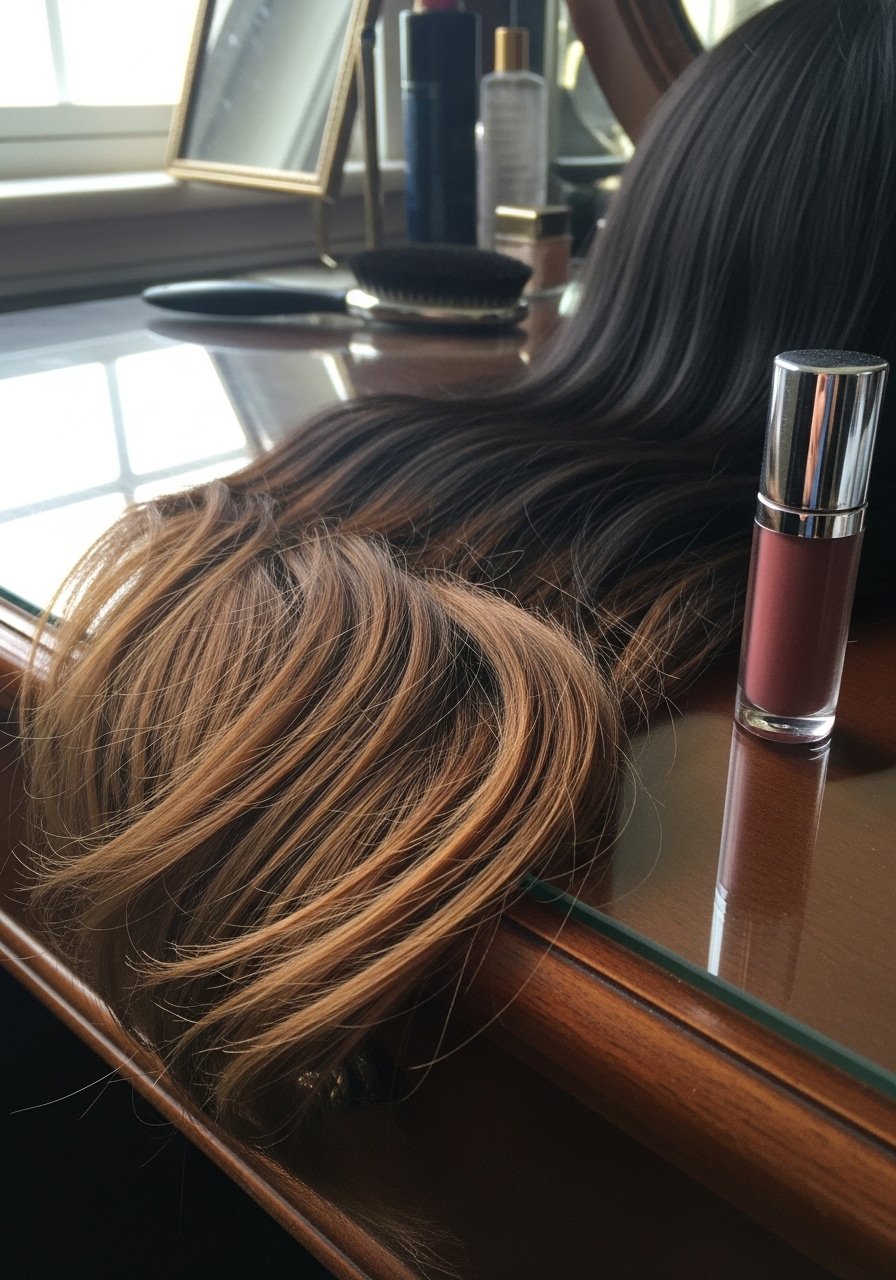
3. Chocolate Brown With Soft Caramel Babylights
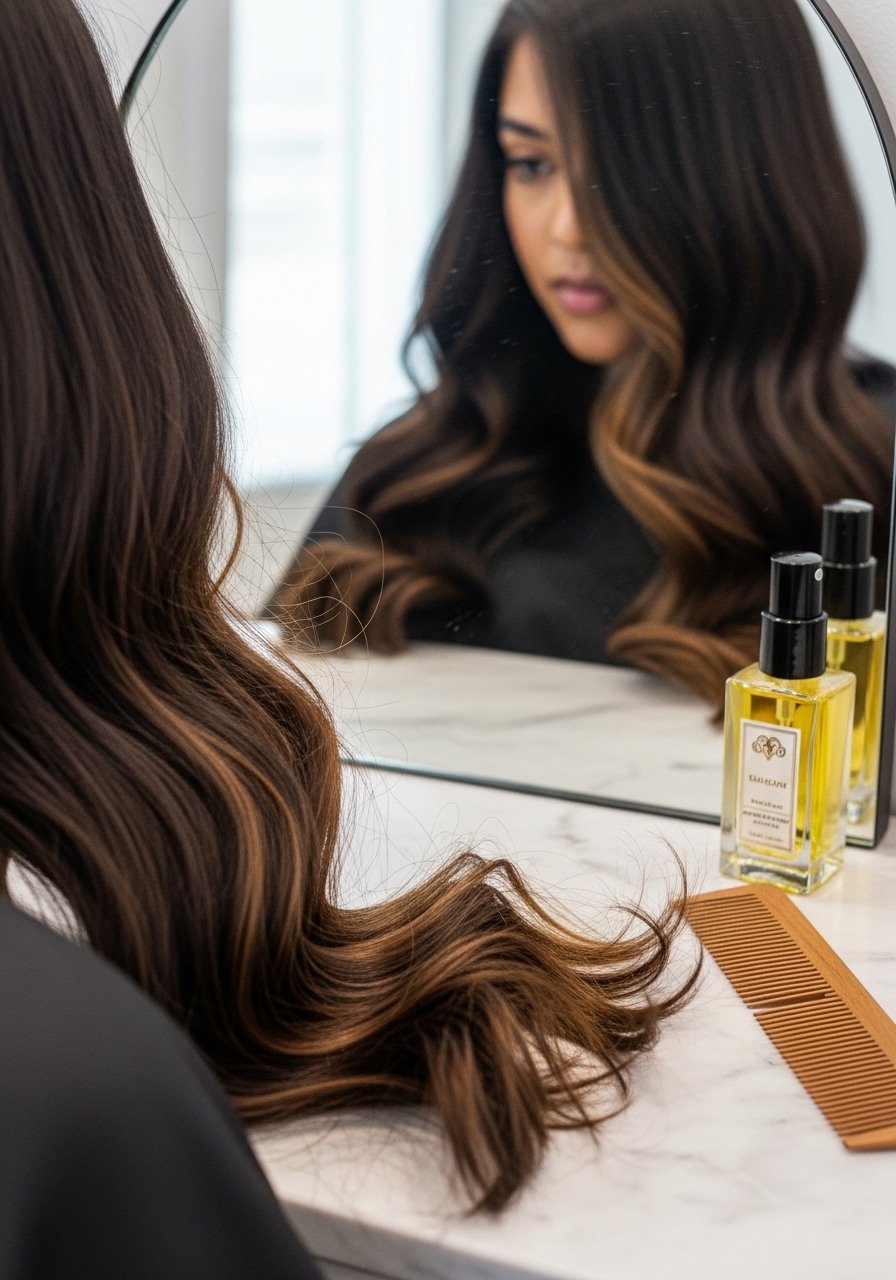
Chocolate brown plus soft caramel babylights is my go-to for dimension without obvious highlights. The caramel catches light near my cheekbones and makes my skin glow.
I noticed those tiny babylights prevent a flat, muddy look that can happen with one-note brown. I used to overdo highlights and end up brassy; now I ask for thin, face-framing pieces.
If you want depth that still reads natural, this mix is reliable.
What You’ll Need for This Routine
4. Deep Espresso With Cool Blue-Black Reflection
I tried deep espresso when I wanted richness without red. The blue-black reflection keeps the brown very deep but not harsh on my pale skin.
My face gained contrast and my features looked sharper. Warning: on windy days, the color reads almost black, so expect variation. I had to adjust my eyebrow tint slightly to match.
This suits pale skin that handles contrast well and likes a polished look.
What You’ll Need for This Routine
5. Mocha Brown With Cool Ash Highlights
I used mocha brown with ash highlights to avoid brass while keeping warmth. The ash lines cool down any unwanted orange tones and make the color look more sophisticated.
My skin looked more even because the ash reduced warm reflections. I once skipped the ash toner and saw the warmth peek through—lesson learned: balancing pigments matters.
This is an easy way to keep warmth but avoid looking too golden.
What You’ll Need for This Routine
6. Cinnamon-Rich Brunette for Neutral-Warm Pale Skin
Cinnamon-rich brunette added a natural warmth that matched my neutral-warm skin days. It didn’t compete with freckles and actually brought them forward in a flattering way.
I found that a light gloss keeps the cinnamon from fading into orange. I once let a cheap dye sit too long and ended up overly bright—don’t repeat that.
If you have freckles or warm undertones, this color feels like a subtle complement.
What You’ll Need for This Routine
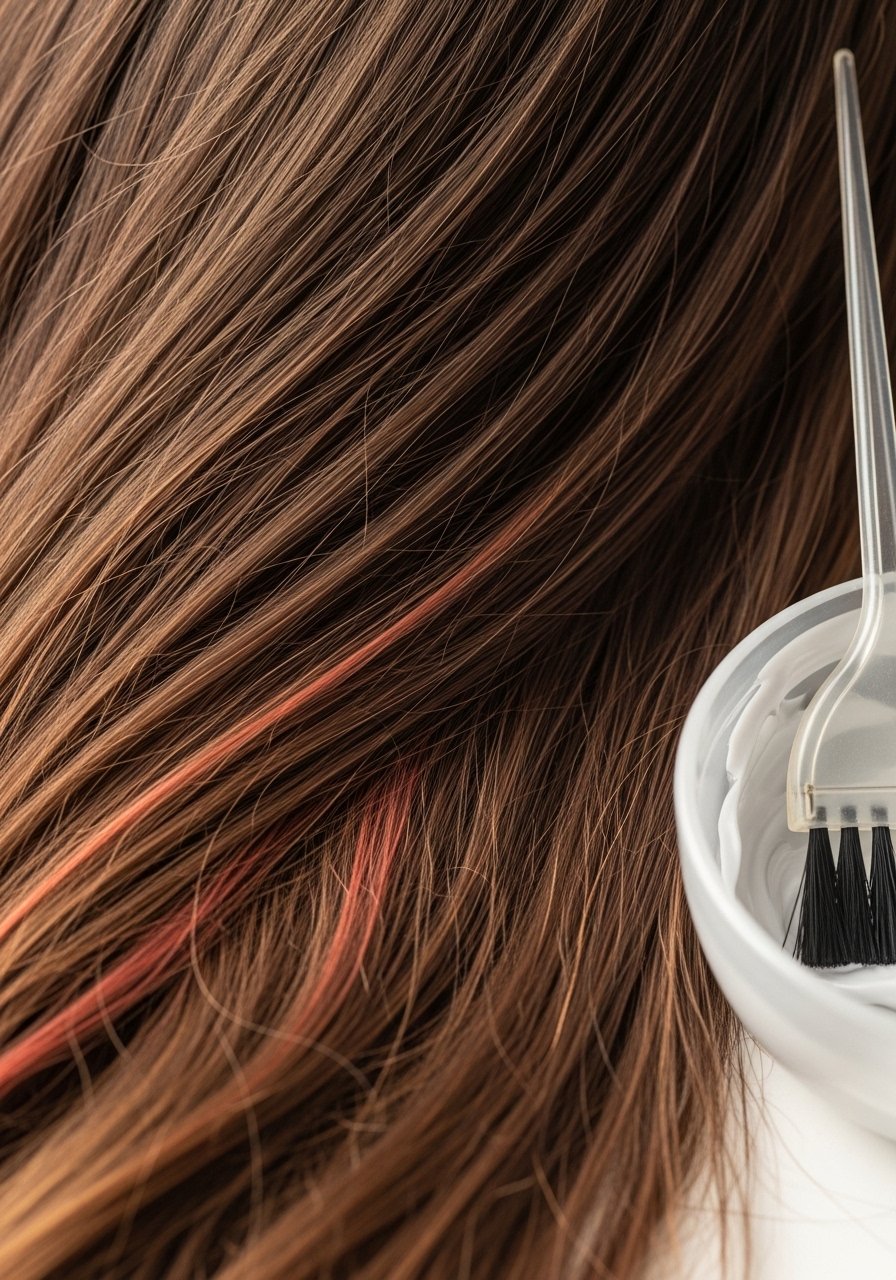
7. Subtle Copper Brunette for a Warm Pop
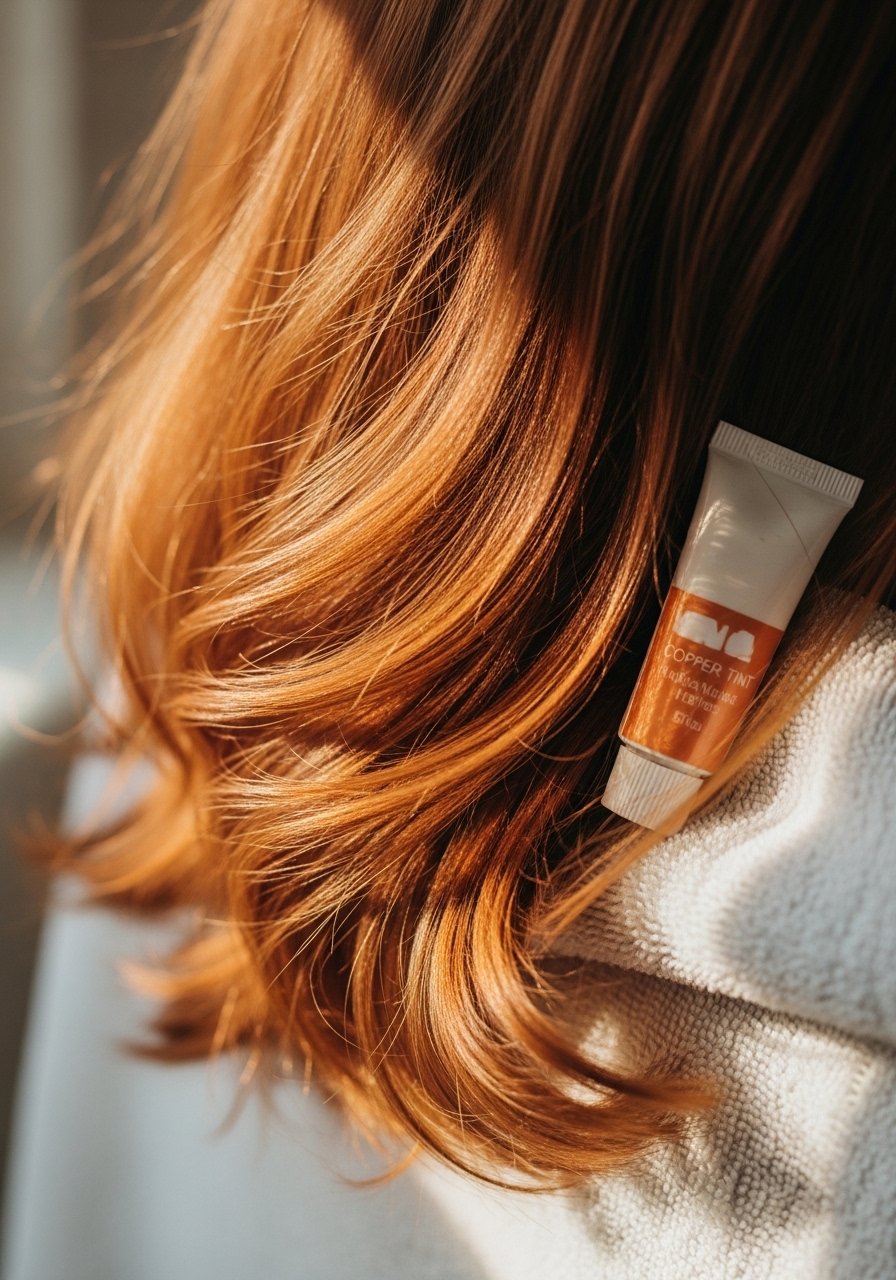
I add subtle copper to my brunette when I want a hint of brightness without full red. The copper reflects warmly on pale skin and feels lively.
I learned to keep it restrained—too much copper reads fake fast. A few face-framing strands did the trick and required minimal upkeep.
This is a good option if you want warmth but not full-on red hair.
What You’ll Need for This Routine
8. Honey Brunette for Soft Warmth
Honey brunette made my pale skin look sun-kissed without actually tanning. The golden brown warmth sits softly around my face and lifts my complexion.
I used a glossing glaze to keep the tone soft. I once went too bright and it read too yellow under indoor lighting—so test in different lights.
This is an approachable warm shade that’s easy to maintain.
What You’ll Need for This Routine
9. Neutral Natural Brunette for Low Maintenance
I chose neutral natural brunette when I wanted something that ages well and needs little upkeep. It’s balanced—neither too warm nor too cool—and keeps my complexion honest.
My hair felt healthier because I wasn’t constantly recoloring. I did make one small mistake early on: I picked the wrong shade depth and had to go darker. Learn from me—test a strand first.
If you want a practical, understated look, neutral natural is a safe bet.
What You’ll Need for This Routine
10. Mushroom Brunette for Soft, Muted Dimension
Mushroom brunette was my surprise favorite. The muted, slightly gray-brown tone made pale skin look fresh instead of washed-out.
It hides brass and gives a fashion-forward edge without screaming for attention. I had to tone it occasionally to keep it from warming up. Small maintenance, big payoff.
This suits people who like a modern, understated look.
What You’ll Need for This Routine
11. Smoky Brunette With Soft Face-Framing Lowlights
I added smoky lowlights around my face to create soft contrast without harsh lines. The result was depth that didn’t scream “highlight.”
My features looked cleaner and my skin appeared more even. I learned to keep lowlights thin and close to the face; thick sections read heavy.
This is good if you want subtle sculpting from color.
What You’ll Need for This Routine
12. Rose-Brown for a Soft, Warm Tint
I tried rose-brown when I wanted a hint of pink in my brunette. It gave me a gentle warmth that looked intentional and not too red.
My skin took on a healthier tone. The trick: keep the rose subtle. I once went heavier and it leaned red under certain lights.
Try this if you like warmth with a soft, modern twist.
What You’ll Need for This Routine
13. Amber Brunette for Golden Shine
Amber brunette added golden shine that made my pale skin look lively. It’s brighter than honey but still wearable if kept glossy.
I used a semi-permanent glaze to avoid long-term commitment. I once left a semi-permanent on overnight—don’t do that; it intensified beyond what I wanted.
This is a good seasonal pick if you want warmer, sunlit tones.
What You’ll Need for This Routine
14. Dimensional Brunette With Sombre (Soft Ombre)
I did a sombre where the roots stayed deep and ends softened into lighter brown. The soft gradient reads natural on pale skin and adds movement.
My hair felt lighter at the ends and framed my neck better. I learned not to make the gradient too sharp—subtlety keeps it flattering.
This works if you want low-maintenance dimension.
What You’ll Need for This Routine
15. Coffee Brown With Soft Red Undertone
Coffee brown with a soft red undertone gave my pale skin a healthy flush without full red commitment. It read warm in sun and deep indoors.
I noticed my skin looked less gray and more lively. I kept the red subtle; too much felt overwhelming. I used a depositing mask to maintain tone.
Good when you want a warm nudge toward red without heavy upkeep.
What You’ll Need for This Routine
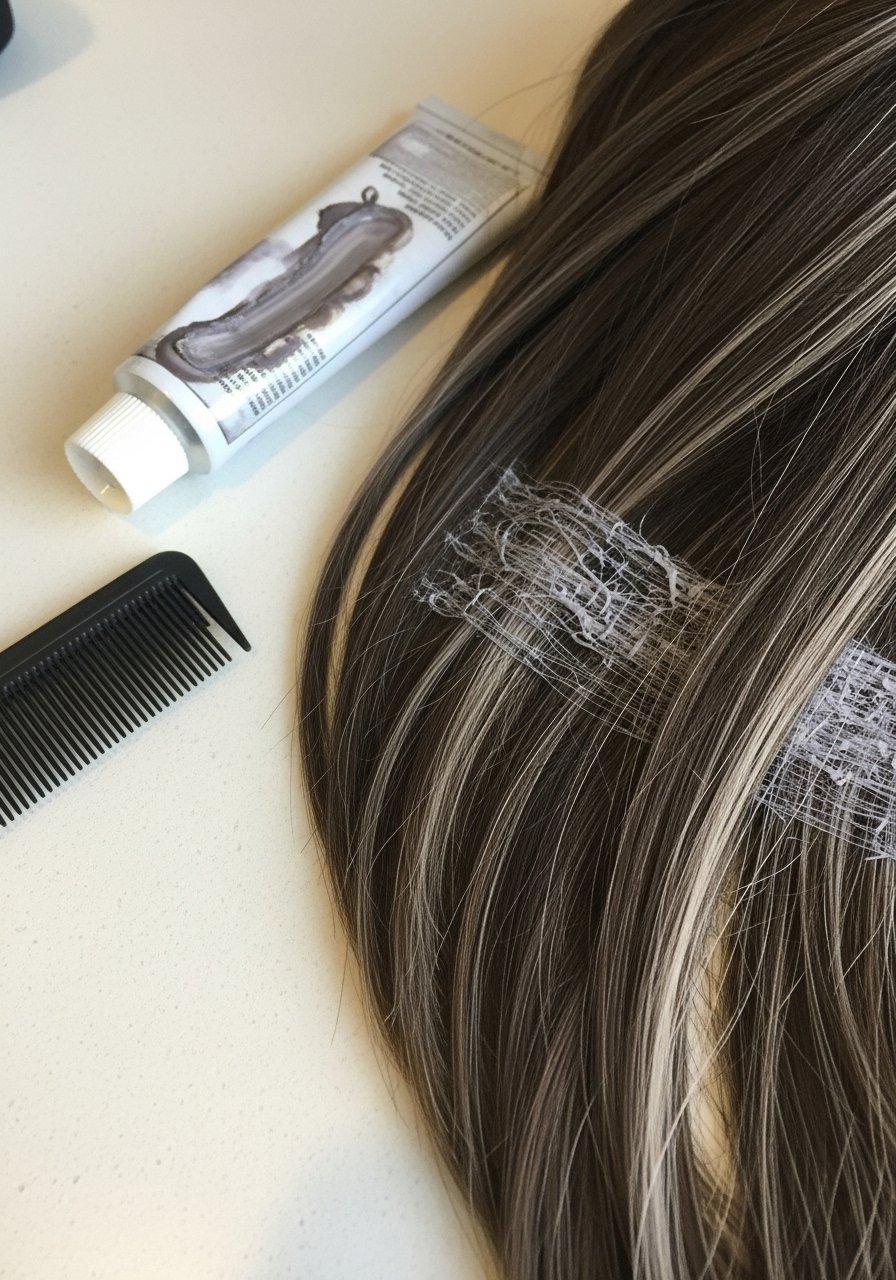
16. Icy Brown Highlights for Cool Pale Skin
I introduced icy brown highlights to neutralize any underlying warmth in my skin. They made my complexion look clearer and more porcelain-like.
The highlights are fine and strategic—too many make you look washed out. I once hit a handful of strands too light and had to tone them back.
This is for cool-leaning pale skin that likes crisp contrast.
What You’ll Need for This Routine
17. Truffle Brown for Deep, Neutral Richness
Truffle brown felt like a grown-up, neutral richness. It’s deep but not black, and it balances pale skin without making it look stark.
I liked how easy it was to style—my features read clearer. My one insight: trim often to keep the color looking fresh; split ends dull the richness.
This is a good choice if you want polished depth.
What You’ll Need for This Routine
18. Milk Chocolate Brown for Soft, Comfortable Color
Milk chocolate brown is soft and cozy. It brightened my pale skin gently and didn’t demand much maintenance.
My hair looked glossy and healthy. I learned to avoid heavy styling products that weigh down the softness.
This is a relaxed, approachable brunette that suits everyday life.
What You’ll Need for This Routine
19. Walnut Brown With Subtle Warm Highlights
Walnut brown with subtle warm highlights gave me natural-looking depth that lifted my face. The highlights are gentle—just enough to catch light.
I noticed my skin looked more three-dimensional and less flat. I used a demi-gloss to keep tones from shifting.
This is an easy way to add dimension without drama.
What You’ll Need for This Routine
20. Soft Black-Brown for Higher Contrast
I picked soft black-brown when I wanted contrast without full black. It framed my face and made my pale skin pop in a clean way.
My features looked defined; I had to soften my brows a bit so they matched. I also learned that black-brown needs maintenance to avoid noticeable root lines.
This is for when you want a sharper look that’s still brown.
What You’ll Need for This Routine
21. Caramel Balayage on Dark Brunette for Light Dimension
I added caramel balayage to dark brunette hair for low-commitment brightness. The painted pieces looked natural and softened my face.
Maintenance was low—just occasional glosses. I once requested too many babylights and ended up with a busier look than I wanted; keep pieces few and strategic.
This gives a soft, sun-kissed effect without heavy upkeep.
What You’ll Need for This Routine
22. Subtle Red-Brown for a Natural Flush
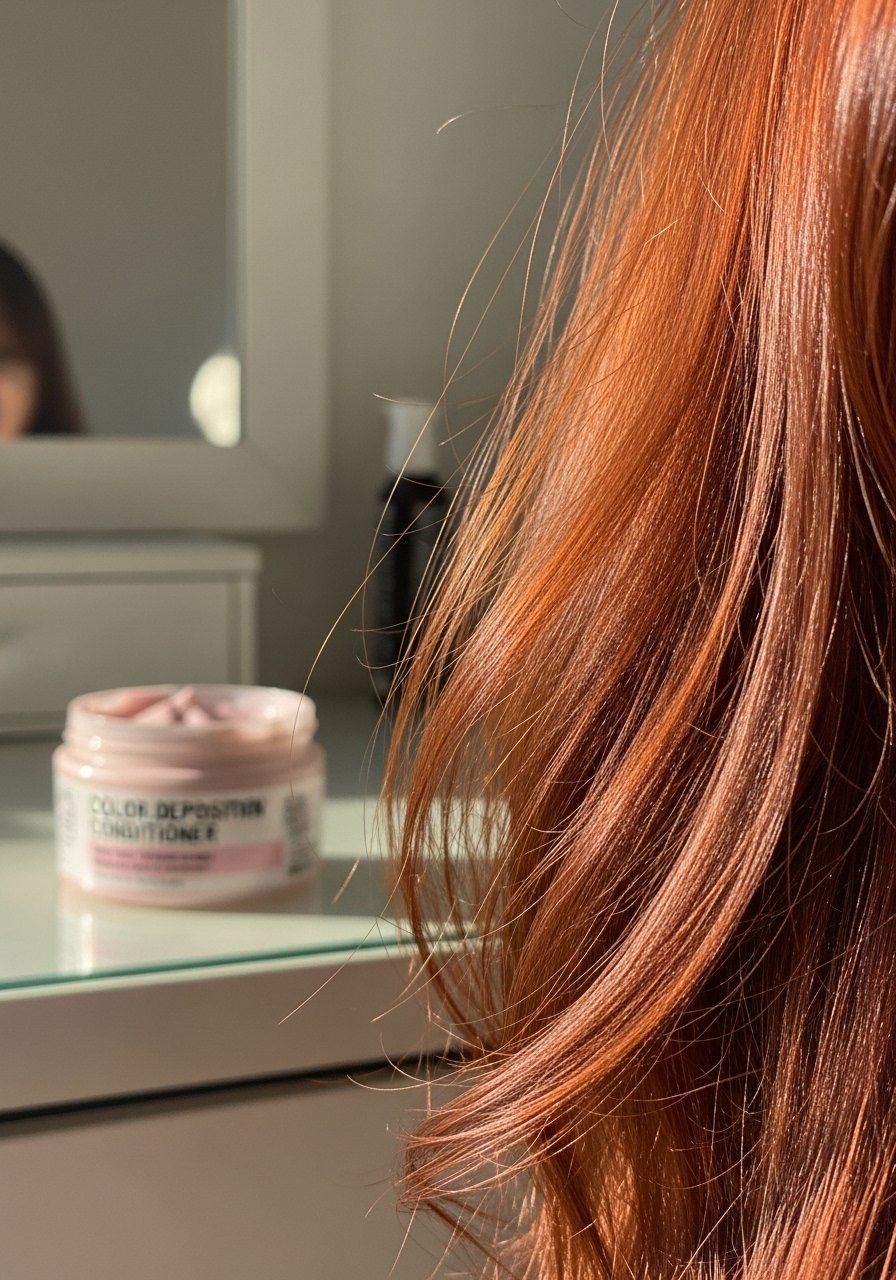
I used subtle red-brown for a gentle flush that felt closer to my natural warmth. It made my pale skin look lively without strong red tones.
I maintain it with a color-depositing conditioner. My only tip: don’t go too red if you prefer subtlety—less is more.
This is a great way to test red without full commitment.
What You’ll Need for This Routine
Final Thoughts
You don’t need to try everything at once. Pick one shade that answers what you want: warmth, coolness, or dimension.
I tested these on pale skin, and small tweaks made big differences. Start simple, watch tones in natural light, and adjust slowly.
Leave a Reply