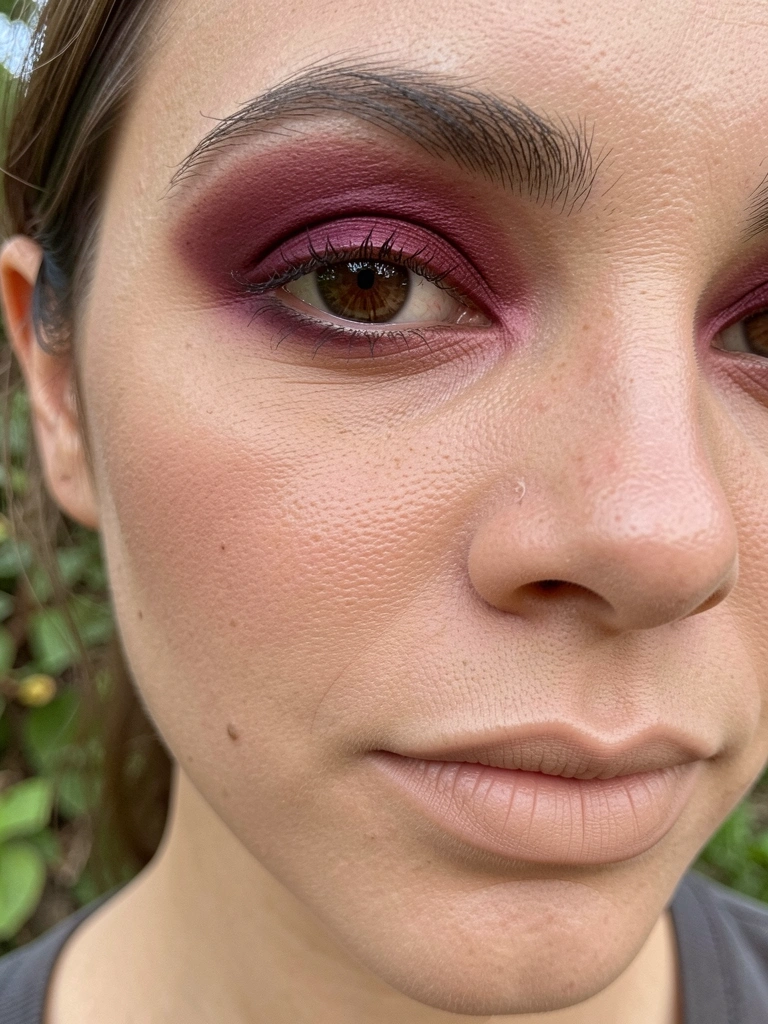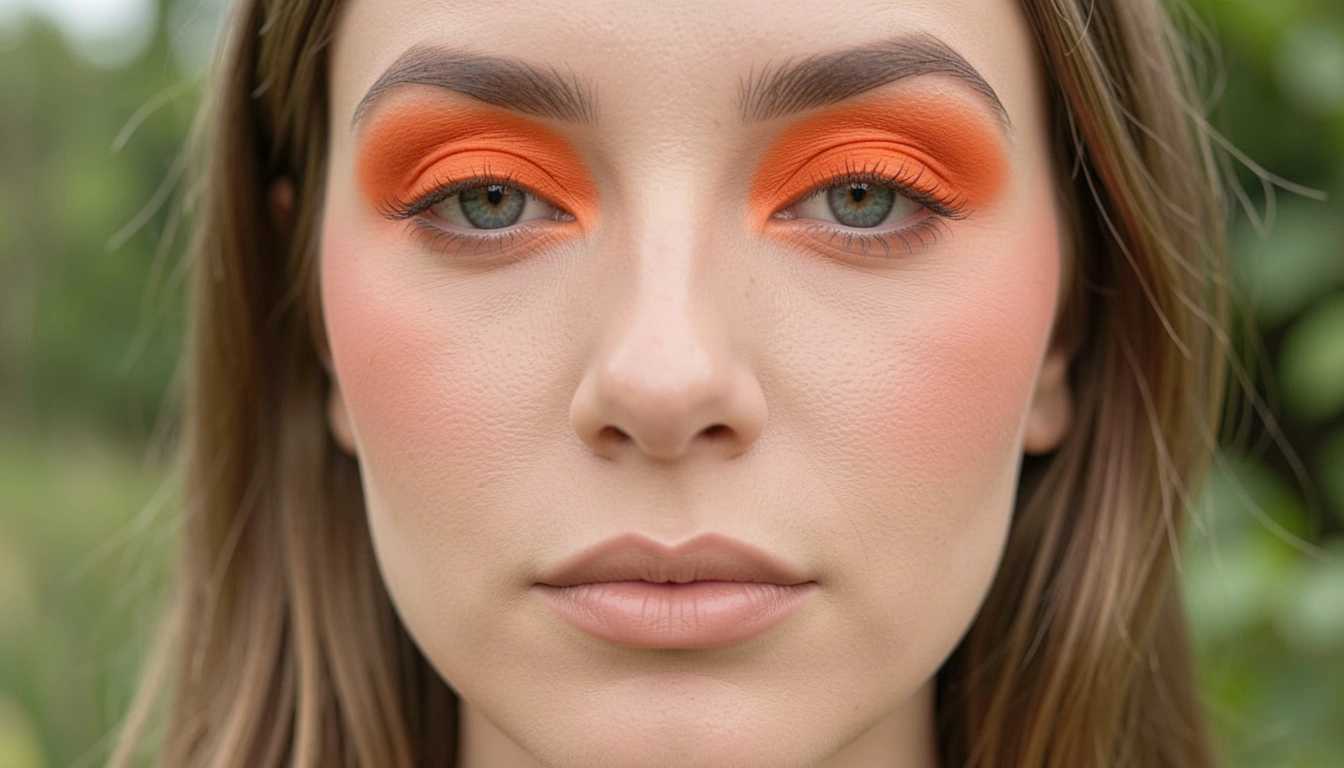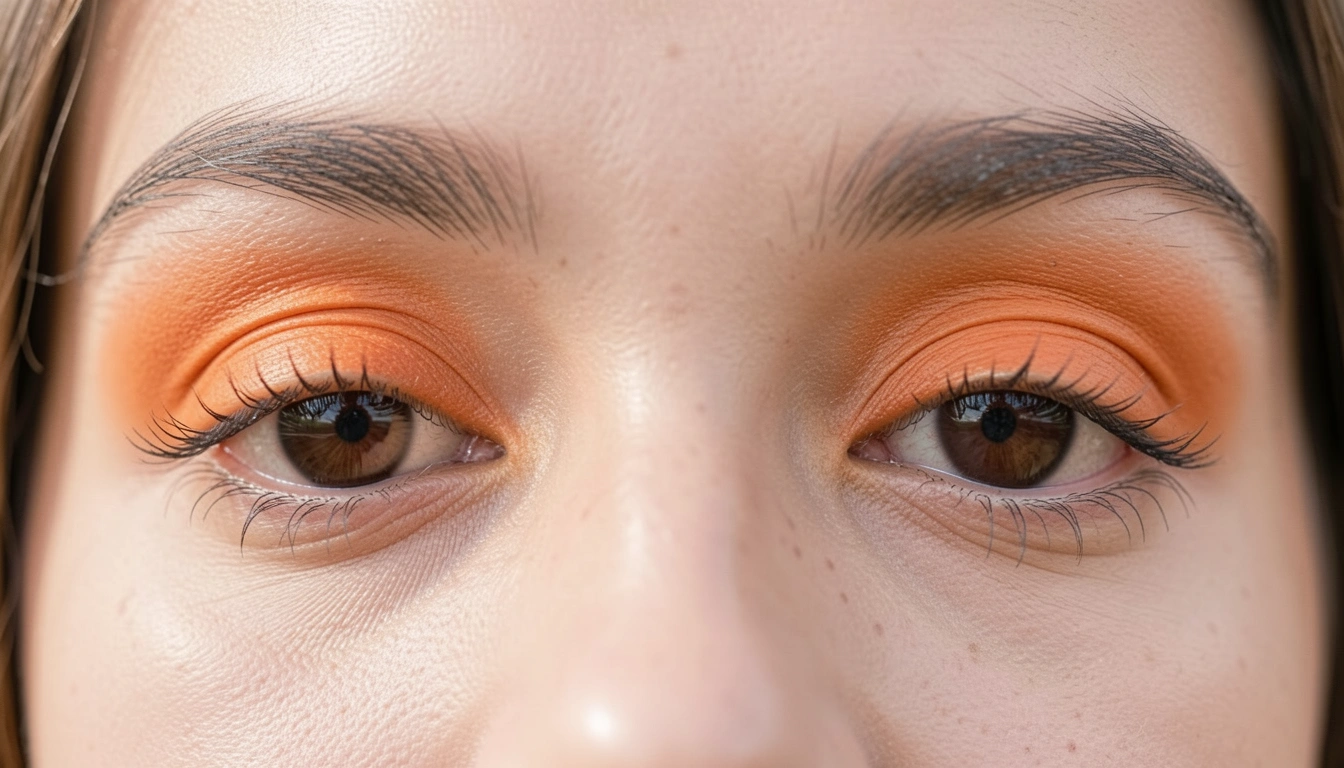
I'd smear on black liner, add red lips, and stare back at a face that looked angry, not moody. My skin clashed, eyes drowned in shadow. Goth makeup pulled at me, but mine never settled right—too heavy one side, washed out the other.
It felt off, like an outfit with uneven hems.
One night, I stripped it back. Started with balance first.
How To Do Goth Makeup
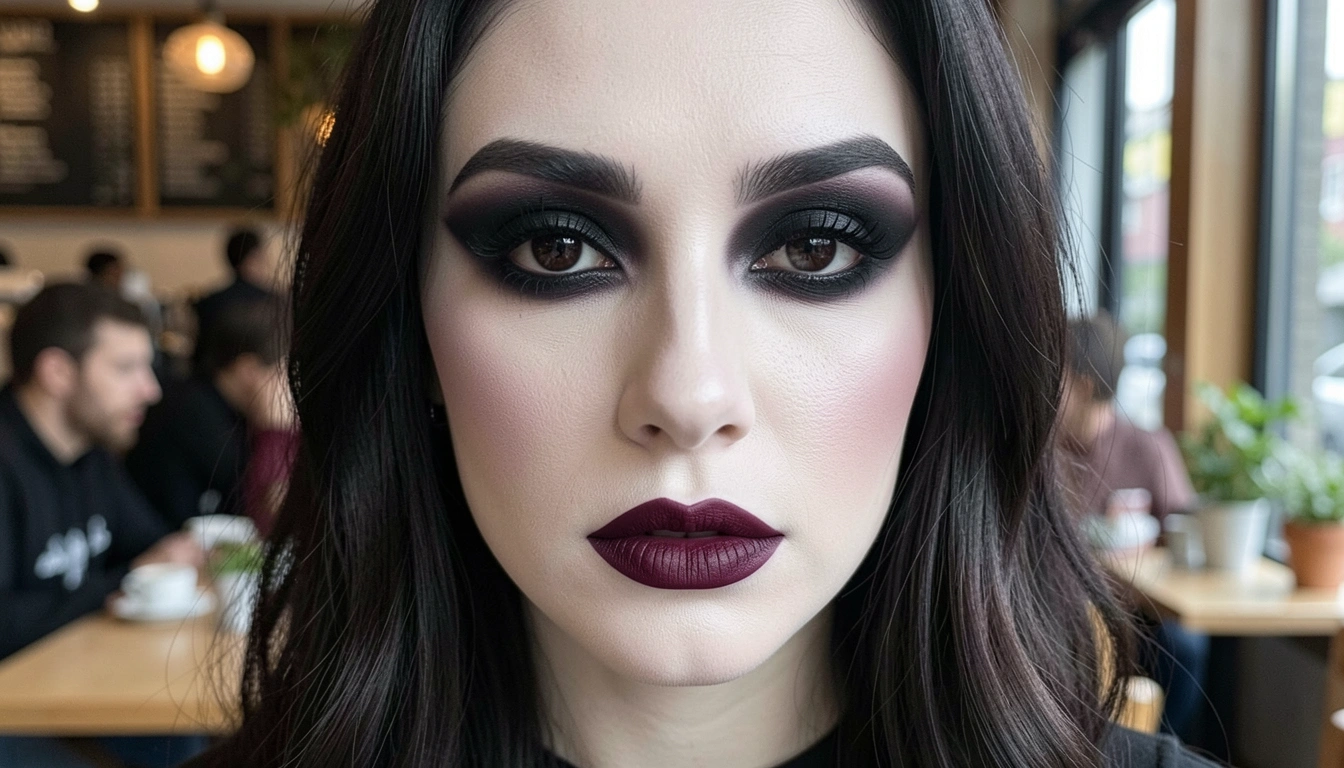
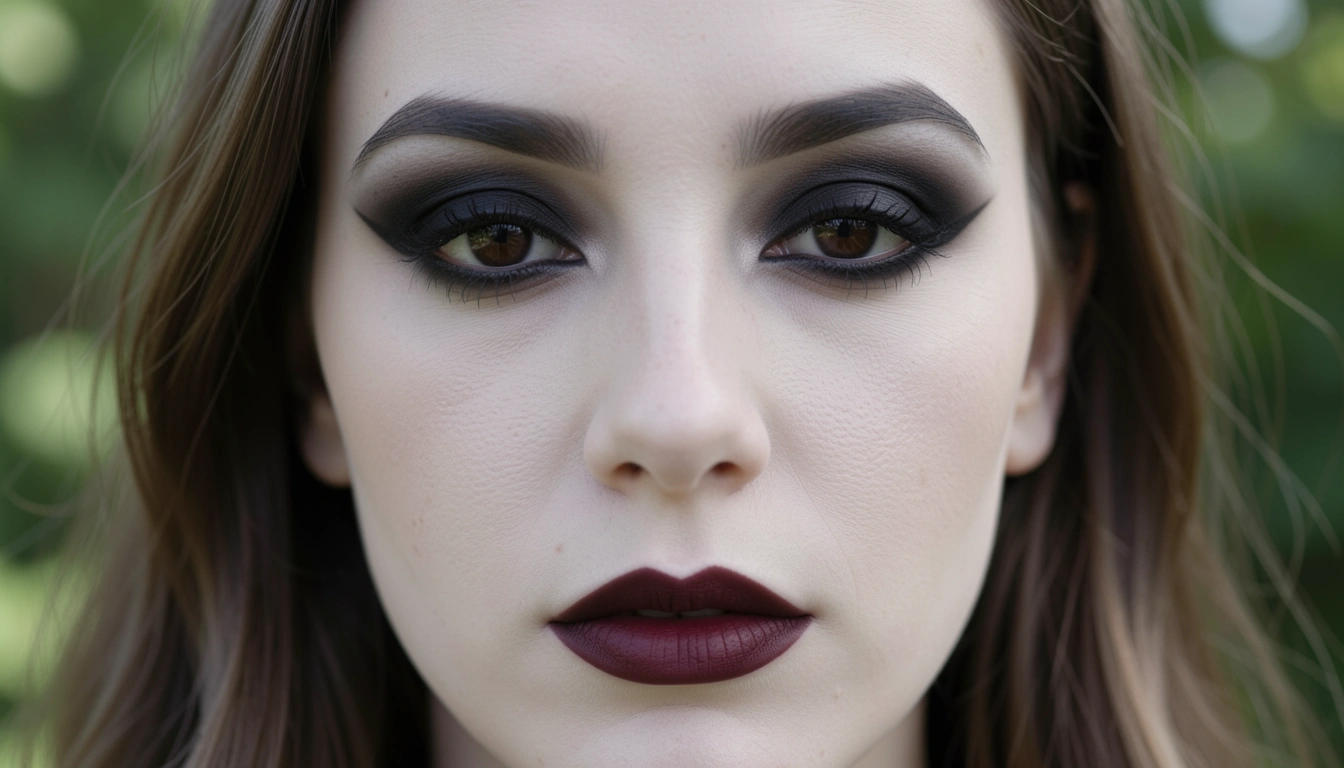
This guide walks you through my go-to goth makeup routine. You'll end up with a face that's pale and sharp, eyes deep-set, lips bold—but wearable all day. It holds without cracking. No harsh edges.
What You’ll Need
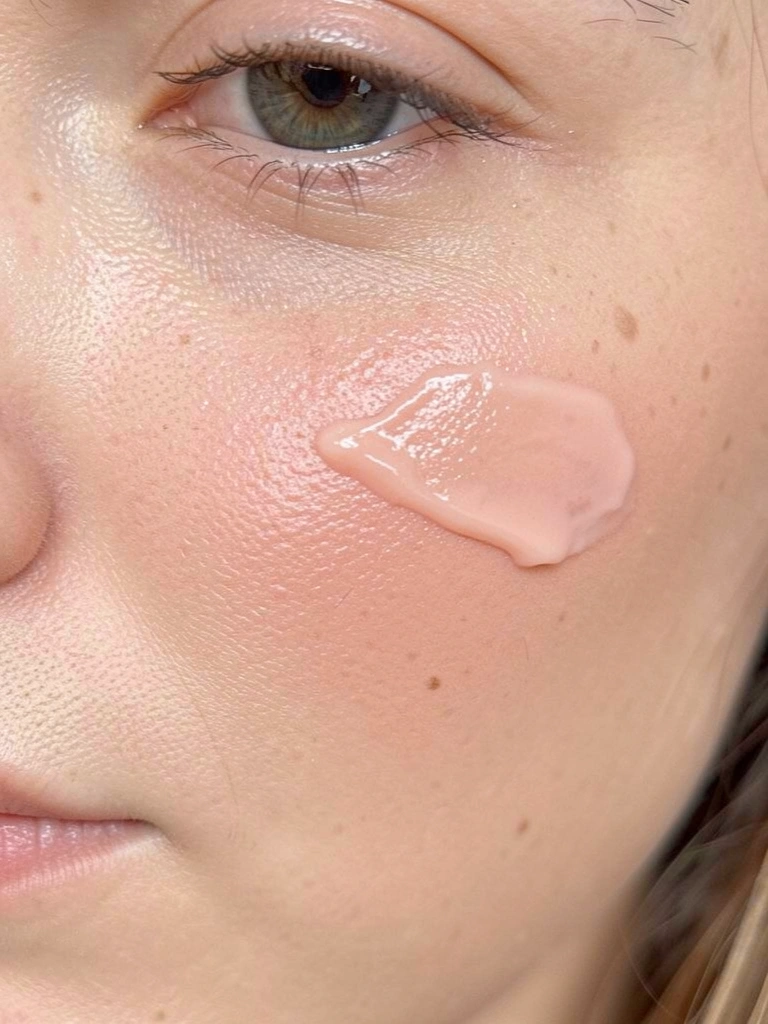
- Creamy pale foundation for even goth base
- Cool-toned black eyeshadow palette with matte shades
- Precise liquid black eyeliner pen
- Volumizing black mascara
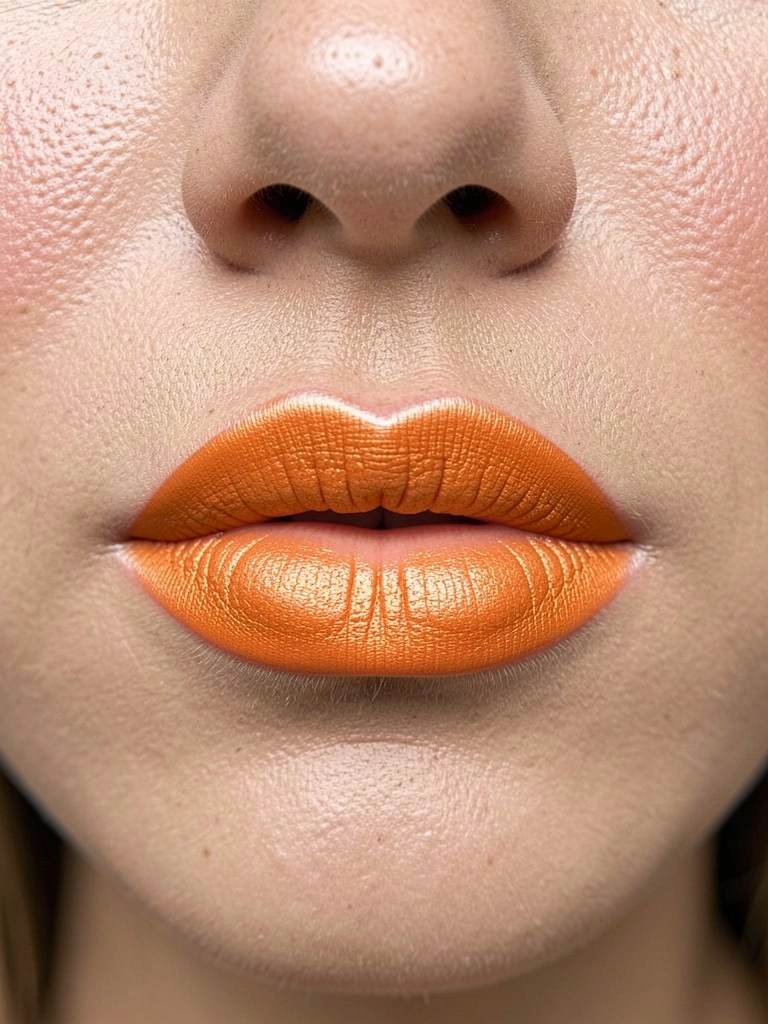
- Matte deep burgundy lipstick
- Translucent setting powder
- Thin angled brush for edges
- Black brow pencil
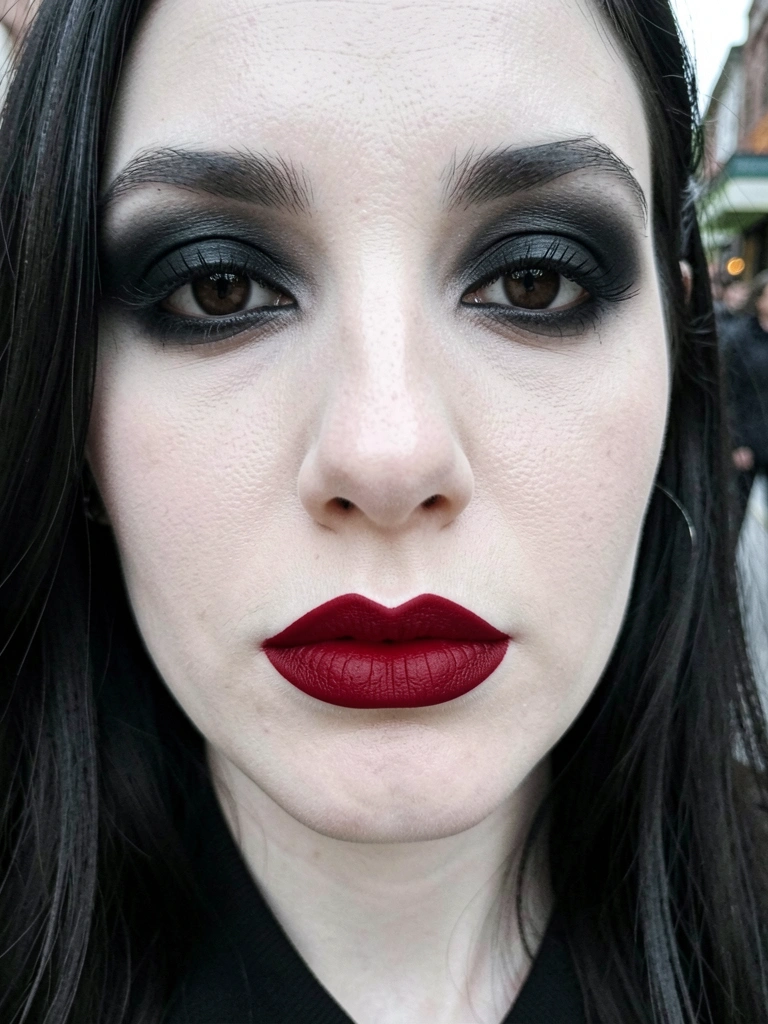
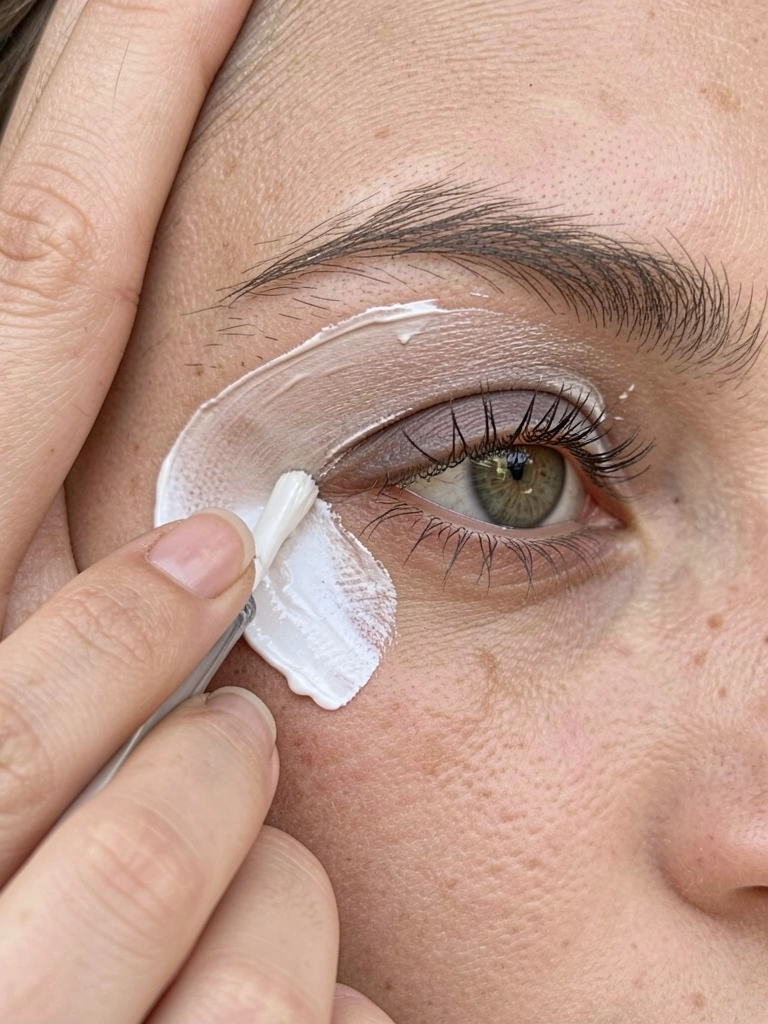
Step 1: Build a Pale, Even Base
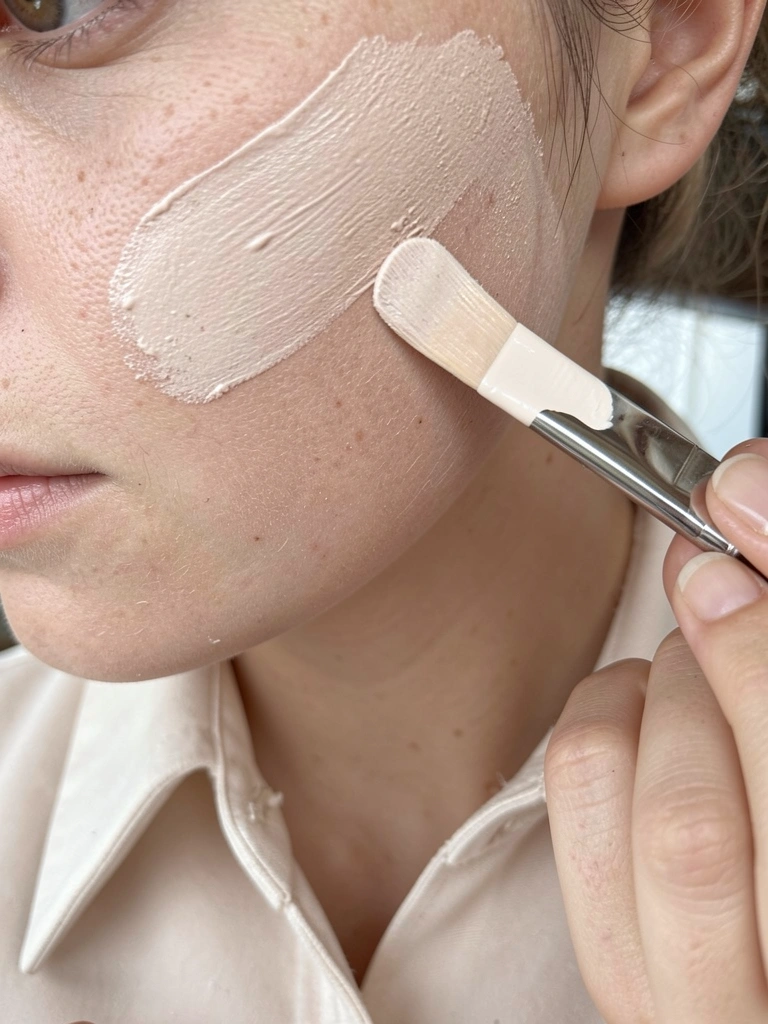
I start with the creamy pale foundation. Dot it on cheeks, forehead, chin—blend with fingers for that sheer veil. Why? It mutes my warm skin tones without graying out. The face shifts even, like a blank canvas that won't fight the darks later.
People miss how thin this layer sits. It breathes, lets natural flush peek if you want. Avoid thick pats—they cake by lunch, pulling focus wrong.
Now my proportions feel right: skin recedes, eyes and lips step forward.
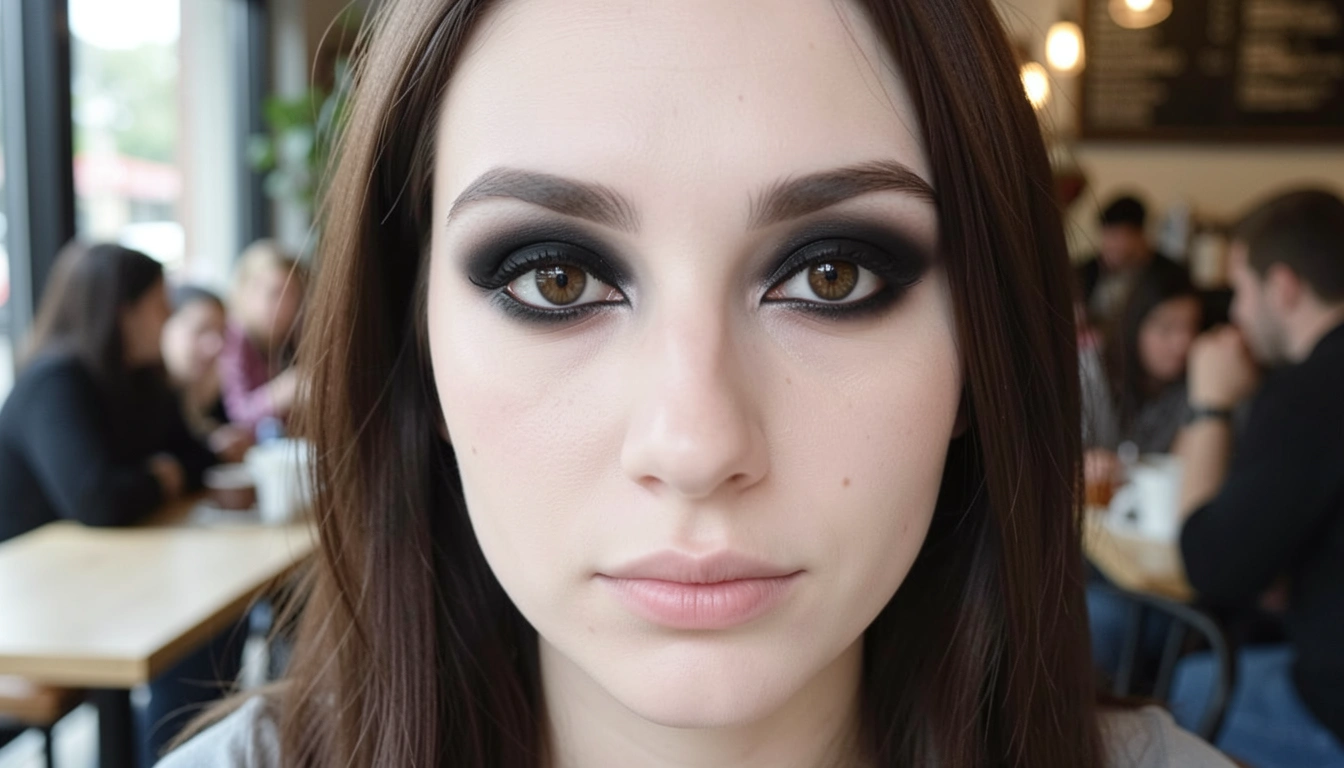
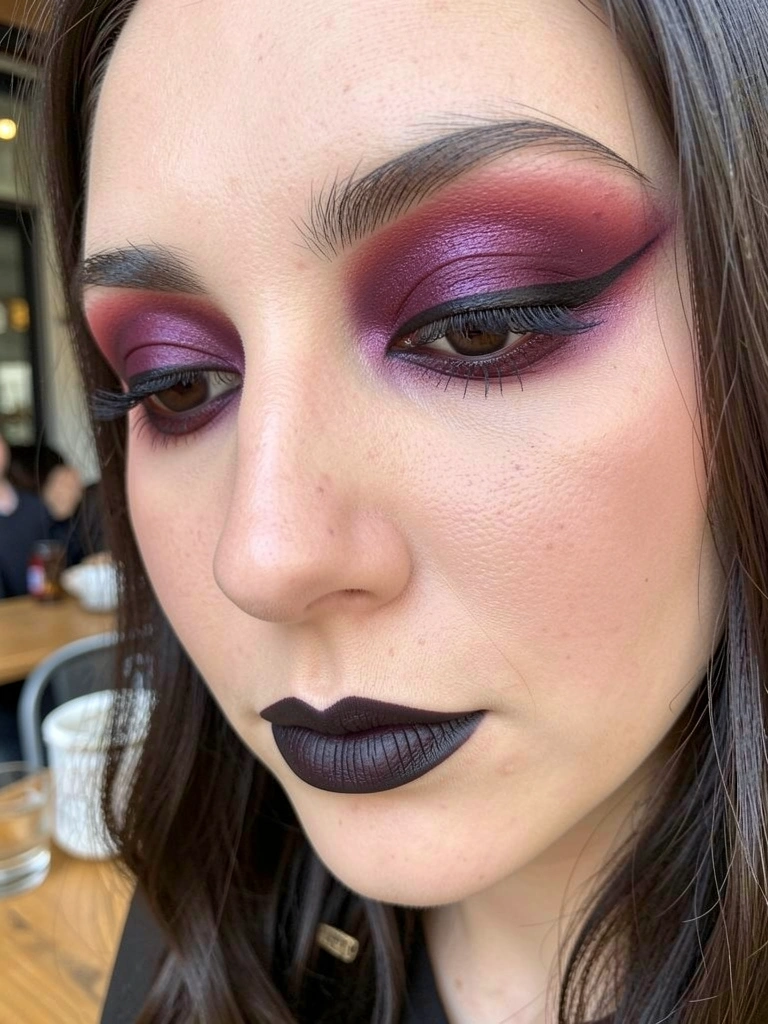
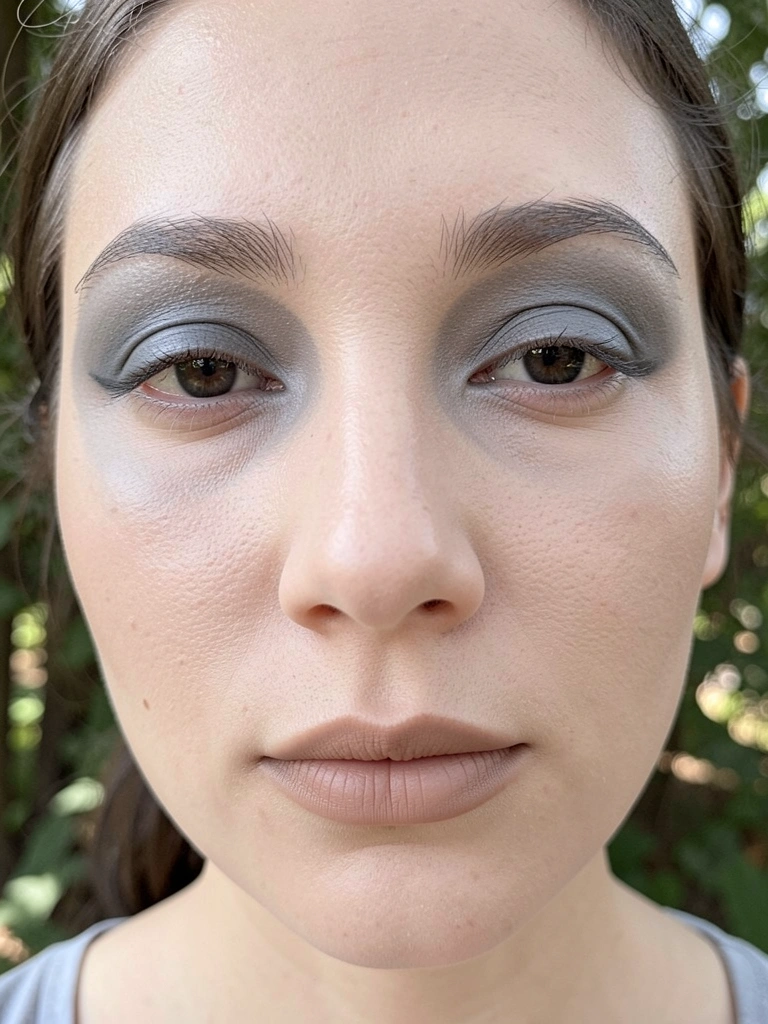
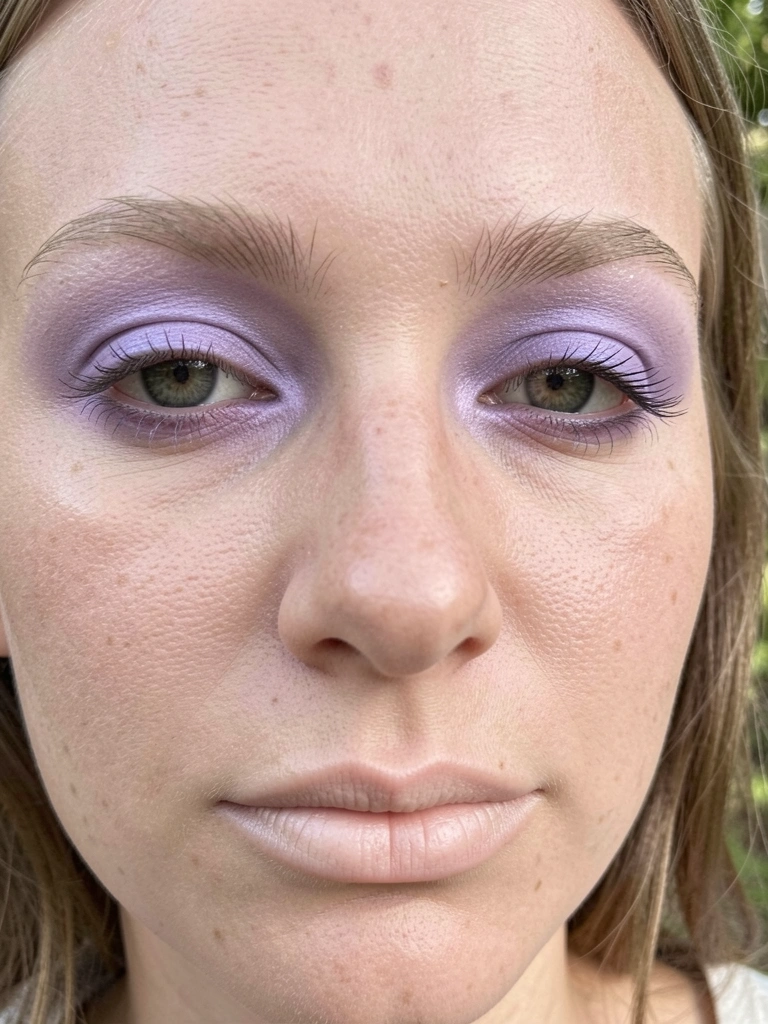
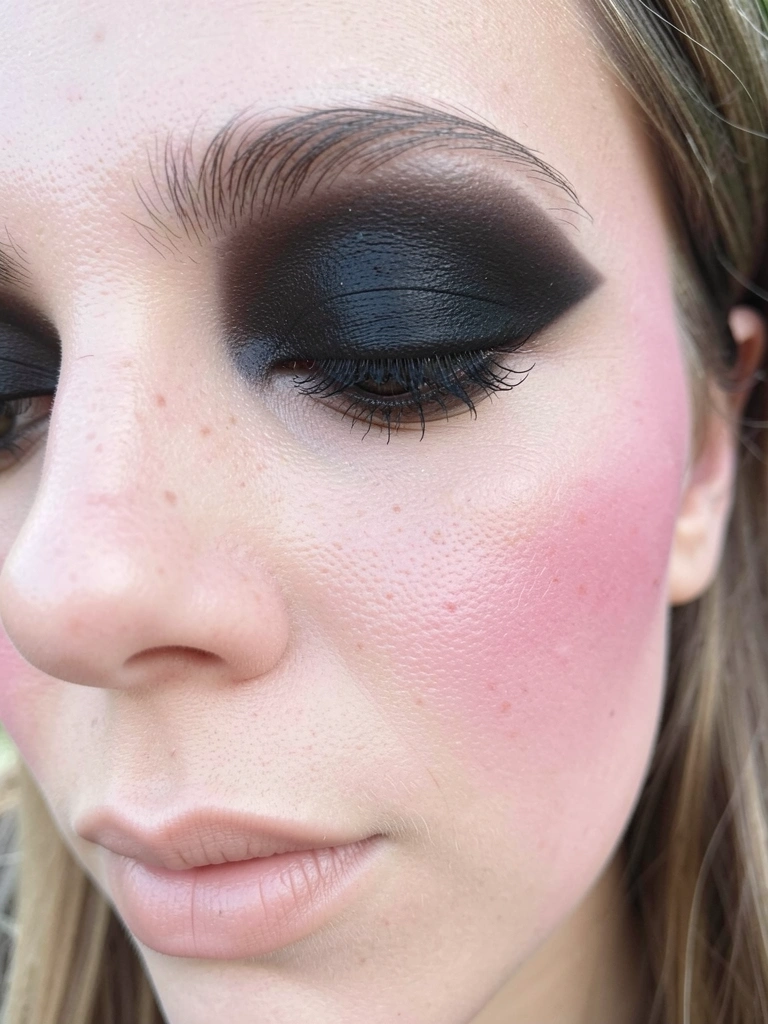
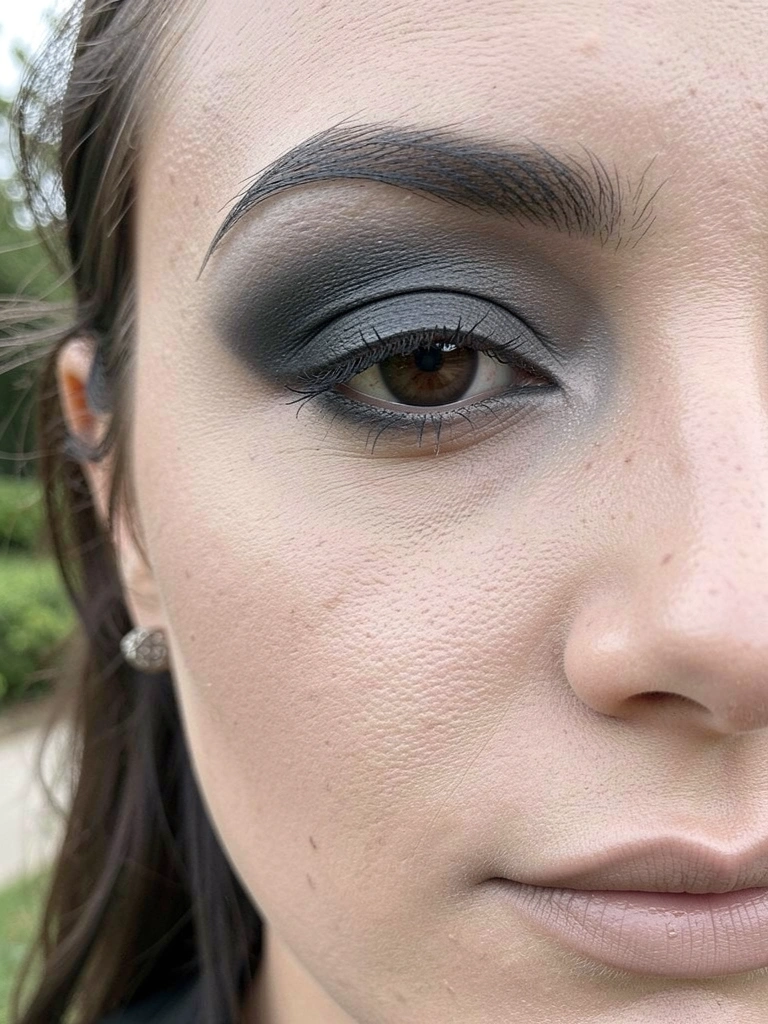
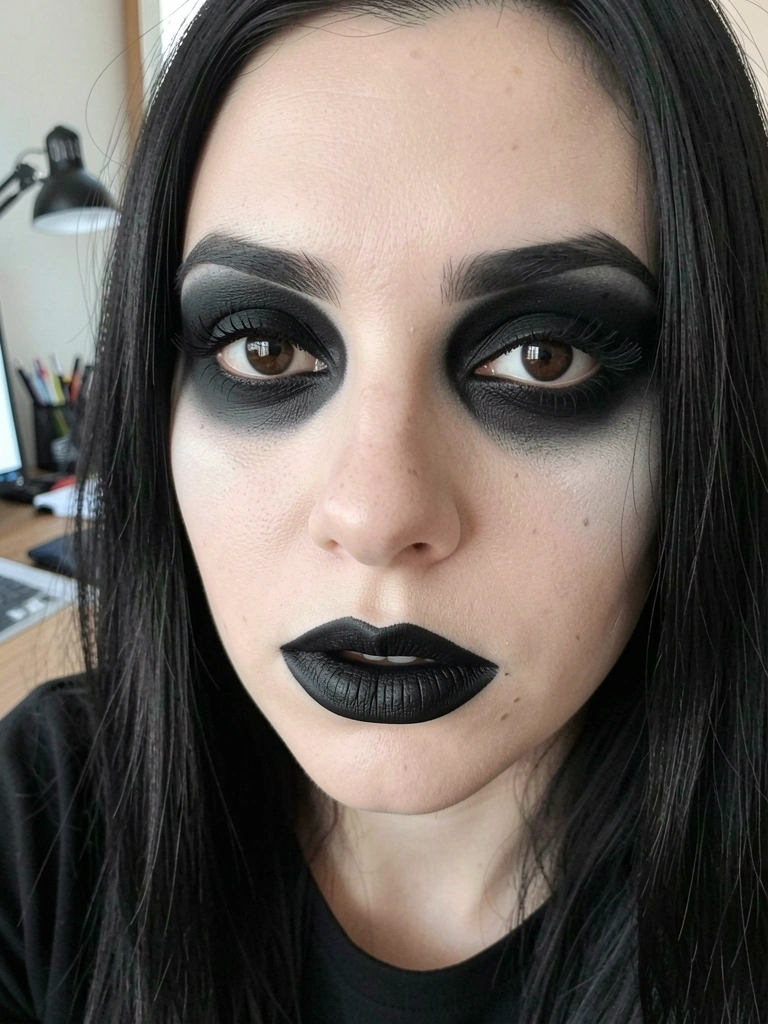
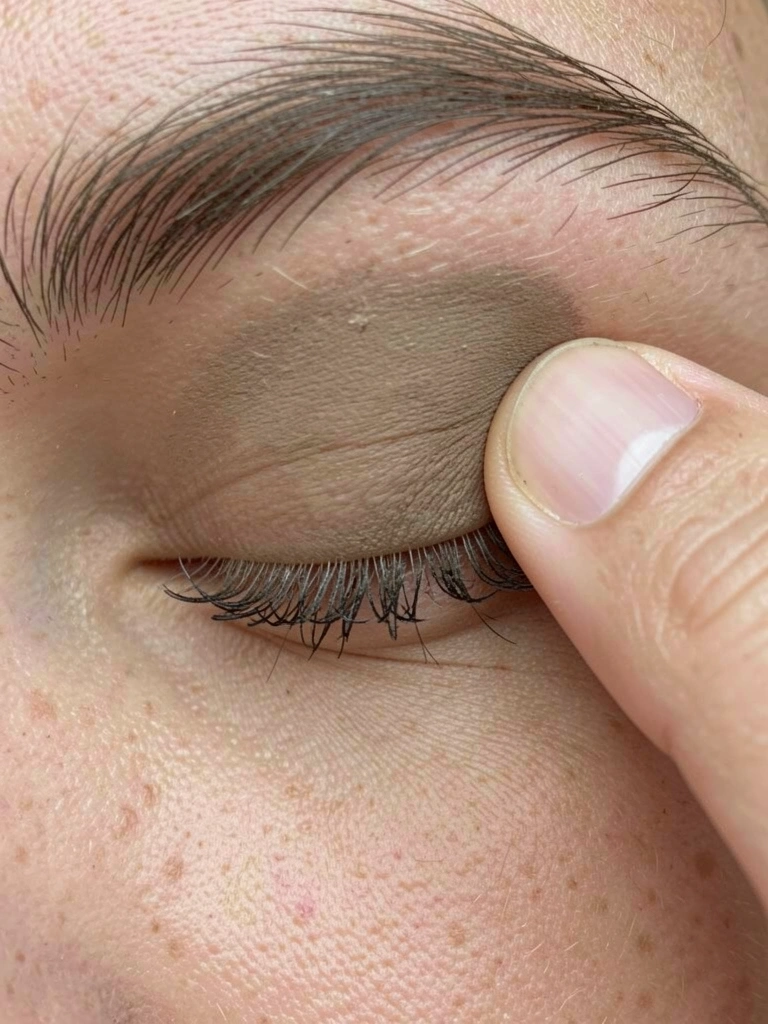
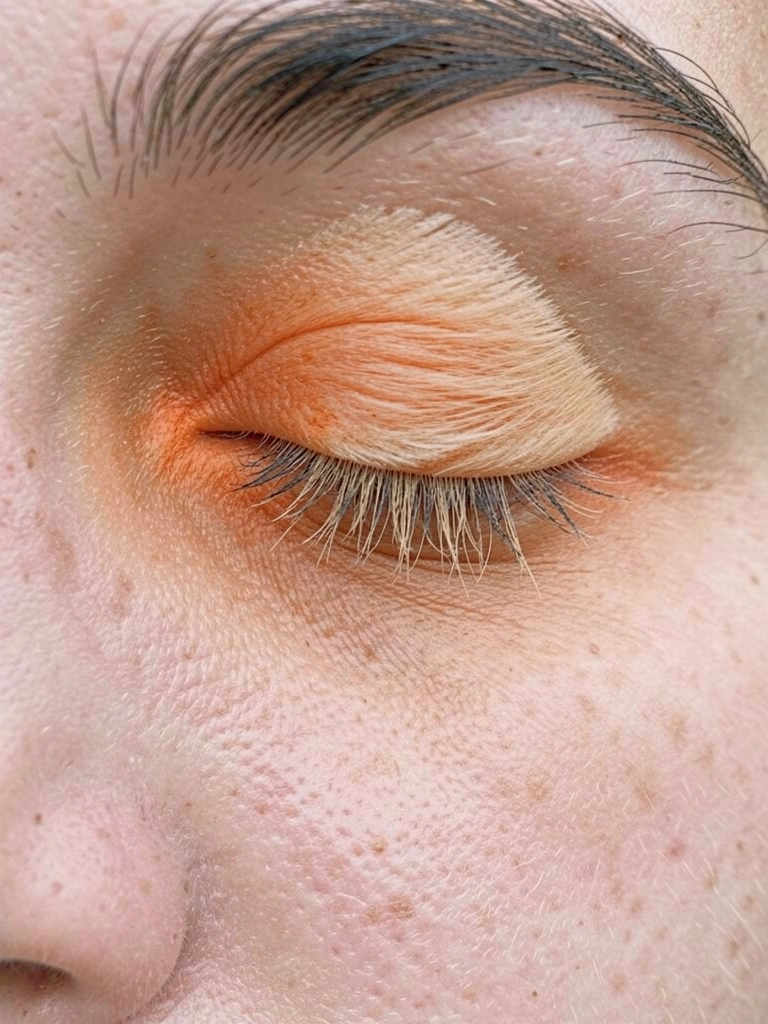
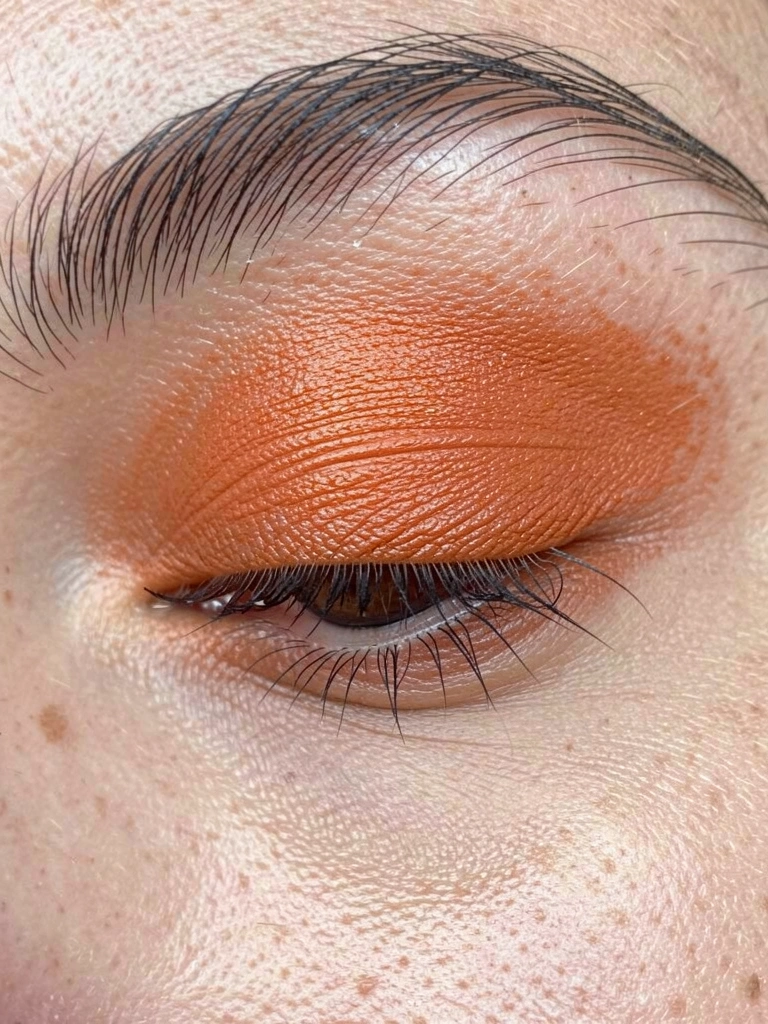
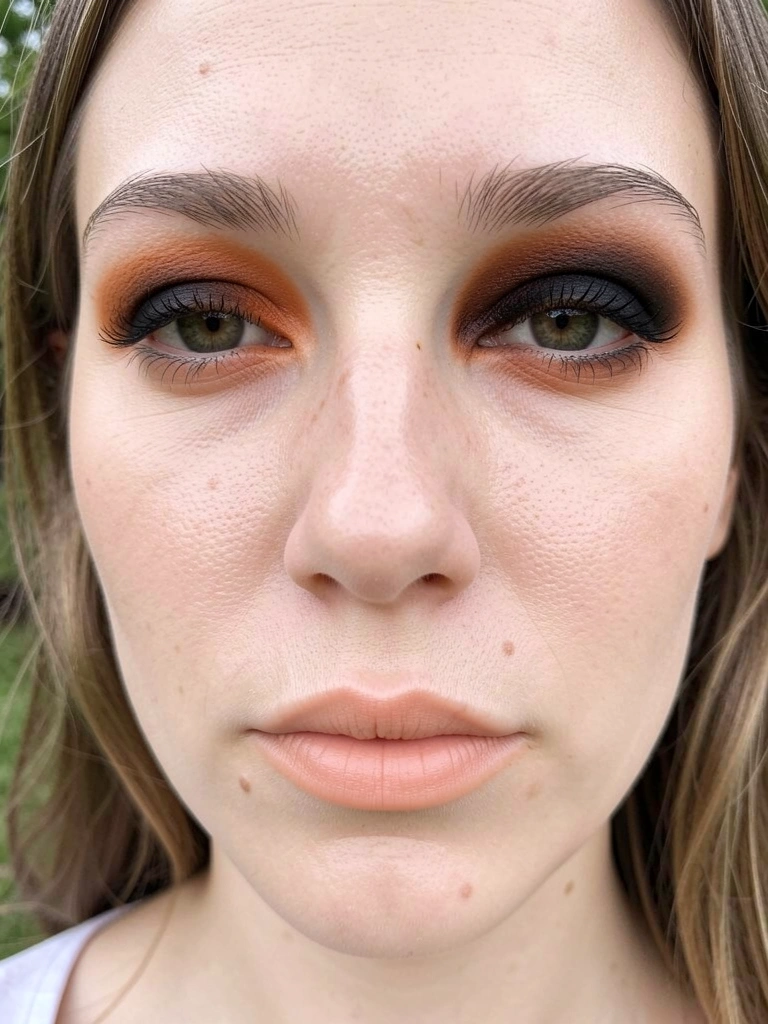
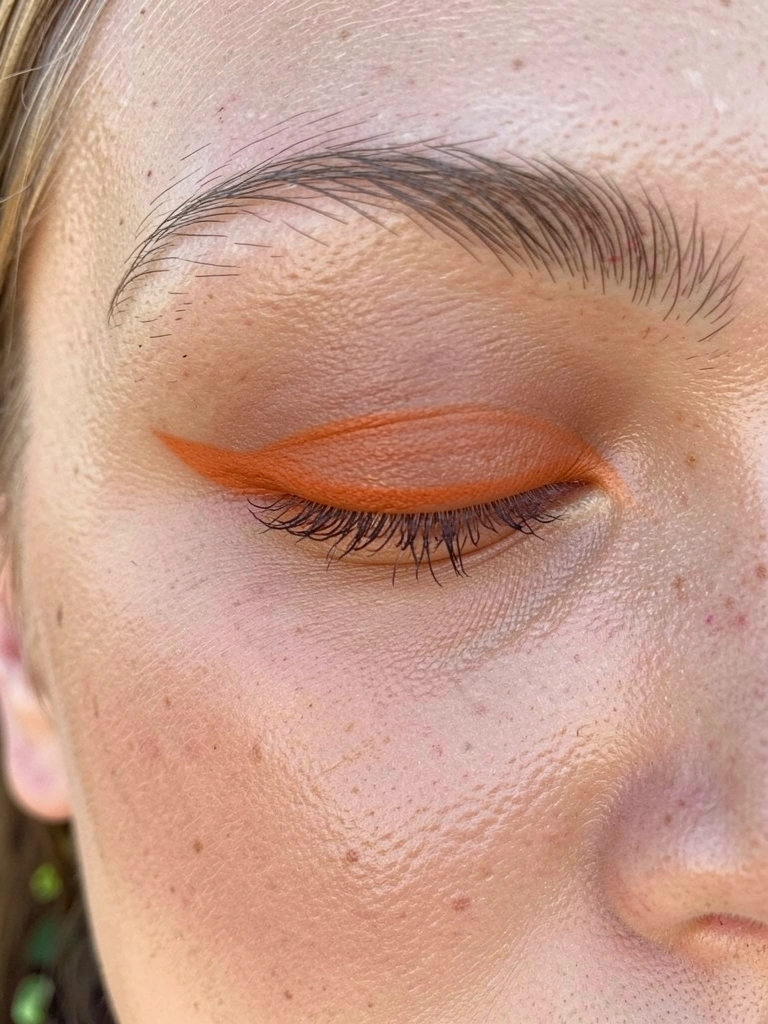
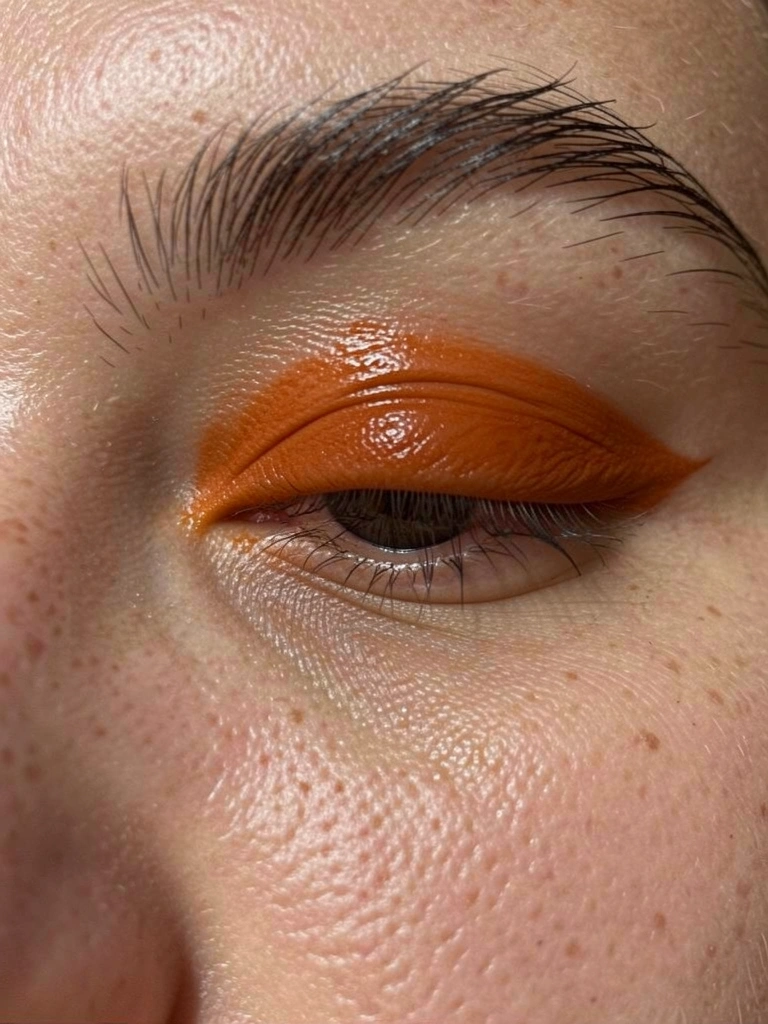
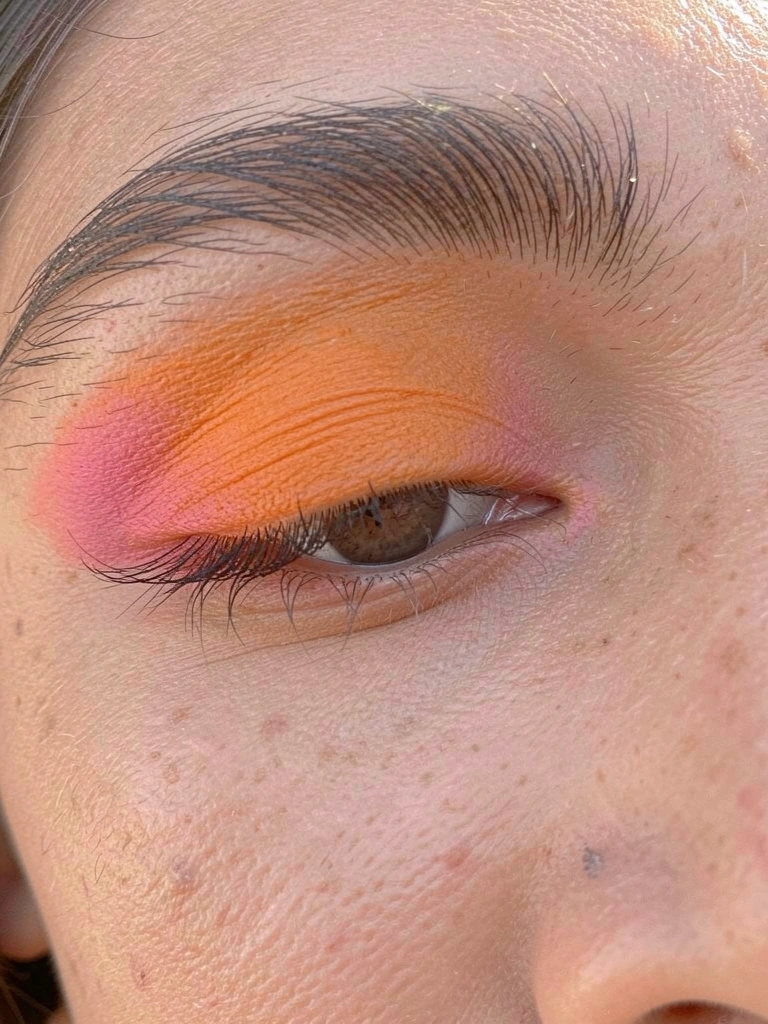
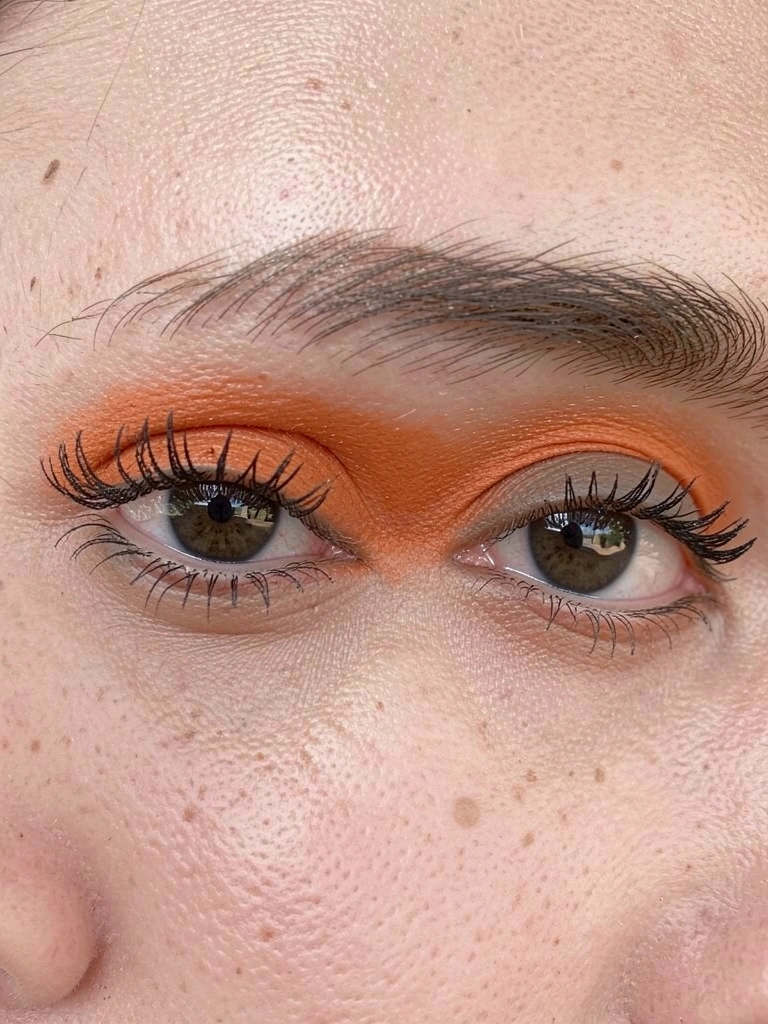
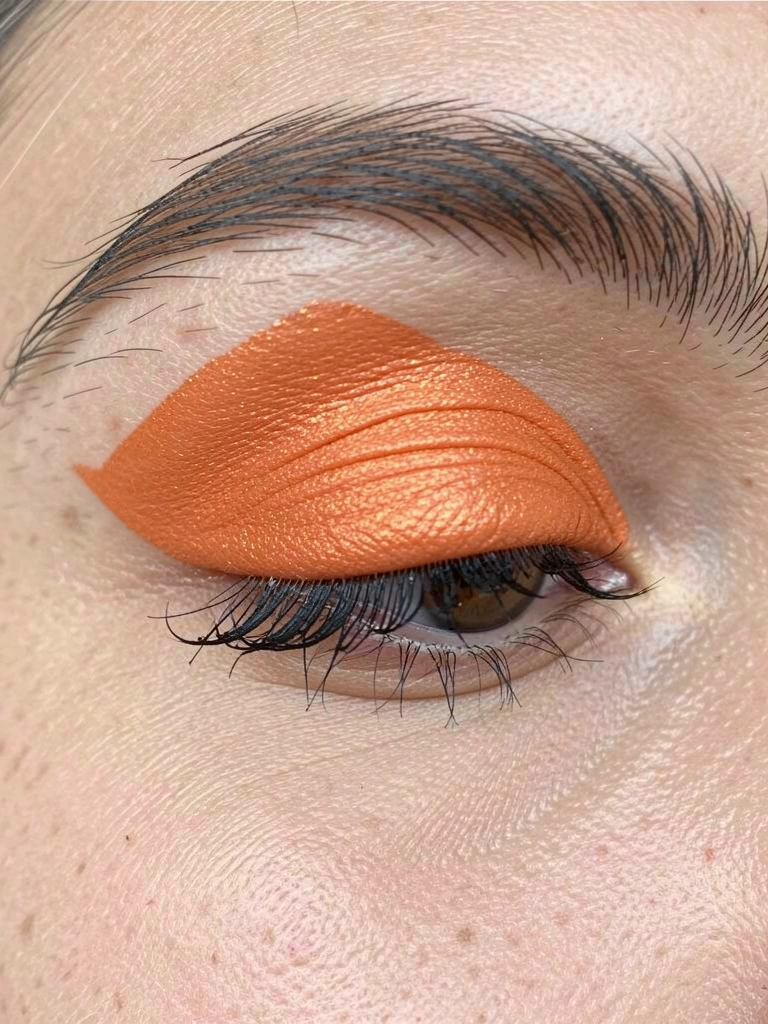
Step 2: Hollow the Eyes with Shadow
Dip the angled brush in matte black from the palette. Smudge outer corners, under lower lashline—fade inward soft. This carves depth, makes eyes sink like they've got stories.
The visual flips: lids recede, gaze intensifies without sparkle overload. Most skip blending down the cheekbone—that's the insight. It ties shadow to face structure.
Don't wing it heavy on top alone. It tilts balance, weighs lids down.
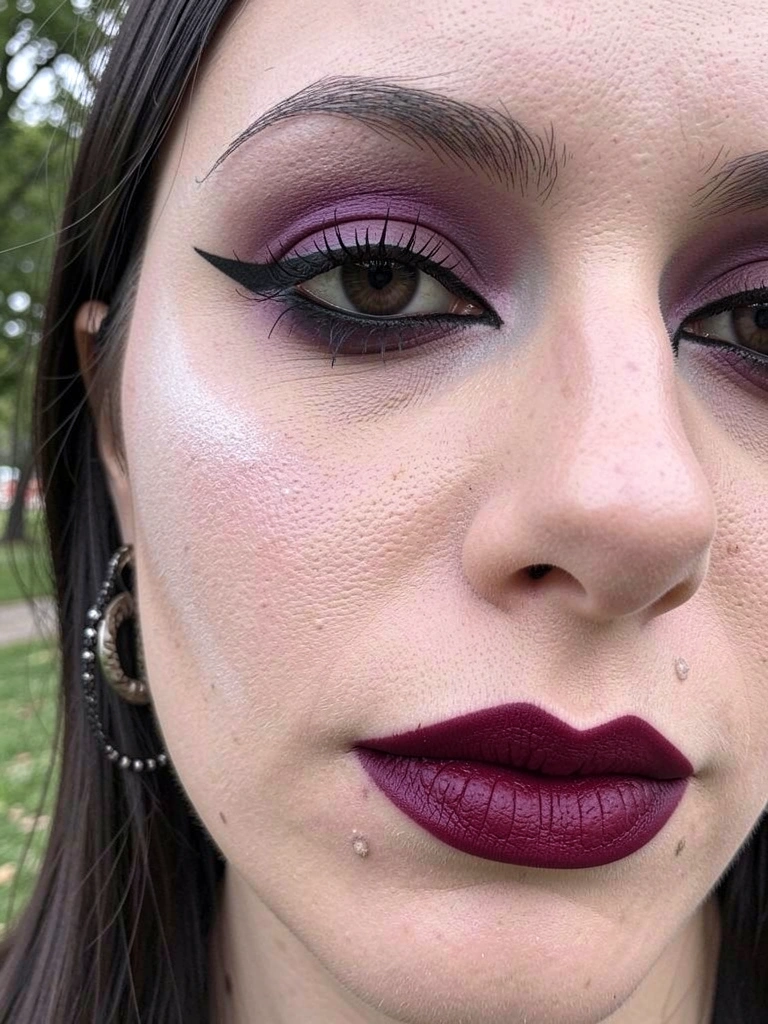
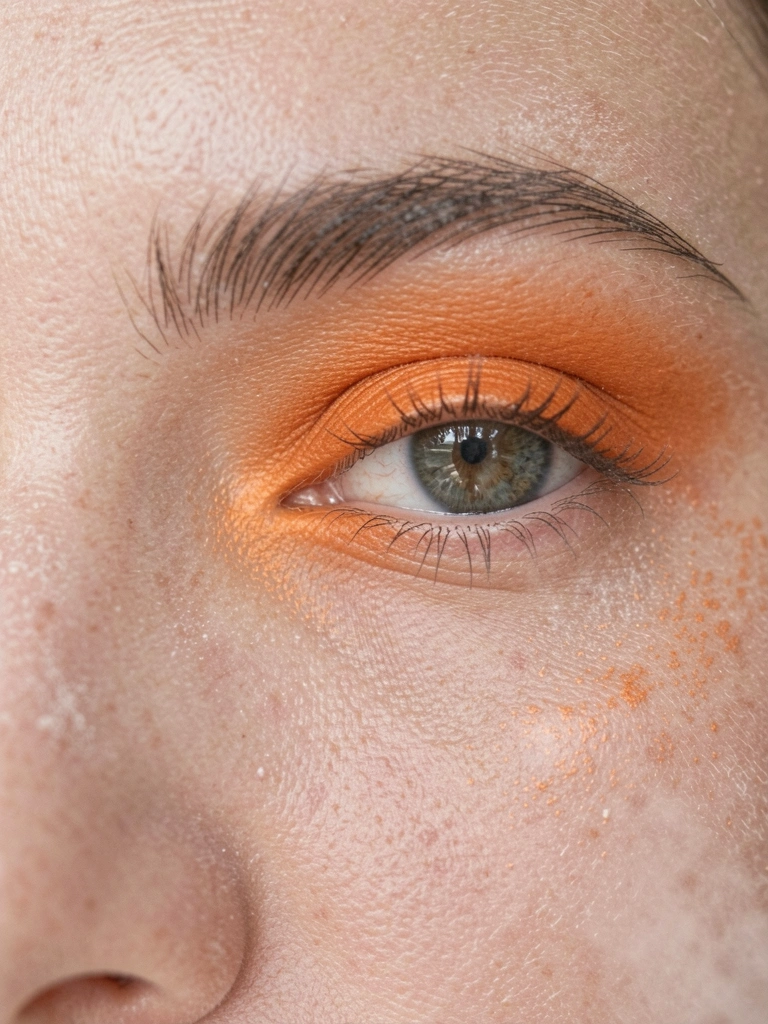
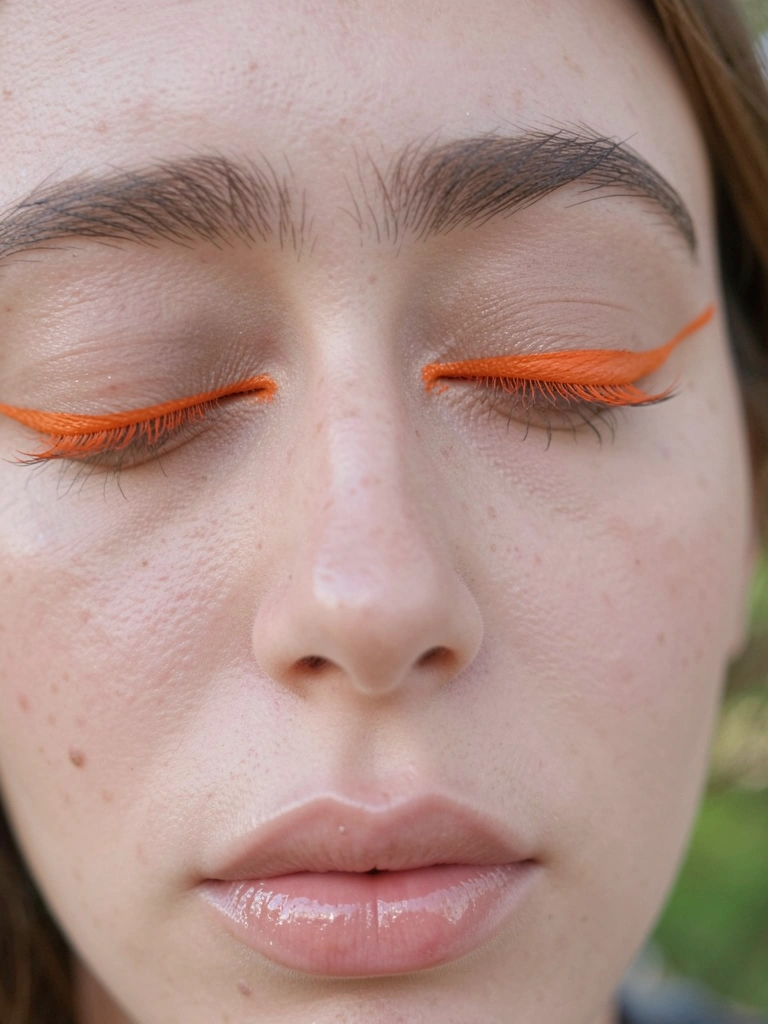
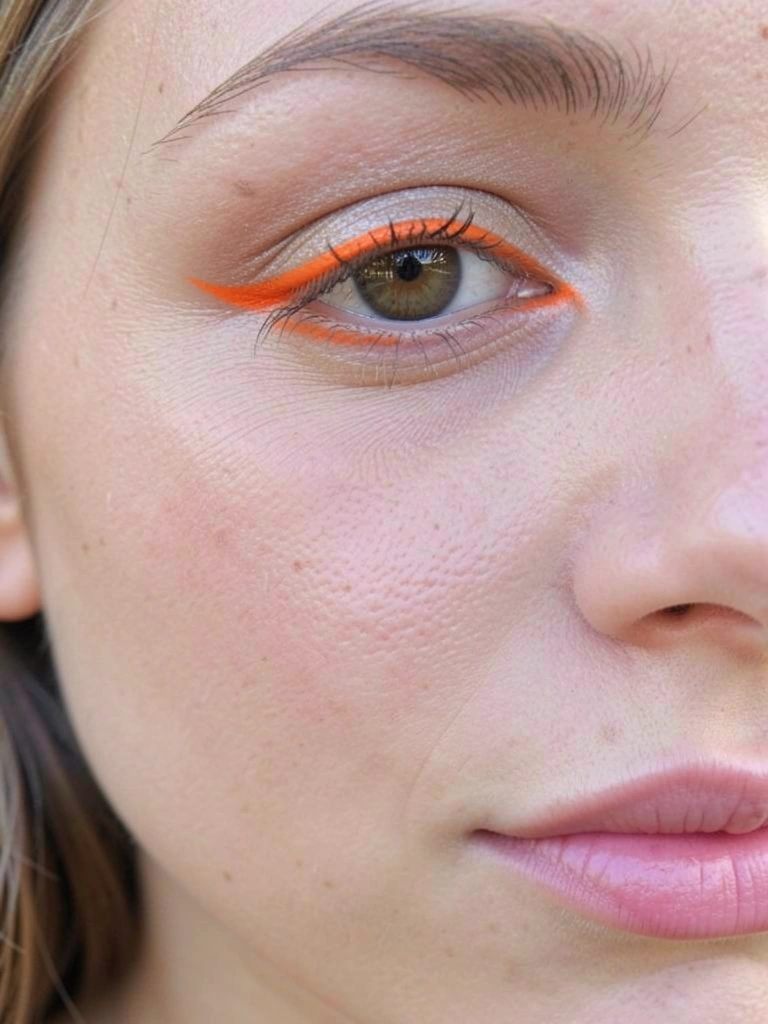
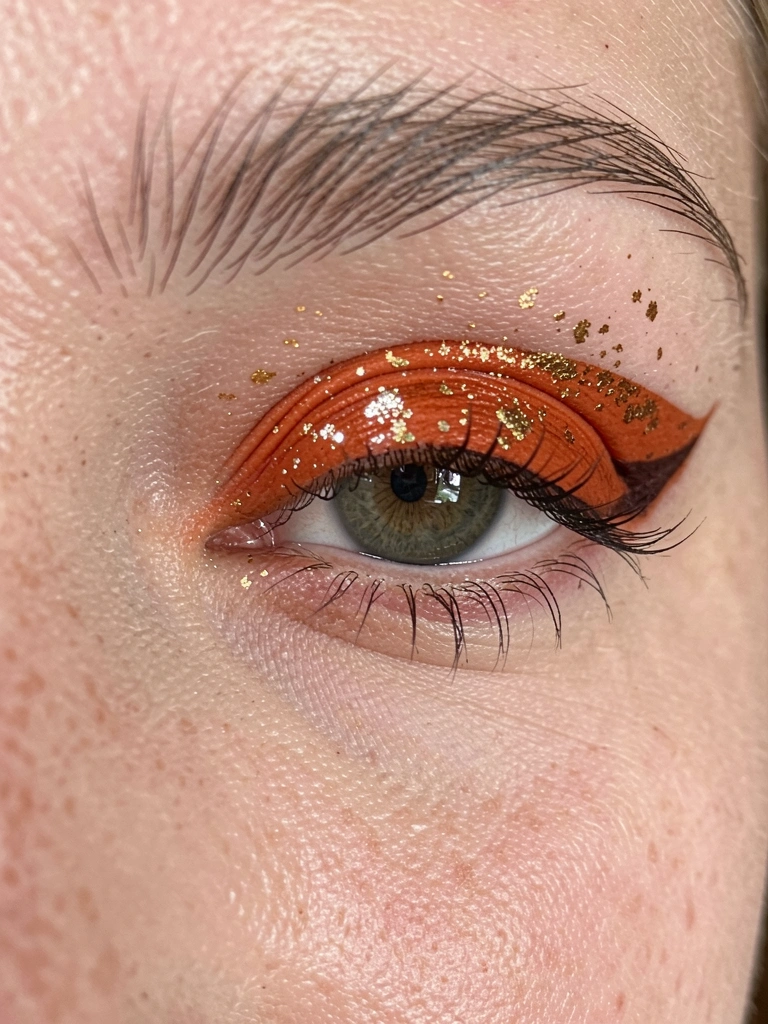
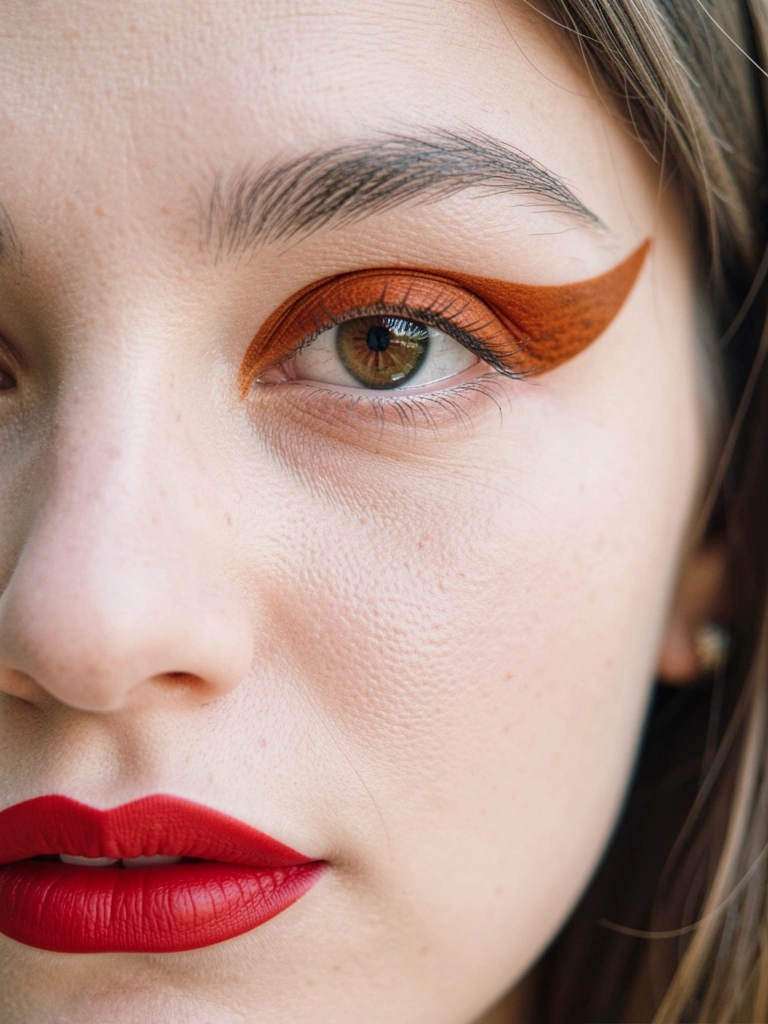
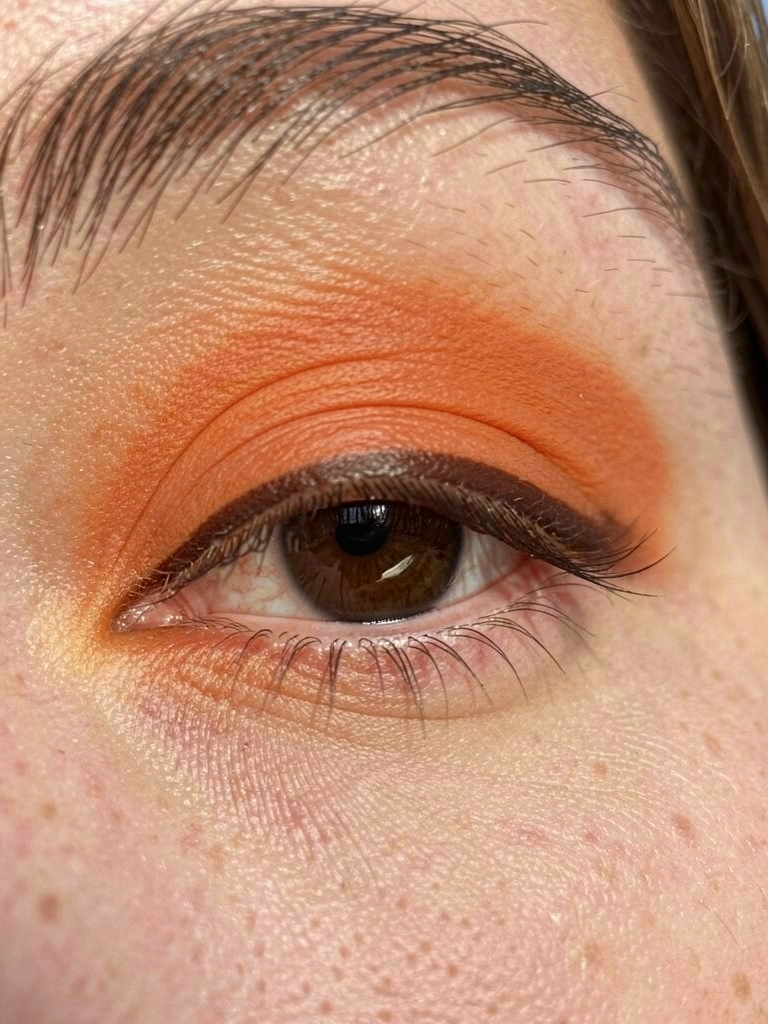
Step 3: Sharpen with Liner and Lashes

Trace liquid liner tight to upper lashes, flick wings even—match both eyes by sighting straight. Layer mascara heavy on top, light below. Eyes lock in, framed sharp against pale.
Change hits: brows next with pencil, fill sparse spots for even arch. Folks forget matching liner to shadow fade—it blurs the edge people notice.
Steer clear of smudgy waterline. It muddies the hollow we built.
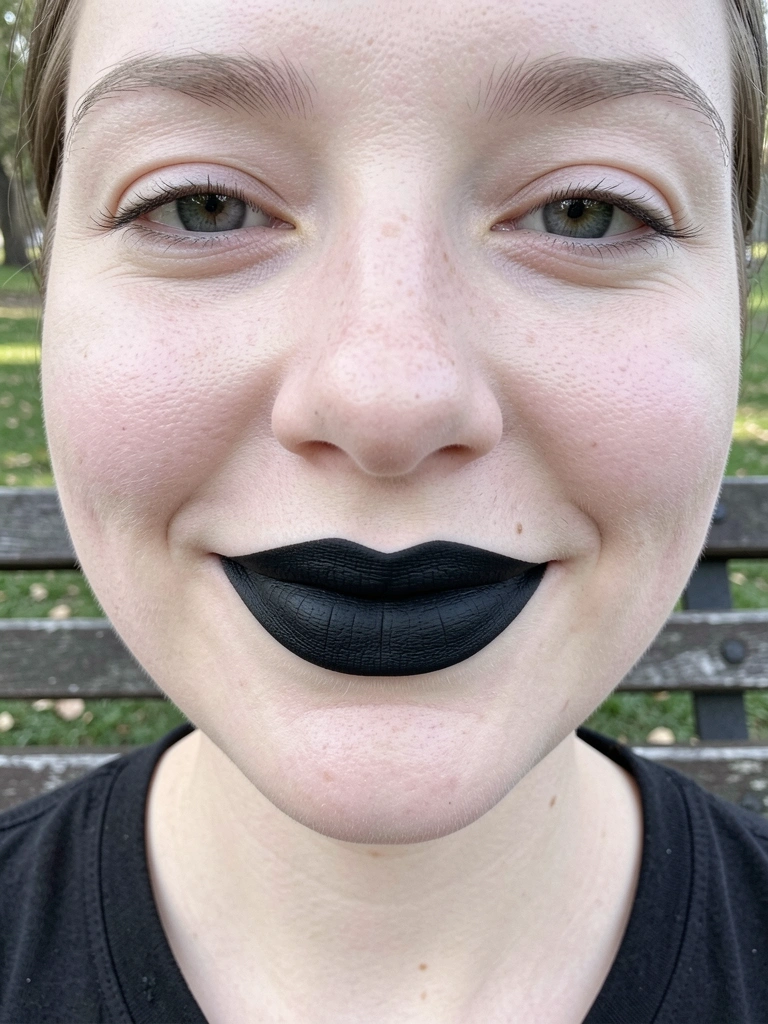
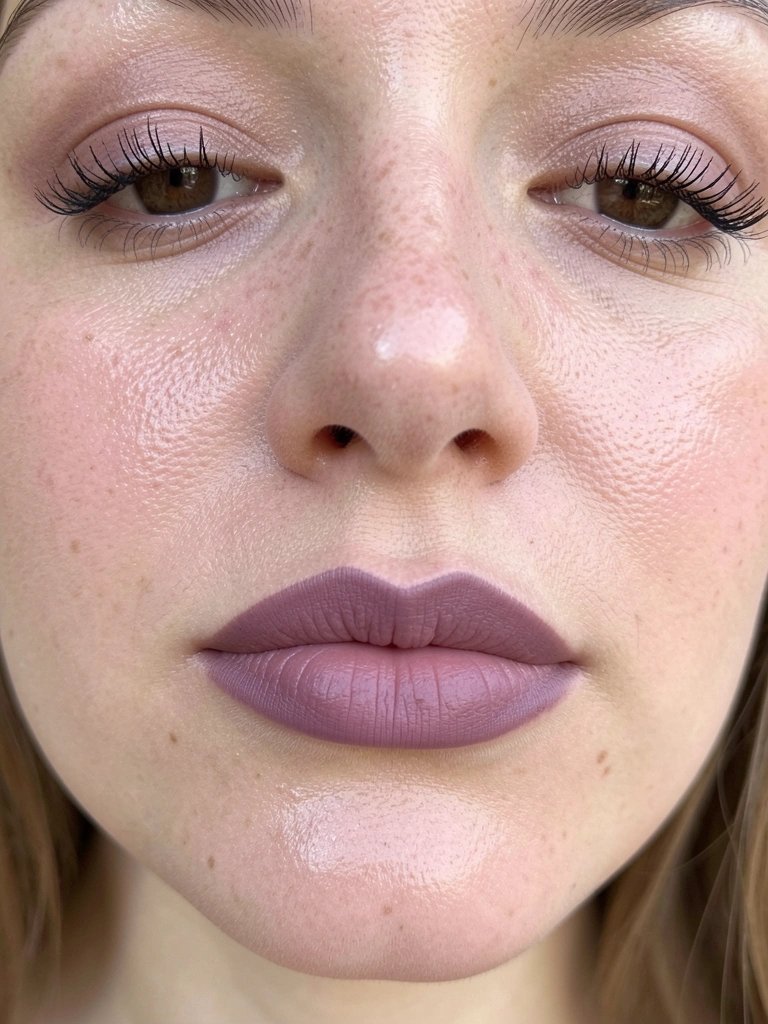
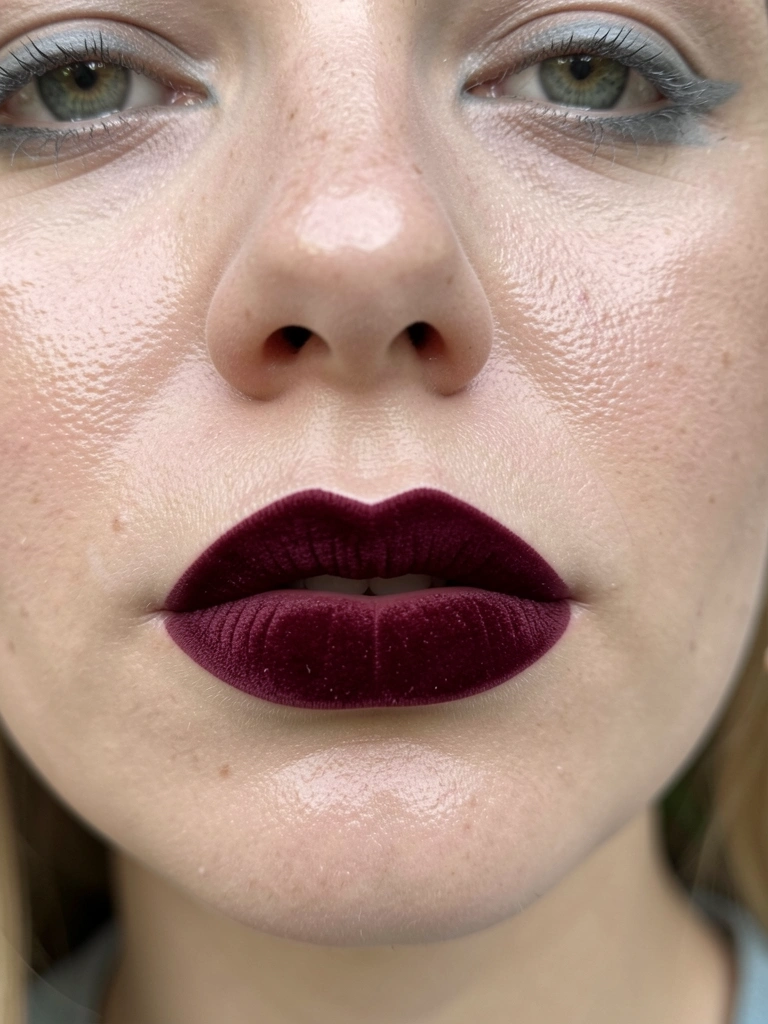
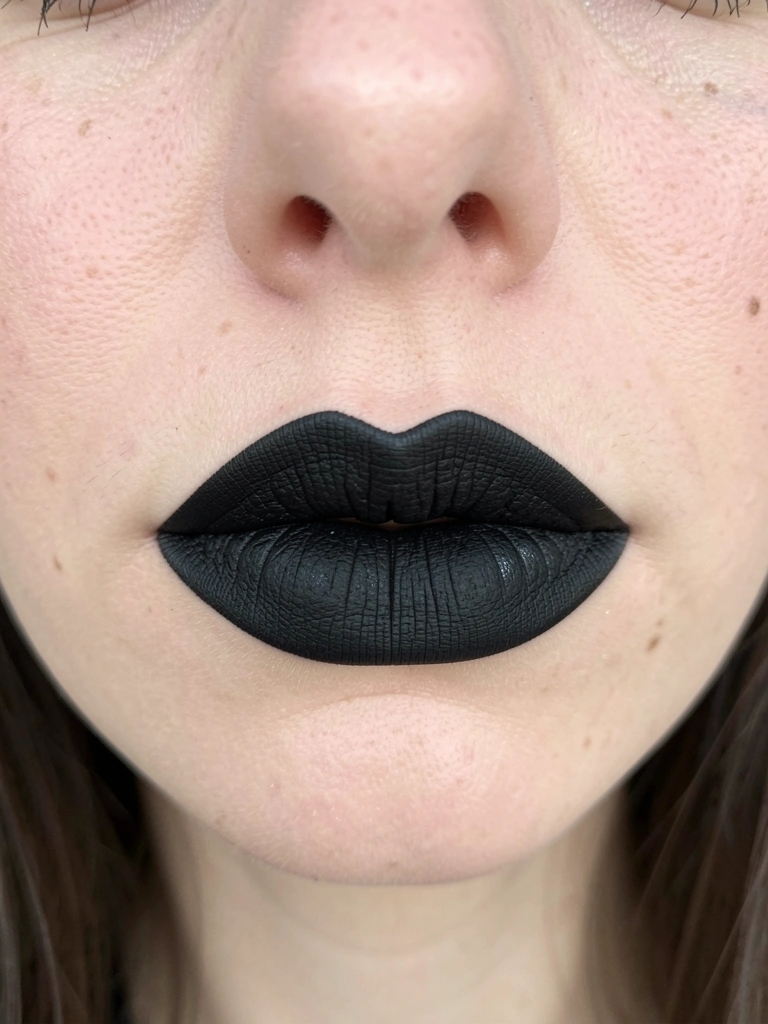
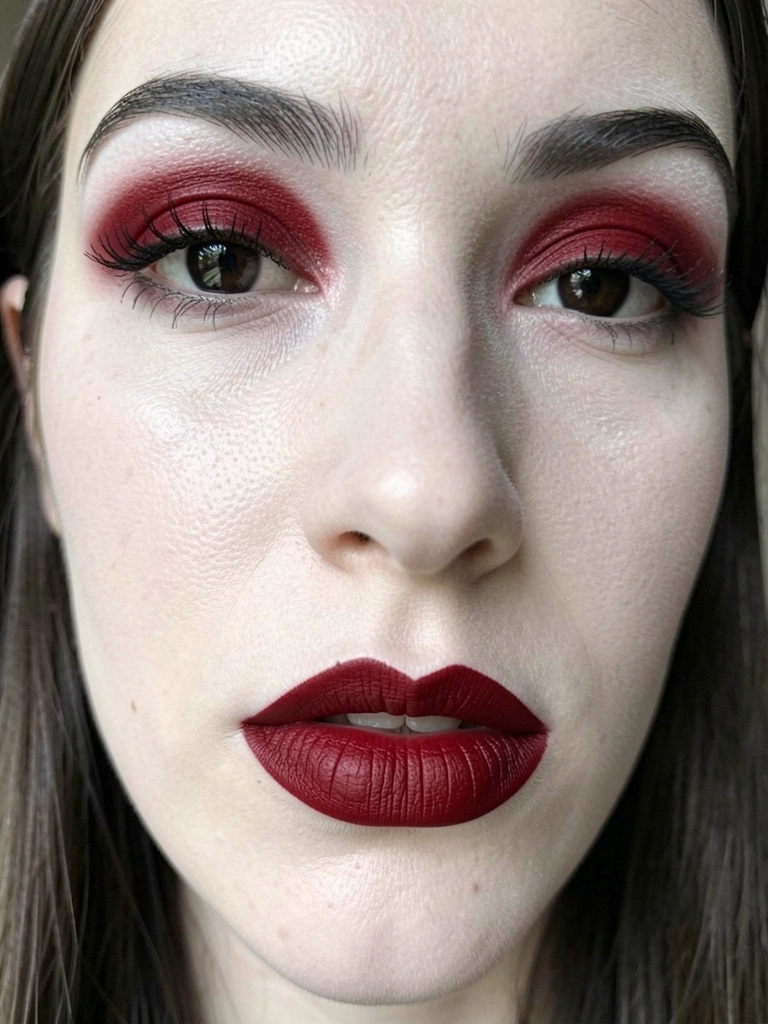
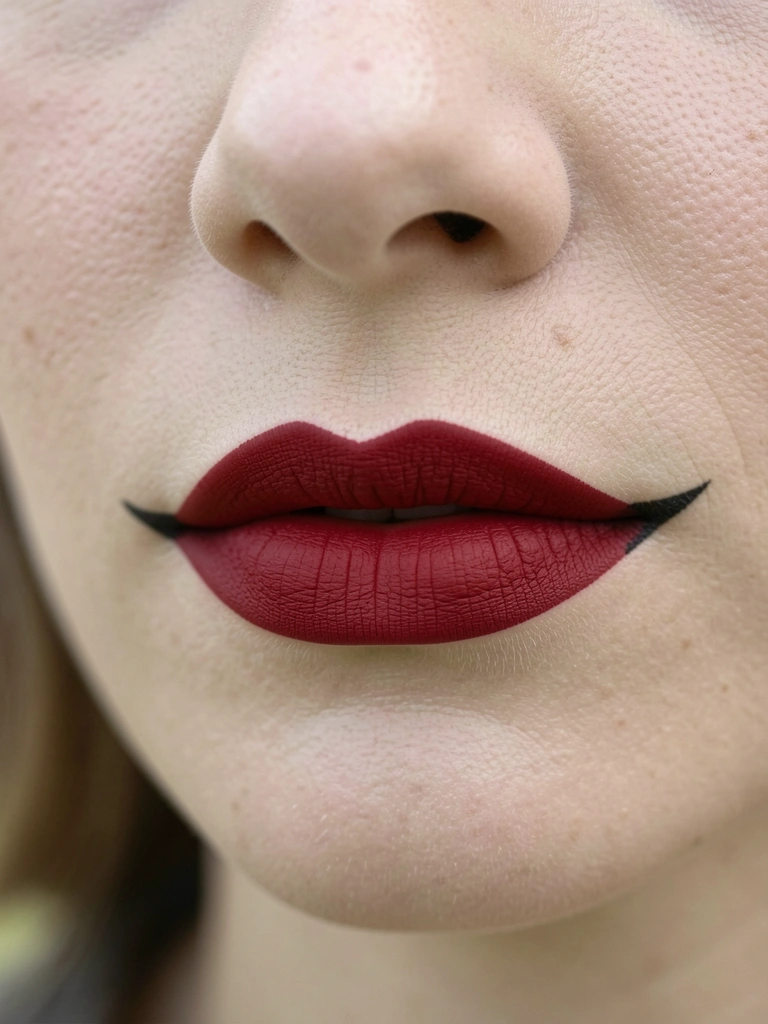
Step 4: Anchor with Dark Lips

Line lips sharp, fill with matte burgundy. Press tissue, dust powder—sets without bleed. Lips ground the look, pull from the floating eyes.
Face balances now: top dark, center hollow, bottom bold. Insight? Blot excess early—shiny lips fight the matte vibe.
Skip overlining much. It skews proportions wide.
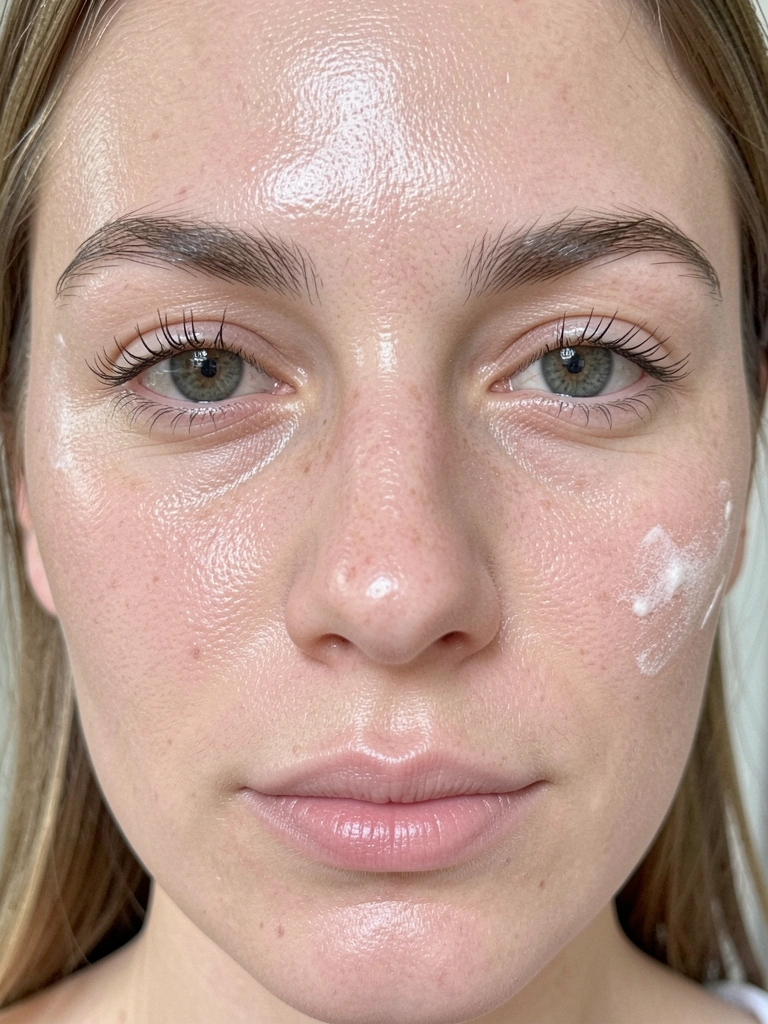
Step 5: Lock It All In
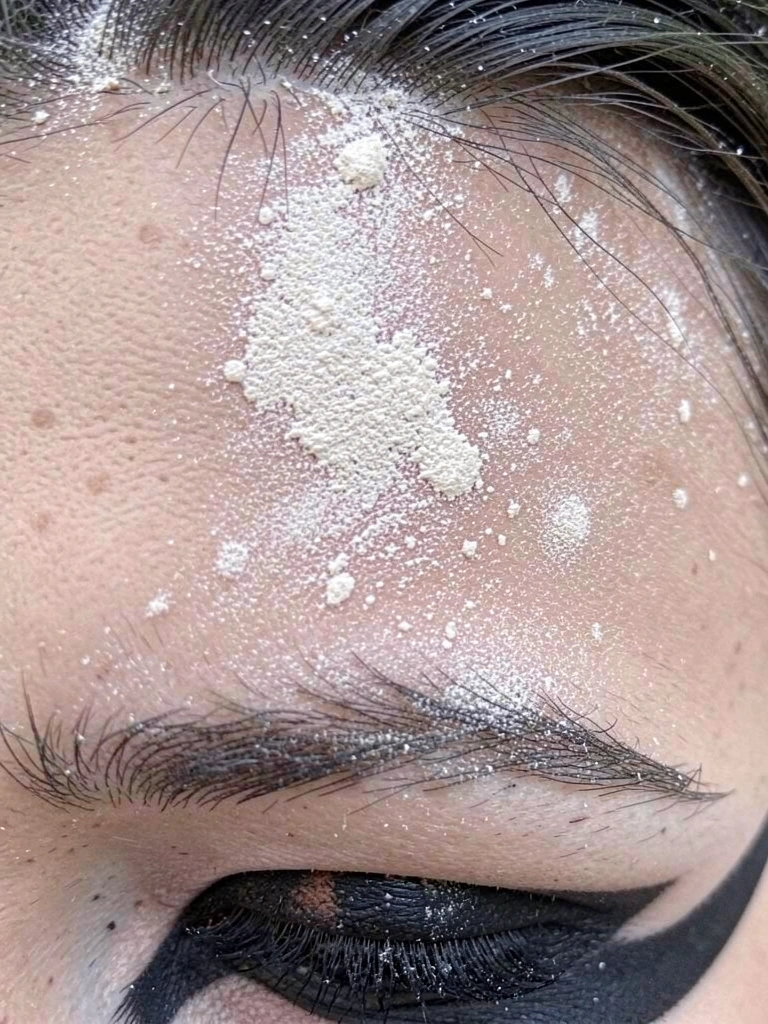
Dust translucent powder light everywhere—tap brush, no rub. It mattes the shine, holds through coffee spills.
Final shift: whole face unified, no shifts by evening. People miss powder on lips too—that's the hold secret.
Avoid heavy puffs. They dry out the balance.
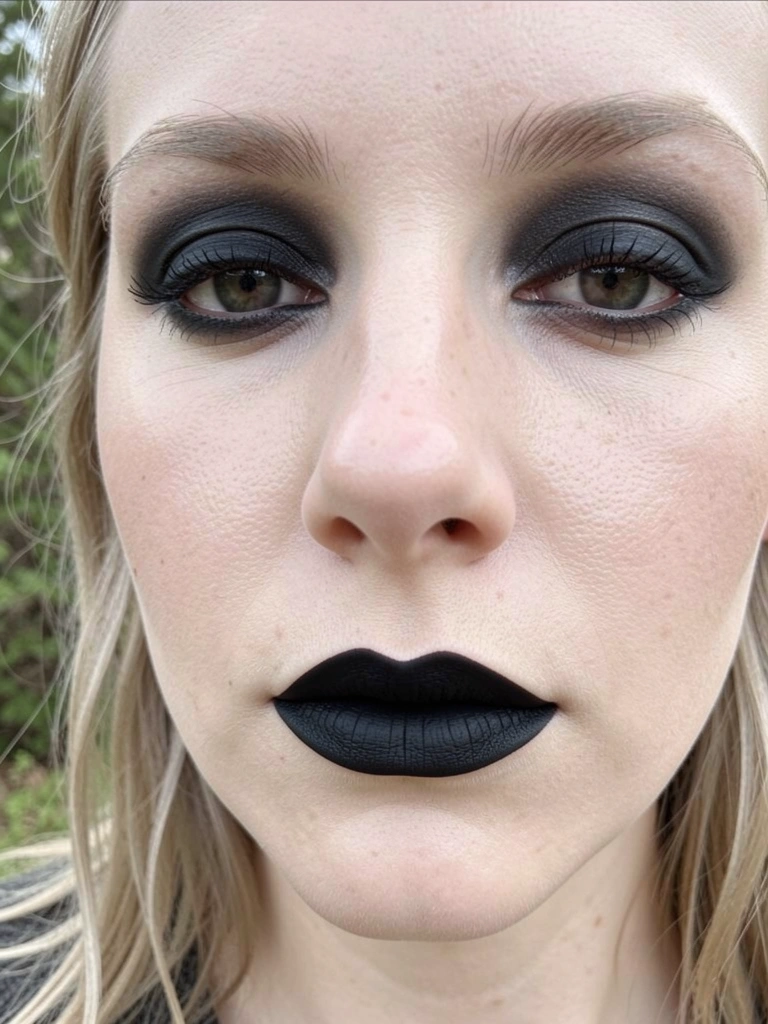
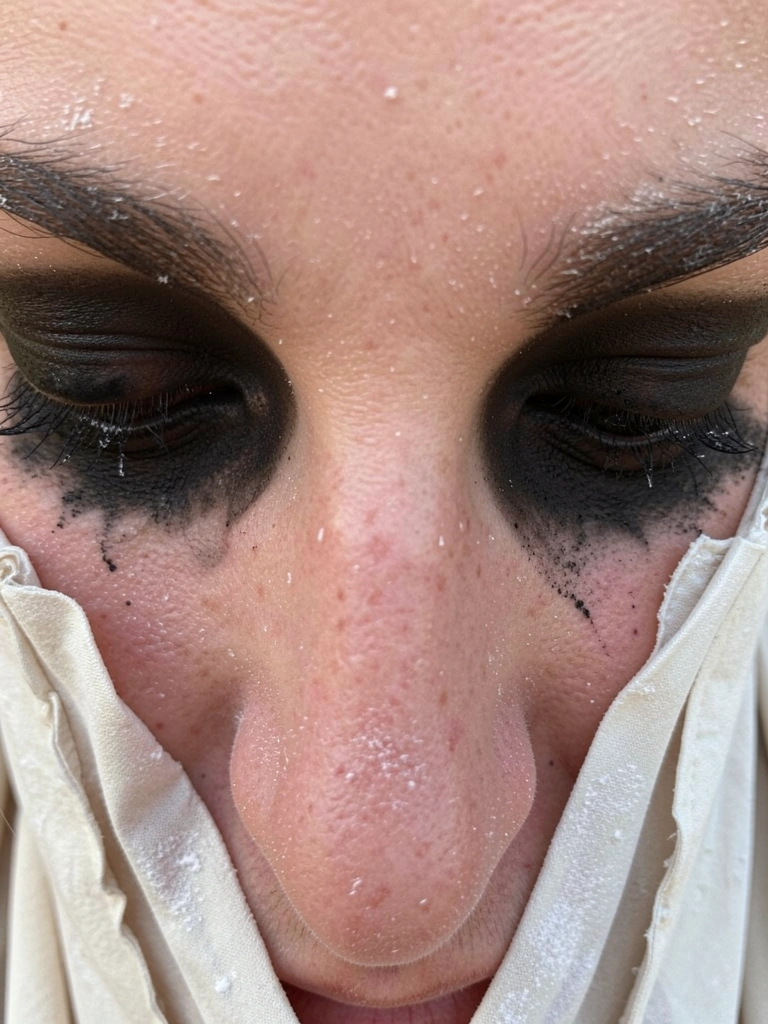
Common Mistakes to Avoid
I've wiped off plenty of goth attempts. Face ends up clownish from rushing.
- Skip primer if skin's oily—it slides shadow.
- Uneven liner kills symmetry; measure with a card.
- Too much pale foundation grays warm undertones.
Balance checks first. Step back after eyes.
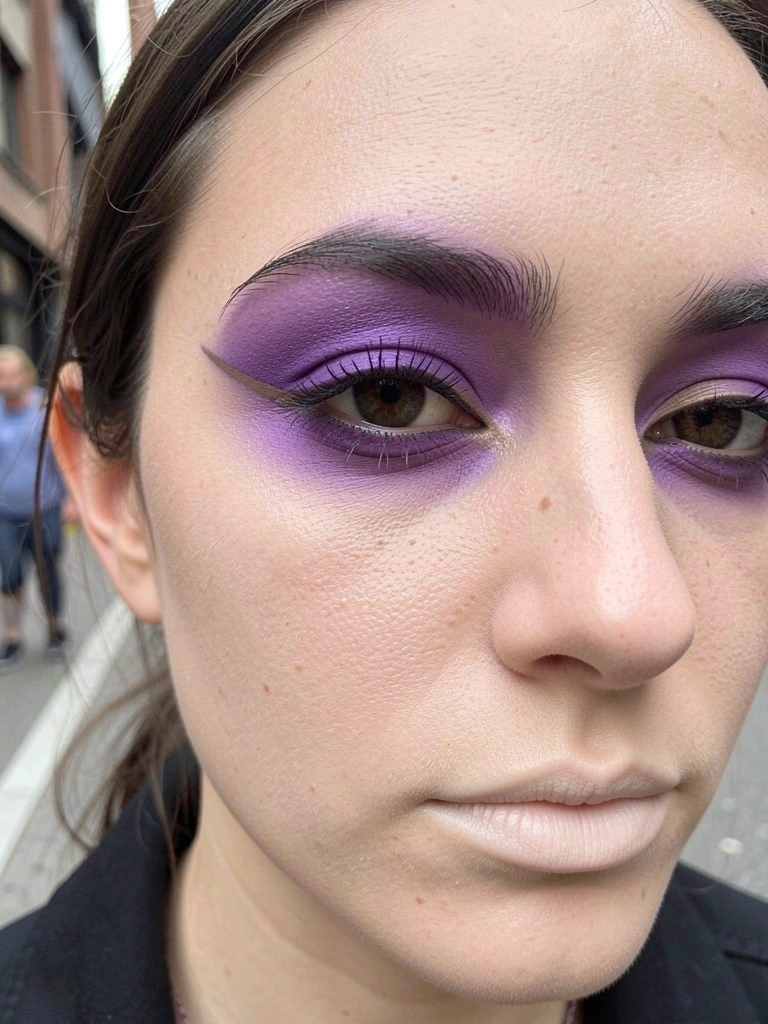
Everyday Goth Makeup Adjustments
Goth doesn't mean all-night only. I tone for day.
Wear half shadow, skip wing—eyes subtle.
- Swap burgundy for deep berry lipstick.
- Less mascara, more brow fill.
- Powder neckline to match face.
Feels clean with jeans.
Tailoring to Your Face Shape
My round face needs vertical lines. Yours?
Oval: full hollow eyes, straight liner.
Square: soften jaw shadow.
Heart: heavy lower lashline.
Test one change. See the feel shift.
Final Thoughts
Try just base and lips first. Build from there.
It'll click—your face, balanced and yours.
Wear it out. Adjust next time. That's how it sticks.