
I remember trying orange makeup for the first time. It looked muddy on my skin, like I'd rubbed rust across my face.
The warmth got lost. It felt heavy, not fresh.
I've fixed it since. Now it glows without overpowering.
How To Do Orange Makeup Look
This guide shows my simple way to wear orange makeup that warms your face naturally. You'll end up with a balanced, fresh look you can wear daily. It's straightforward—I do it in under 10 minutes.
What You’ll Need
- Creamy orange eyeshadow palette with warm tones
- Matte foundation for even skin base
- Peachy cream blush for subtle warmth
- Satin orange lipstick in medium shade
- Brow gel for natural definition
- Lengthening mascara for open eyes
- Hydrating setting spray for lasting glow
- Golden highlighter for cheek lift
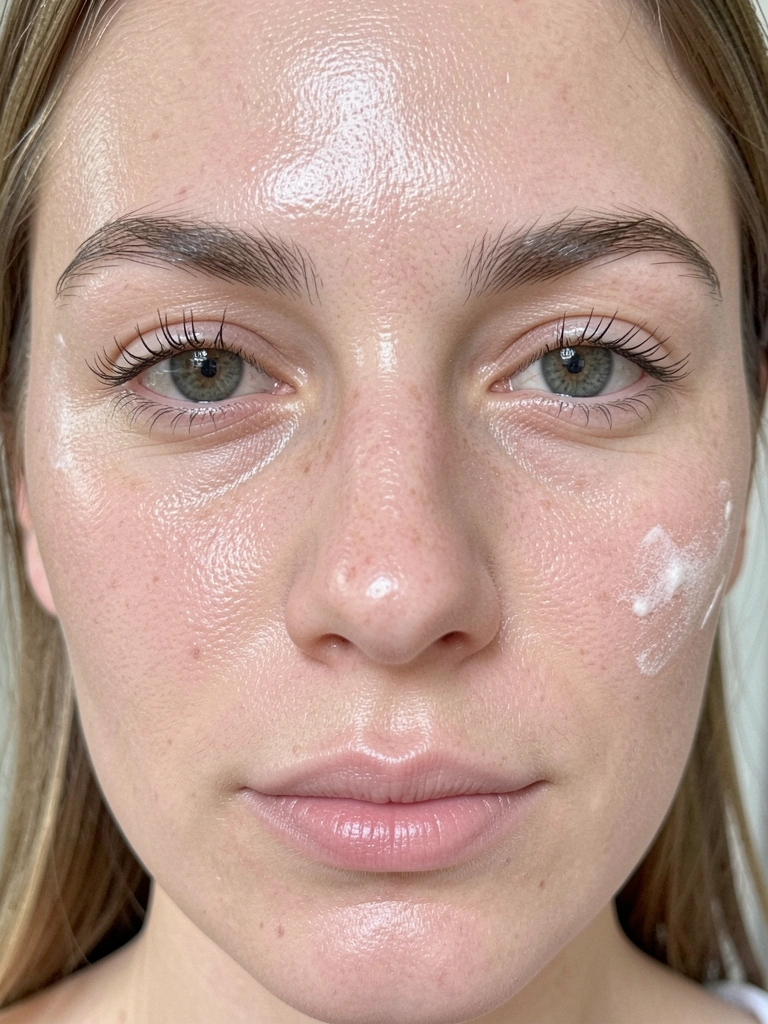
Step 1: Even Out Your Base
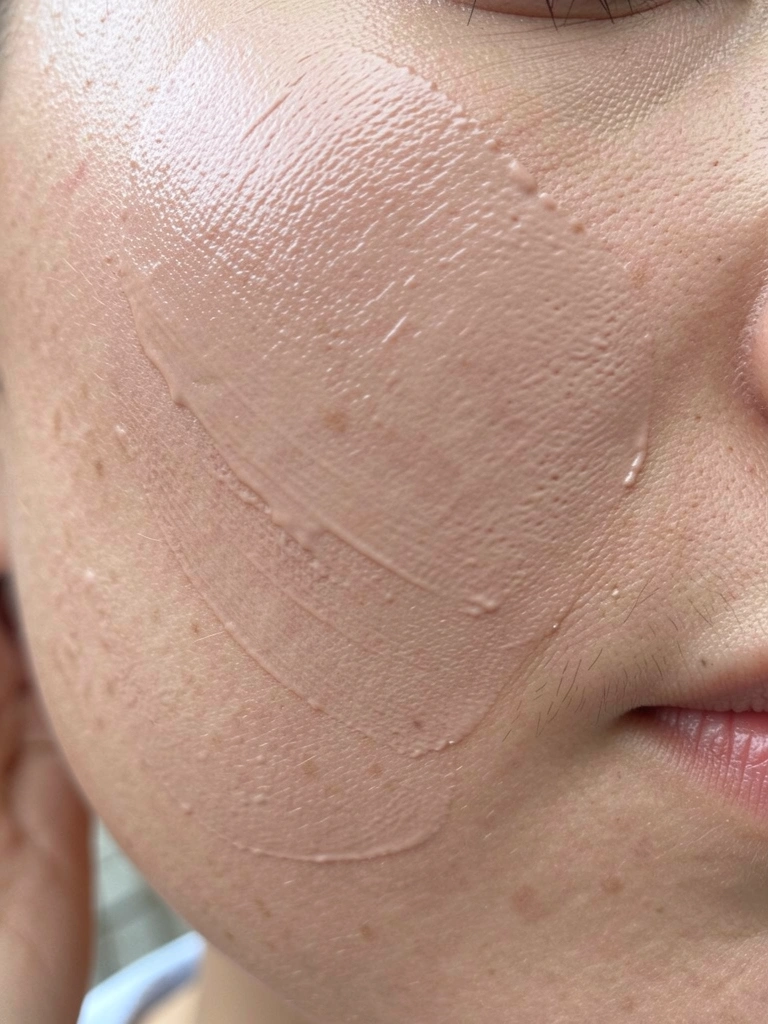
I start with foundation. Dot it on cheeks, forehead, chin. Blend with fingers for a skin-like feel. It evens tone without masking you.
Visually, your face calms—orange will sit better now. People miss how uneven skin muddies warm shades.
Avoid thick layers; it dulls the warmth. I pat lightly. Feels comfortable, ready for color.
This base balances everything ahead.
Step 2: Build Orange on Lids
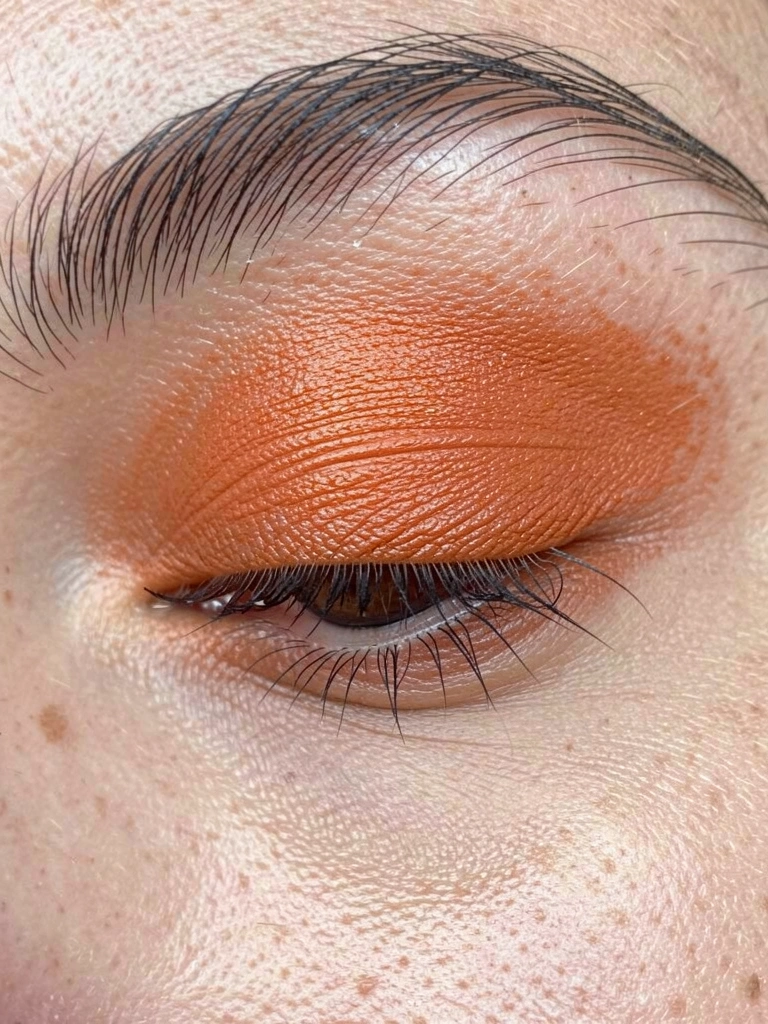
I sweep light orange shadow across lids, darker in creases. Blend outward softly. It adds depth without harsh lines.
Your eyes wake up—warmth pulls focus gently. Most skip blending; it looks flat otherwise.
Don't overload the center; keep it even. I check in natural light. Feels intentional, not heavy.
Eyes feel open, balanced now.
Step 3: Warm the Cheeks
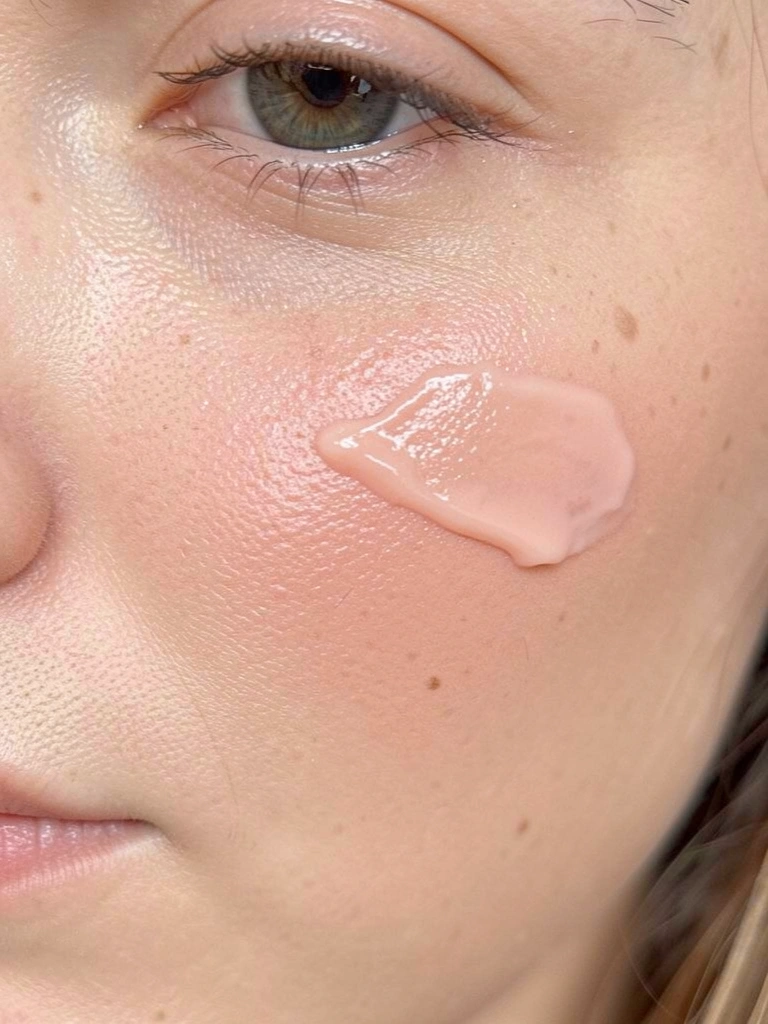
I dab peachy blush high on cheekbones, blend down. Matches the orange vibe without clashing.
Cheeks lift—face feels cohesive. Folks forget placement; low makes it muddy.
Avoid powder over cream here; it cakes. I use fingers for warmth. Skin feels fresh.
Balance shifts; warmth spreads evenly.
Step 4: Define Brows and Lashes
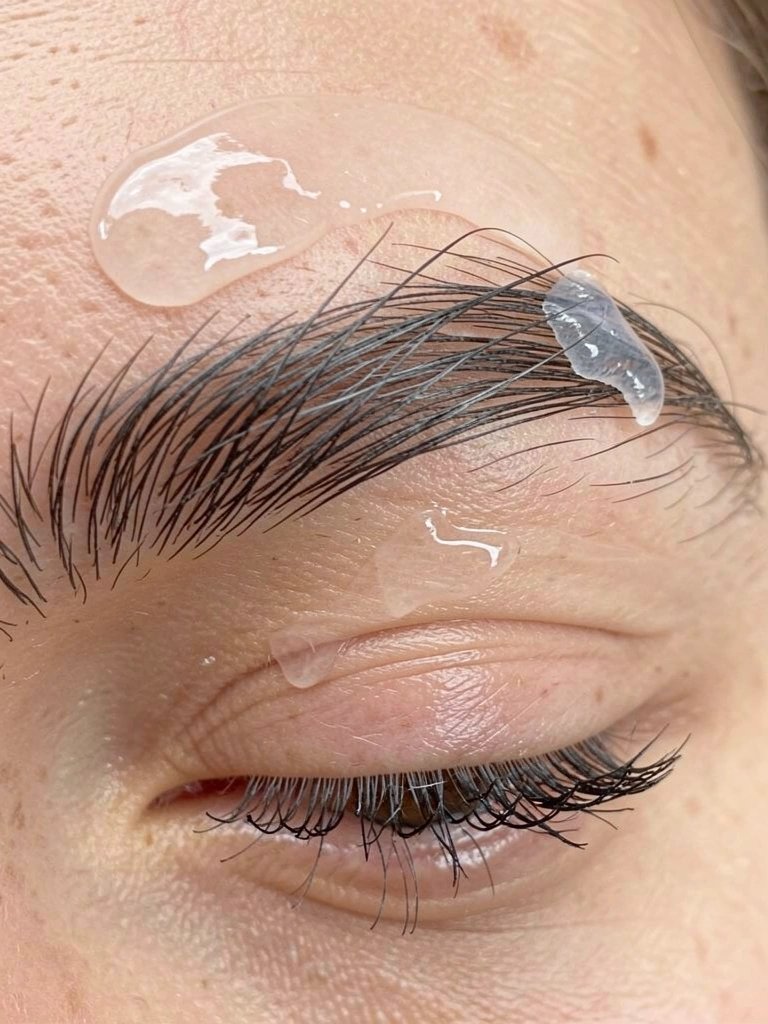
I brush brows with gel, fill lightly. Then mascara on top lashes only.
Eyes frame better—orange pops cleanly. Many overdo brows; it fights the softness.
Skip bottom lashes; keeps it light. I wiggle at roots. Feels wearable, not dramatic.
Proportions settle; face harmonizes.
Step 5: Add Lips and Glow
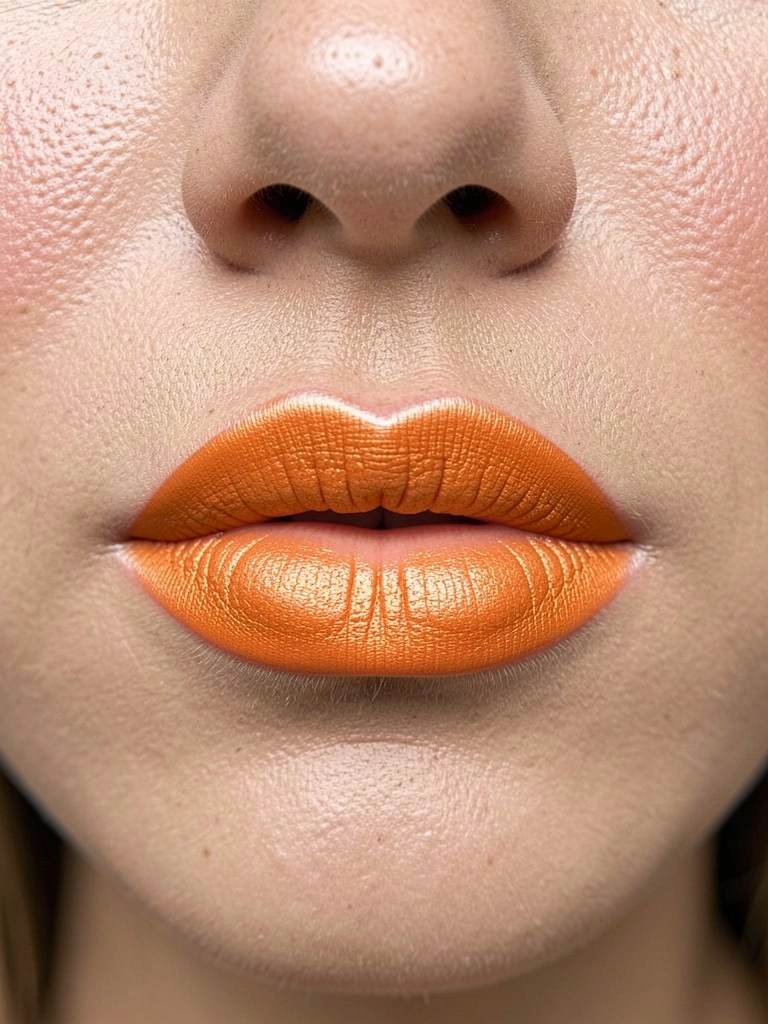
I line lips, fill with satin orange. Tap highlighter on cheek tops, nose tip.
Lips ground the look—full warmth complete. Highlighter adds life most ignore.
Don't matte lips; satin blends better. I blot once. Feels moist, not sticky.
Mist setting spray. Glows balanced.
Step 6: Lock It In
I spritz setting spray all over. Wait 30 seconds.
Everything stays put—warmth lasts hours. People rush this; it fades fast.
Hold arm's length, even coat. Feels secure, not tight.
Face feels complete, balanced.
Matching Orange to Skin Tones
I test shades on my jawline first. Warmer oranges suit golden undertones; brighter for cool.
- Fair skin: Peach-orange softens.
- Medium: Terracotta adds depth.
- Deep: Burnt orange warms without washing out.
It feels right when it melts in. No guesswork.
Day-to-Night Adjustments
For day, sheer everything. Less shadow, nude lips with orange tint.
Night: Layer shadow, glossy lips.
- Dial back blush daytime.
- Amp highlighter evening.
Stays comfortable either way.
Pairing with Everyday Outfits
Orange makeup lifts neutrals. Pairs with denim, whites.
- Avoid all-black; dulls it.
- Gold jewelry echoes warmth.
Feels cohesive, not fussy.
Final Thoughts
Try it once with less product. Notice how warmth settles.
You'll see what balances your face.
It's just a fresh way to feel put-together.
Leave a Reply