I packed light for my trip, but the hike loomed. My usual travel clothes felt heavy and sweaty halfway up the trail. Layers bunched. Proportions looked off.
I stood there, adjusting. Why did it feel unbalanced? The pants dragged, the top clung wrong.
I've fixed this before. You can layer travel outfits that move with you on hikes.
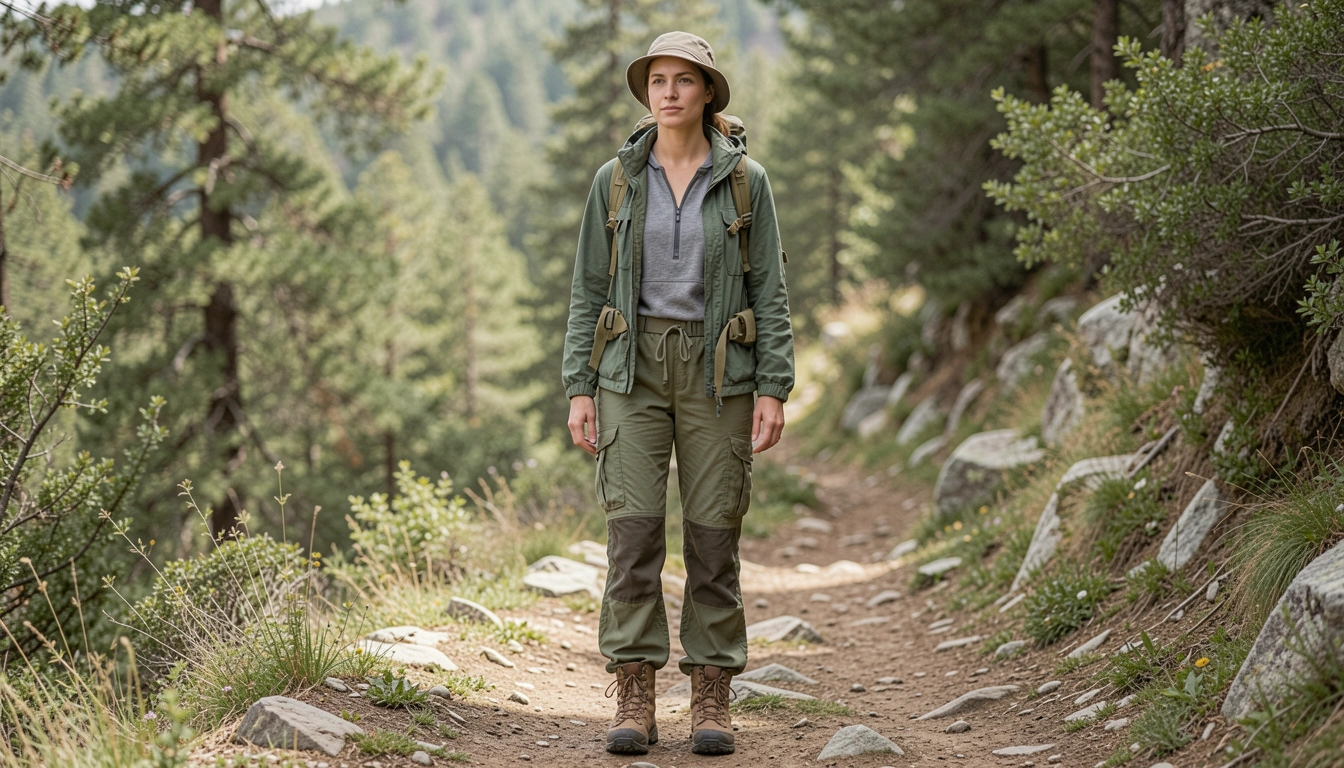
How To Wear Travel Outfits For Women For Hiking
This shows you how I build travel outfits that handle hiking without bulk or fuss. You'll end up with a balanced look that's comfortable from airport to trail. It works every time.
What You’ll Need
- [Breathable moisture-wicking tank top](https://www.amazon.com/s?k=breathable+moisture+wicking+tank+top+women&tag={{flowpinsystem-20}}
- [Convertible quick-dry hiking pants](https://www.amazon.com/s?k=convertible+quick+dry+hiking+pants+women&tag={{flowpinsystem-20}}
- [Lightweight fleece mid-layer pullover](https://www.amazon.com/s?k=lightweight+fleece+mid+layer+pullover+women&tag={{flowpinsystem-20}}
- [Packable waterproof shell jacket](https://www.amazon.com/s?k=packable+waterproof+shell+jacket+women&tag={{flowpinsystem-20}}
- [Supportive mid-height hiking boots](https://www.amazon.com/s?k=supportive+mid+height+hiking+boots+women&tag={{flowpinsystem-20}}
- [Cushioned merino wool hiking socks](https://www.amazon.com/s?k=cushioned+merino+wool+hiking+socks+women&tag={{flowpinsystem-20}}
- [Adjustable wide-brim sun hat](https://www.amazon.com/s?k=adjustable+wide+brim+sun+hat&tag={{flowpinsystem-20}}
- [Compact daypack with hip belt](https://www.amazon.com/s?k=compact+daypack+with+hip+belt+women&tag={{flowpinsystem-20}}
Step 1: Start with a Breathable Base Layer
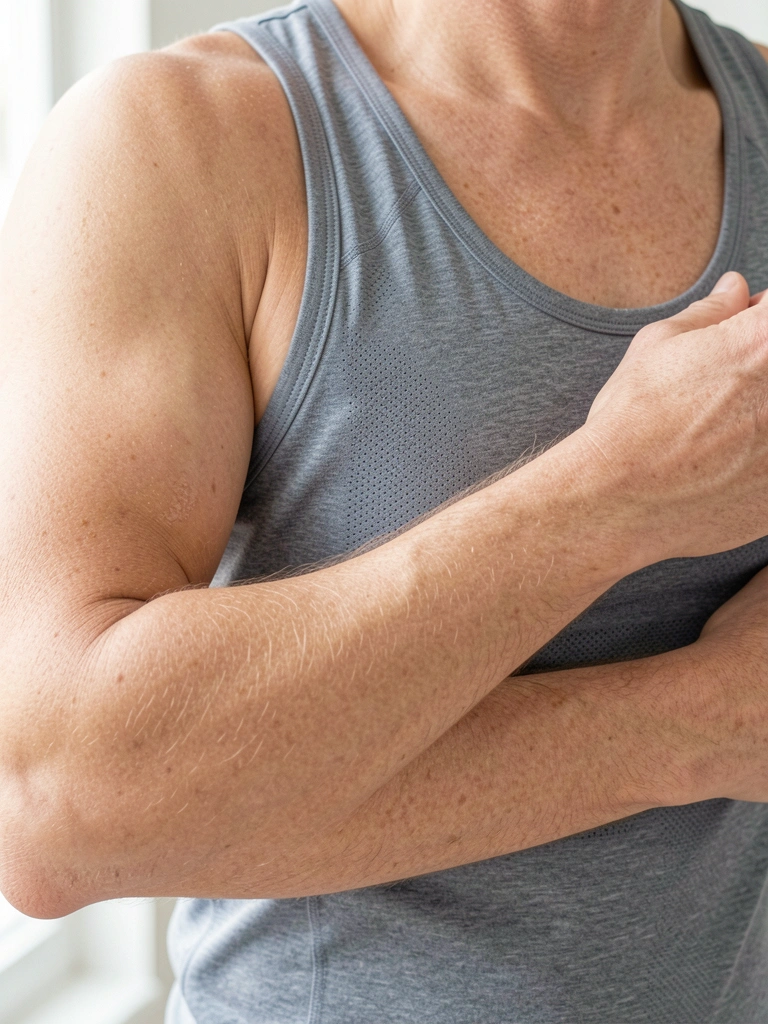
I pull on the moisture-wicking tank top first. It hugs without squeezing, letting sweat escape. This base keeps everything dry as I move.
Visually, my torso looks smooth, not bulky. Layers will sit right on top.
People miss how a good base prevents chafing later. Skip cotton—it holds moisture.
Don't choose one that's too loose. It shifts and feels sloppy under layers.
Step 2: Add Convertible Hiking Pants
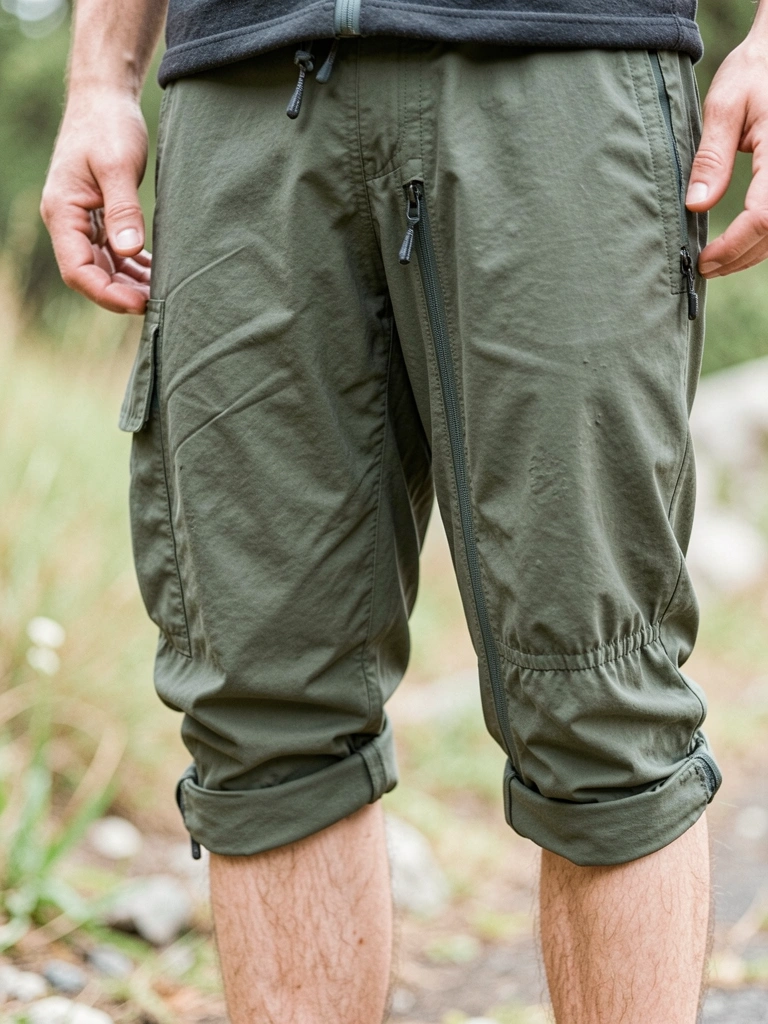
Next, I step into the convertible pants. They zip into shorts if the trail heats up. The fit skims my legs without bagging.
Now the lower half feels grounded. Proportions even out—base layer peeks just right.
The insight? These pants pack small but stretch for strides. Most grab stiff jeans that restrict.
Avoid pants too long. They mud up and unbalance your boots.
Step 3: Layer a Fleece Mid-Layer
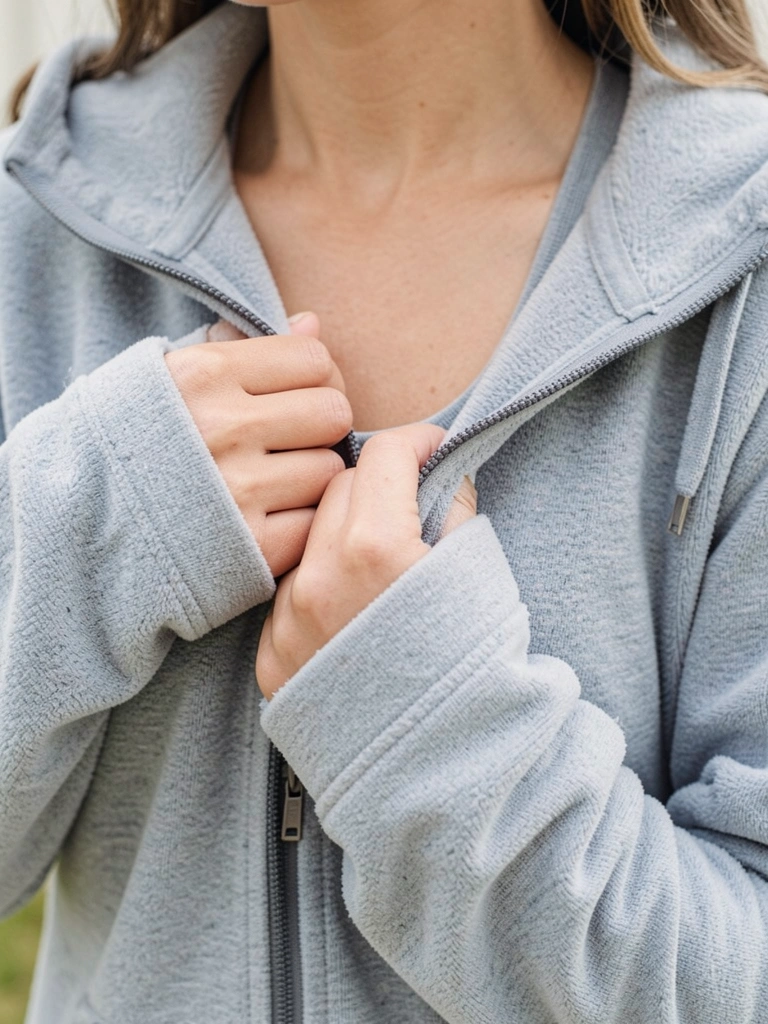
I tug the fleece pullover over the tank. It's warm but thin, zips halfway for vents. Arms move free—no binding.
The outfit gains depth. Upper body looks balanced with pants below.
Folks overlook thumb loops—they keep sleeves from riding up on poles.
Don't layer too thick here. It adds bulk, throws off your silhouette.
Step 4: Top with a Packable Shell
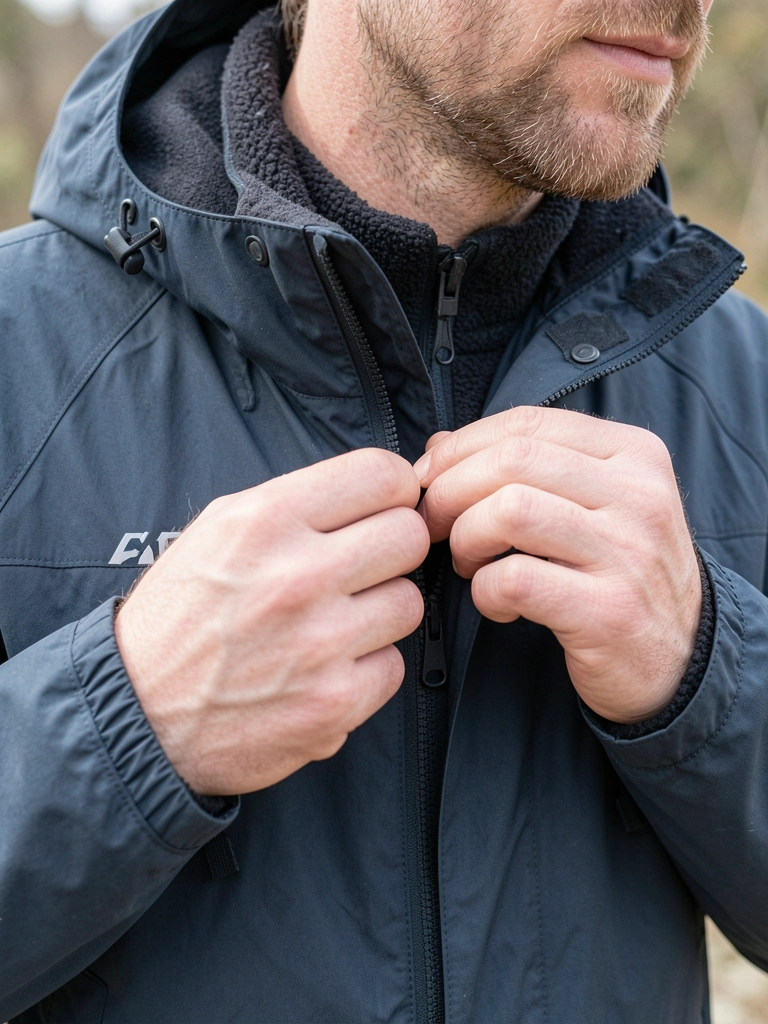
The waterproof shell goes last. It stuffs into its pocket for travel. Hoods stow away clean.
Full upper layers now shield without stiffness. The whole look feels protected, not armored.
Key miss: Pockets for snacks—hands-free on trail.
Steer clear of stiff shells. They rustle and restrict shoulder swings.
Step 5: Secure Feet and Head
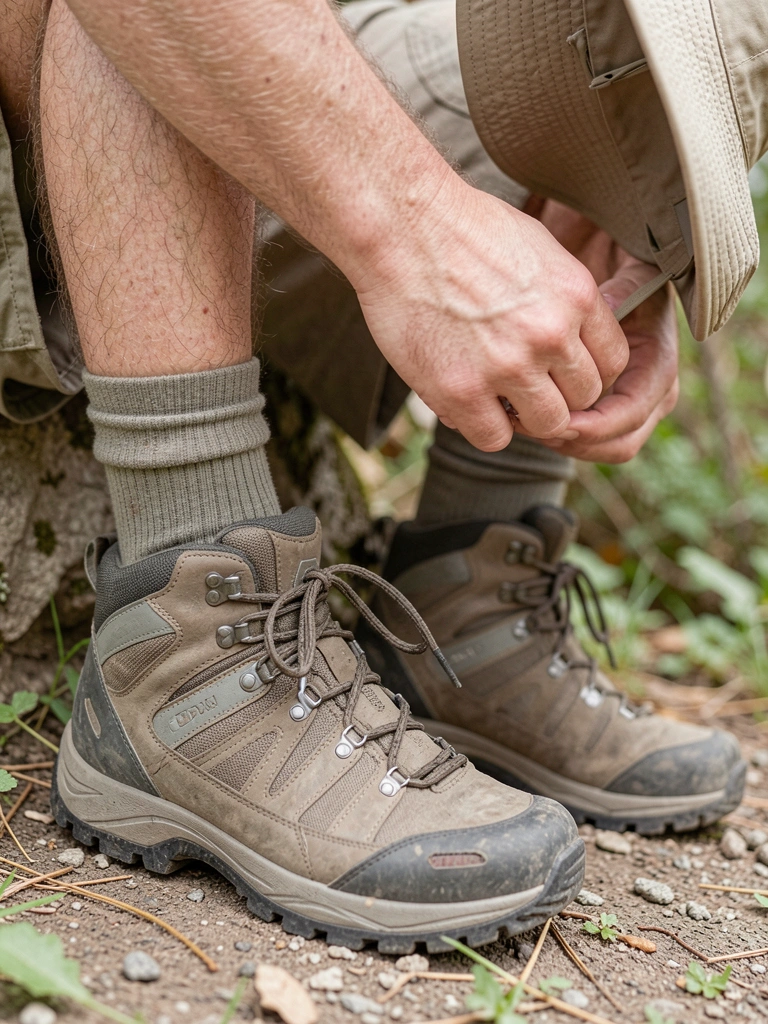
I lace the mid-height boots snug, add wool socks for cushion. Hat sits low for shade.
Feet feel stable, head covered. Proportions lock—boots ground the layers above.
Insight: Socks wick too, preventing blisters most ignore.
No low-top sneakers. They slip on uneven ground.
Step 6: Balance with a Daypack
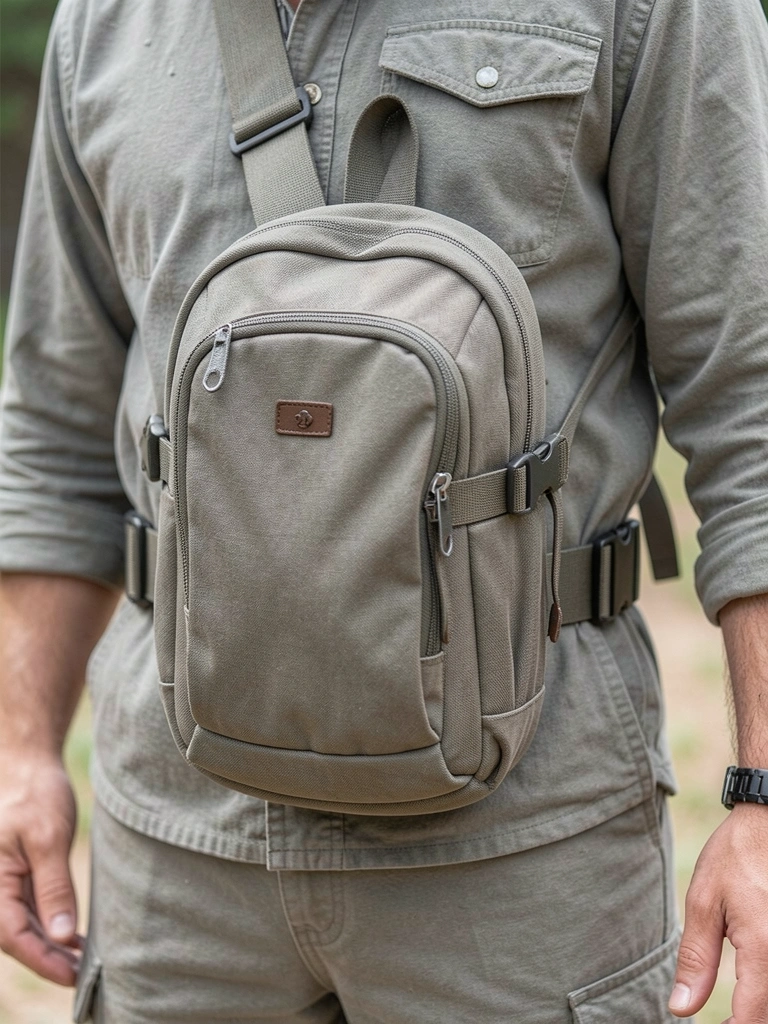
Finally, the daypack cinches at hips. Weight sits low, not on shoulders.
Everything integrates. Outfit moves as one—balanced front to back.
People forget hip belts—they shift load, save your back.
Don't overload it. Extra weight pulls proportions off.
Layering Adjustments for Weather
Cool mornings need the full fleece. I zip it higher.
Warmer afternoons? Stow the shell, roll sleeves.
- Rain: Hood up, pants zipped long.
- Heat: Pants to shorts, tank solo.
- Wind: Tuck layers tight.
This keeps the feel consistent.
Efficient Packing for Travel
Roll the shell smallest. Pants fold flat.
Use packing cubes for socks, hat.
- Boots: Stuff with socks.
- Daypack: Carries on.
- Total: Fits carry-on easy.
No bulk surprises at the gate.
Quick Outfit Variations
Urban to trail: Swap hat for cap.
Longer hikes: Add buff neck layer.
- City stop: Looser pants.
- Wet trails: Extra socks.
Stays wearable everywhere.
Final Thoughts
Try one layer at a time in your closet. Feel the balance click.
You'll hike confidently, no second-guessing.
It just works—simple outfits that travel and perform. Start tomorrow.
Leave a Reply